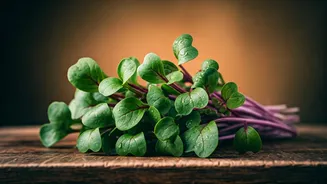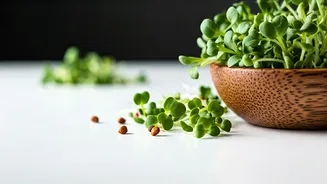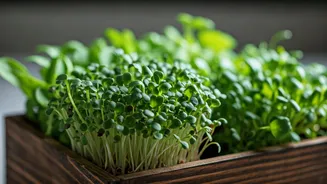


So, What Exactly Are Microgreens?
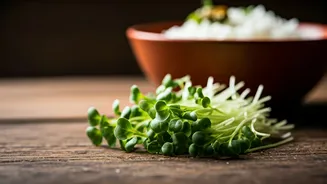
Let’s clear this up first: microgreens are not the same as sprouts. While sprouts are germinated seeds grown in water, microgreens are young vegetable greens harvested just after their first set of true leaves has developed. Think of them as the toddler
stage of plants like arugula, radish, kale, or cilantro. They’re harvested about one to three weeks after planting, standing just a few inches tall. This short growth cycle is key to their appeal. You’re not committing to a months-long gardening project; you’re setting up a quick, continuous supply of fresh greens that requires minimal space and even less horticultural expertise. They are, in essence, the perfect plant for people who think they can’t keep plants alive.
Big Nutrition in a Tiny Package
The term “superfood” gets thrown around a lot, but microgreens have the science to back up their impressive nutritional profile. Because they are harvested at such a young, concentrated stage of growth, they often contain higher levels of vitamins and carotenoids than their fully grown counterparts. Studies, including research published by the USDA, have suggested that microgreens can be packed with nutrients like vitamin C, vitamin E, and vitamin K. For example, red cabbage microgreens can have a significantly higher concentration of vitamin C than mature red cabbage. For a recent grad trying to fend off the office cold or fuel late-night projects, adding a handful of microgreens to a meal is an incredibly efficient way to boost your nutrient intake without having to overhaul your entire diet.
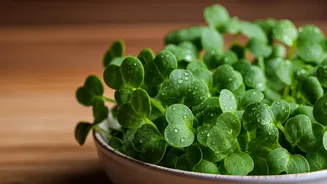
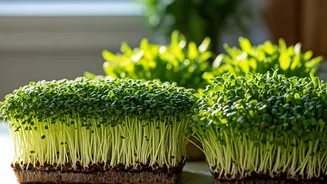
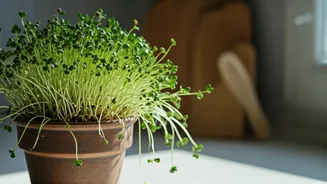
The ‘Easiest’ Part: Your Windowsill Farm
This is where the trend truly shines for anyone short on time, space, and cash. You don’t need a backyard or a balcony. A sunny windowsill is your entire farm. Here’s the simple setup: 1. **Get a container:** A shallow plastic tray, a takeout container with holes poked in the bottom, or a small pot will do. 2. **Add a growing medium:** Fill the container with about an inch of potting soil. 3. **Sow the seeds:** Sprinkle your chosen microgreen seeds (radish and broccoli are great for beginners) evenly and densely over the soil surface. Gently press them down. 4. **Water and wait:** Lightly mist the seeds with water and cover the tray to keep it humid for a few days. Once they sprout, uncover them and place them in a spot with at least four hours of daily sunlight. Mist them daily to keep the soil moist but not waterlogged. That’s it. In about 7 to 14 days, you’ll have a crop ready to harvest with a pair of scissors. The startup cost is minimal—a bag of soil and a packet of seeds can produce multiple crops.
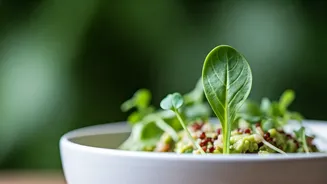
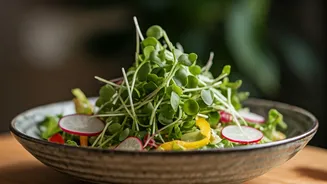
How to Use Them (Without Getting Fancy)
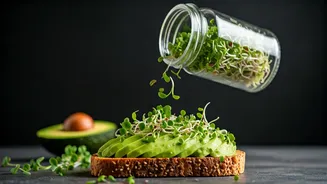
Forget intricate recipes or seeing them only as a fancy restaurant garnish. Microgreens are utility players in the kitchen. Their flavor is a more intense version of the mature plant—radish microgreens are peppery, while pea shoots are sweet and fresh. The easiest way to incorporate them is to simply add them to what you’re already eating. Sprinkle a generous handful on your morning scrambled eggs or avocado toast. Toss them into a smoothie for a nutrient boost that you won’t even taste. Use them as a fresh, crunchy layer in a sandwich or wrap. Throw them on top of takeout pizza or tacos to add a vibrant, healthy kick. They can instantly elevate a simple bowl of soup or a basic salad, adding flavor, texture, and a dose of vitamins with zero extra cooking time.