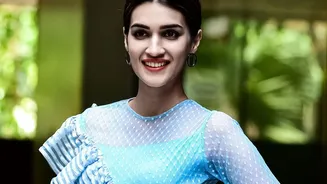




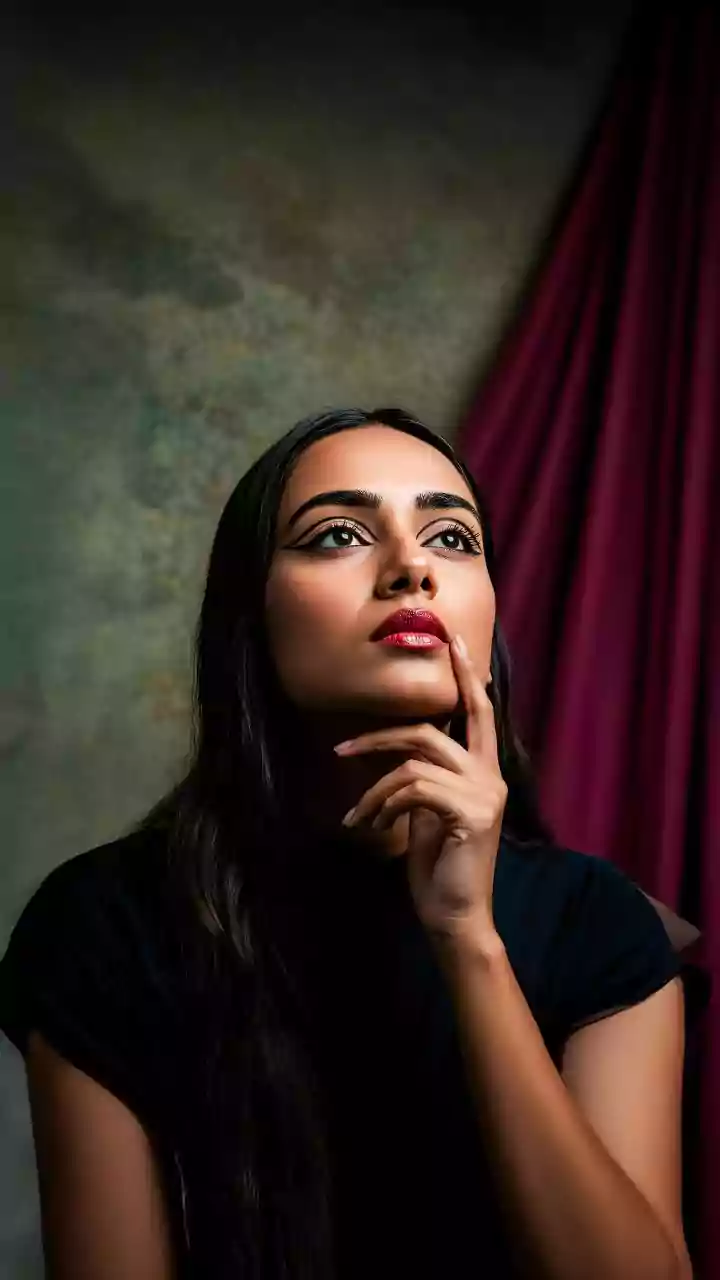



The brown smoky eye is a timeless classic, offering a softer, warmer alternative to traditional black. A-lister Kriti Sanon has perfected this sultry, versatile look, making it one of her signatures on and off the red carpet. Here’s your detailed guide
to building it yourself.
Step 1: Prime and Prep
The secret to a flawless, long-lasting smoky eye is starting with a well-prepped base. Begin by applying an eyeshadow primer or a dab of full-coverage concealer over your entire eyelid, from the lash line up to the brow bone. This simple step creates a smooth canvas, prevents creasing, and helps the eyeshadow colours appear more vibrant and true to their shade. Let the primer set for about 30 seconds before you begin applying any colour. This ensures the shadows will blend smoothly without becoming patchy.
Step 2: Build Your Base Shade
For a classic brown smoky eye, you'll want to work with at least two or three shades from the same colour family: a light, a medium, and a dark brown. Start with the lightest brown or a neutral nude shade. Using a fluffy blending brush, sweep this colour across your entire eyelid and into the crease. This initial layer serves as a transition shade, helping to ensure that the darker colours you apply later will blend seamlessly. Think of it as creating a soft gradient for the more dramatic shades to melt into.
Step 3: Define the Crease
Now, pick up your medium-toned matte brown eyeshadow with a slightly more tapered blending brush. Apply this shade into your crease, using gentle back-and-forth, windshield-wiper motions. Focus the colour on the outer corner of the eye, forming a 'V' shape from the outer lash line up into the crease. This technique adds depth and dimension, creating the illusion of a more defined and open eye. The key is to blend continuously to avoid any harsh lines between the base shade and this new layer.
Step 4: Add Smoky Depth to the Lid
This is where the 'smoky' effect truly comes to life. Take your darkest brown eyeshadow on a flat shader brush. Gently pat or stamp this colour onto your eyelid, concentrating it closest to the lash line and the outer third of the lid. Avoid taking this dark shade too far up into the crease, as you want to maintain that soft gradient you've been building. After depositing the colour, take your clean fluffy brush and gently blend the edges where the dark and medium shades meet. Blending is the most crucial part of any smoky eye.
Step 5: Smudge and Define the Lash Line
To intensify the look, use a creamy brown or black eye pencil. Trace your upper lash line, getting as close to the roots of your lashes as possible. You don't need to be perfectly neat. Before the liner sets, use a small, dense smudger brush to soften and smoke out the line. For the lower lash line, apply the same eyeliner and smudge it with your medium and dark brown eyeshadows to connect the top and bottom, creating a cohesive, all-around smoky effect. Kriti Sanon often pairs this with a hint of kajal on the waterline for added drama.
Step 6: Highlight and Finish
To complete the eye makeup, add a touch of a light, shimmery nude or champagne eyeshadow to the inner corner of your eye and just below the arch of your eyebrow. This highlight adds a beautiful contrast to the deep, smoky colours and makes your eyes appear brighter and more awake. Finish the entire look with a generous coat or two of volumizing mascara on your top and bottom lashes. Curled lashes and even a pair of wispy false eyelashes can elevate the look for a special occasion.