


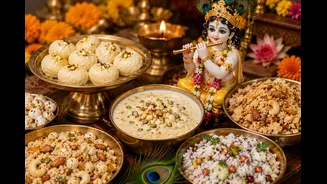

The Sweet Taste of Devotion
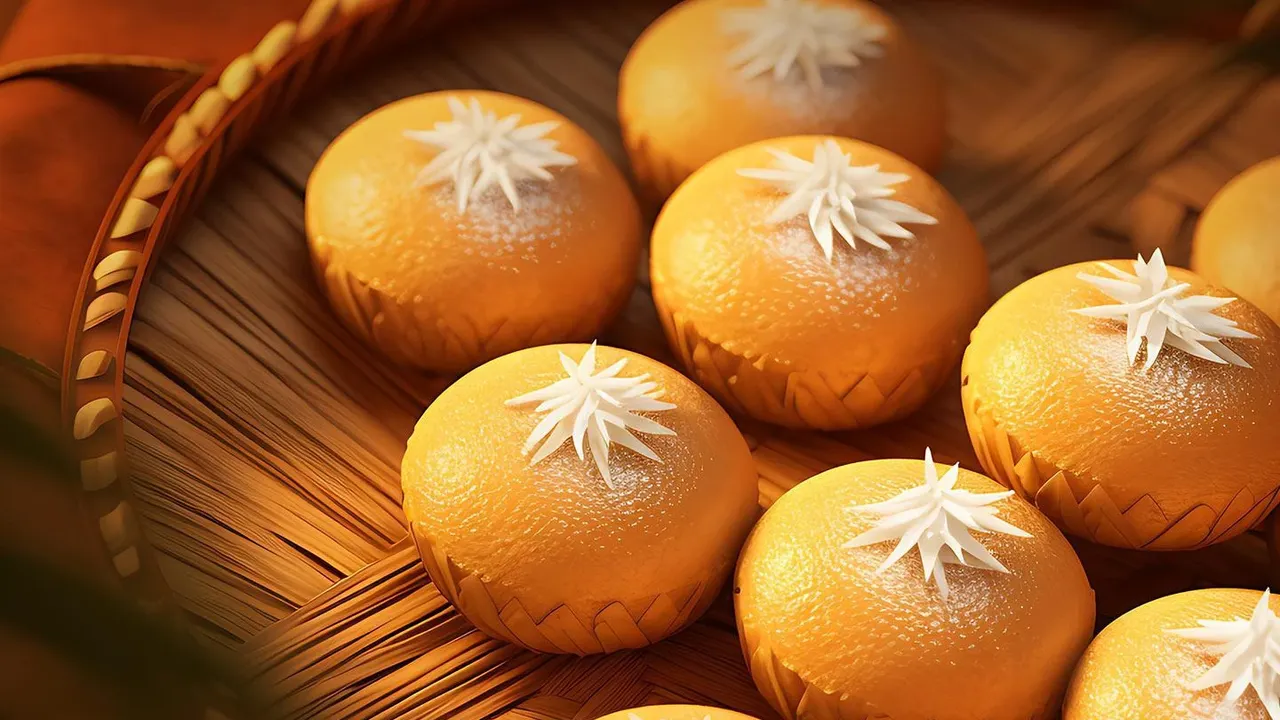
The festival of Janmashtami, which celebrates the birth of Lord Krishna, is incomplete for many without peda. This simple milk-based sweet has a special connection to Mathura, Krishna's birthplace, where Mathura ke Pede are a legendary offering. Known
for their distinct grainy texture and rich, caramelised flavour, these pedas are more than just a dessert; they are a symbol of love and devotion. The traditional process involves simmering milk for hours to create mawa (milk solids), but this simplified recipe using store-bought mawa or milk powder makes the process much faster without compromising on the authentic taste that makes this sweet so special.
Gather Your Ingredients
This recipe focuses on simple, easily accessible ingredients to create about 15-20 pedas. You will need: 2 cups of unsweetened mawa (khoya), grated (about 250 grams). You can find this in the refrigerated or frozen section of most Indian grocery stores. Alternatively, you can use milk powder to make instant mawa. 2 to 3 tablespoons of ghee (clarified butter). ½ cup of powdered sugar or 'bura', plus extra for coating. Bura, a type of less-refined sugar, gives a more authentic texture. 2 to 4 tablespoons of milk, as needed. ½ teaspoon of cardamom powder (elaichi). A pinch of nutmeg powder (jaiphal), optional.
Step 1: Roasting the Mawa
The secret to the iconic brown colour and nutty flavour of Mathura Peda is in roasting the mawa correctly. Start by placing the grated mawa in a heavy-bottomed, non-stick pan on low to medium heat. Stir continuously. As it heats, it will start to melt and loosen. After about 5 minutes, add the ghee and continue to stir. Be patient, as this is the most crucial step. Keep the heat low to prevent burning. You will notice the mawa slowly changing colour from white to a light golden, and then to a deeper brown. This entire process can take 15-25 minutes. The goal is a rich, uniform brown colour and a crumbly texture. If the mixture looks too dry, you can add a tablespoon of milk.
Step 2: Cooling and Grinding
Once the mawa has reached the desired dark brown colour, remove the pan from the heat. Allow the mixture to cool down for about 10-15 minutes until it is just warm to the touch. It's important not to add sugar while the mawa is hot, as this will cause it to melt and turn the mixture watery. Once cooled, transfer the crumbly mawa to a blender or food processor. Pulse it a few times to achieve a smoother, more uniform, granular powder. This step ensures the peda has its characteristic grainy-yet-melt-in-the-mouth texture.
Step 3: Shaping the Pedas
Transfer the ground mixture to a bowl. Add the powdered sugar, cardamom powder, and nutmeg powder (if using). Mix everything together thoroughly with your hands. Now, add milk, one tablespoon at a time, just until the mixture becomes moist enough to bind together. Be careful not to add too much milk. Take a small portion of the mixture and press it firmly in your palm, rolling it into a ball. Traditionally, Mathura pedas don't have a perfectly uniform shape; they are often slightly flattened or have an organic, rustic form. Once shaped, roll each peda in the extra powdered sugar or bura to coat it completely.
Tips for Perfect Pedas
To ensure success, keep a few things in mind. Always use a heavy-bottomed pan to prevent the mawa from burning. Continuous stirring on low heat is non-negotiable for even browning. The colour of the roasted mawa is key; aim for a deep brown, as the colour will lighten slightly when you add the sugar. Finally, let the pedas sit for an hour or so after shaping to allow them to dry out slightly, which enhances their texture. They can be stored in an airtight container in the refrigerator for up to a week.