


Step 1: The Great Purge
Before you can clean or organize, you need to declutter. This is the most crucial step, so put on some music and be ruthless. Arm yourself with two bags: one for trash and one for items to donate (like duplicate utensils or appliances you never use).
Start with the pantry and fridge. Pull everything out. Check expiry dates on every single item—spices, canned goods, sauces, and condiments. Anything expired or that you know you’ll never use gets tossed. Be honest with yourself about that jar of chutney from three Diwalis ago. Next, move to your cabinets and drawers. Get rid of chipped mugs, mismatched plastic container lids, and gadgets that have been gathering dust. The goal is to create space and work only with what you truly need and use.
Step 2: The Deep Clean
With your counters and shelves now empty, it’s time for a proper deep clean. This isn't your average wipe-down. Start from the top and work your way down. Wipe the insides and outsides of all cabinets and drawers. Tackle the grimiest appliances: the microwave (a bowl of water and lemon slices microwaved for three minutes will loosen grime), the oven (follow its self-cleaning instructions or use a suitable cleaner), and the stovetop. Pull your refrigerator out from the wall if you can and clean the floor beneath it and the coils behind it. Don't forget the backsplash, the extractor fan filter, and the sink. For a simple, effective all-purpose cleaner, mix equal parts white vinegar and water in a spray bottle. It works wonders on grease and leaves surfaces sparkling.
Step 3: The Smart Reorganization
This is where the magic happens. Instead of just putting things back, think about creating zones for efficiency. Group like items together. All your baking supplies (flour, sugar, baking soda) should live in one area. Create a tea and coffee station near your kettle or coffee maker. Store pots and pans near the stove, and plates and glasses near the dishwasher or drying rack to make unloading easier. Use clear containers for pantry staples like dal, rice, and pasta. This not only looks tidy but also lets you see what you have at a glance, preventing you from buying duplicates. For drawers, use dividers to keep cutlery and utensils from becoming a jumbled mess. The key is to make your kitchen work for you, placing the most-used items in the most accessible spots.
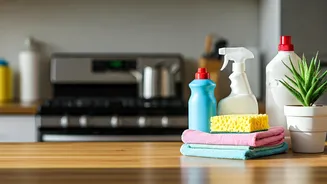
Step 4: The Final Polish
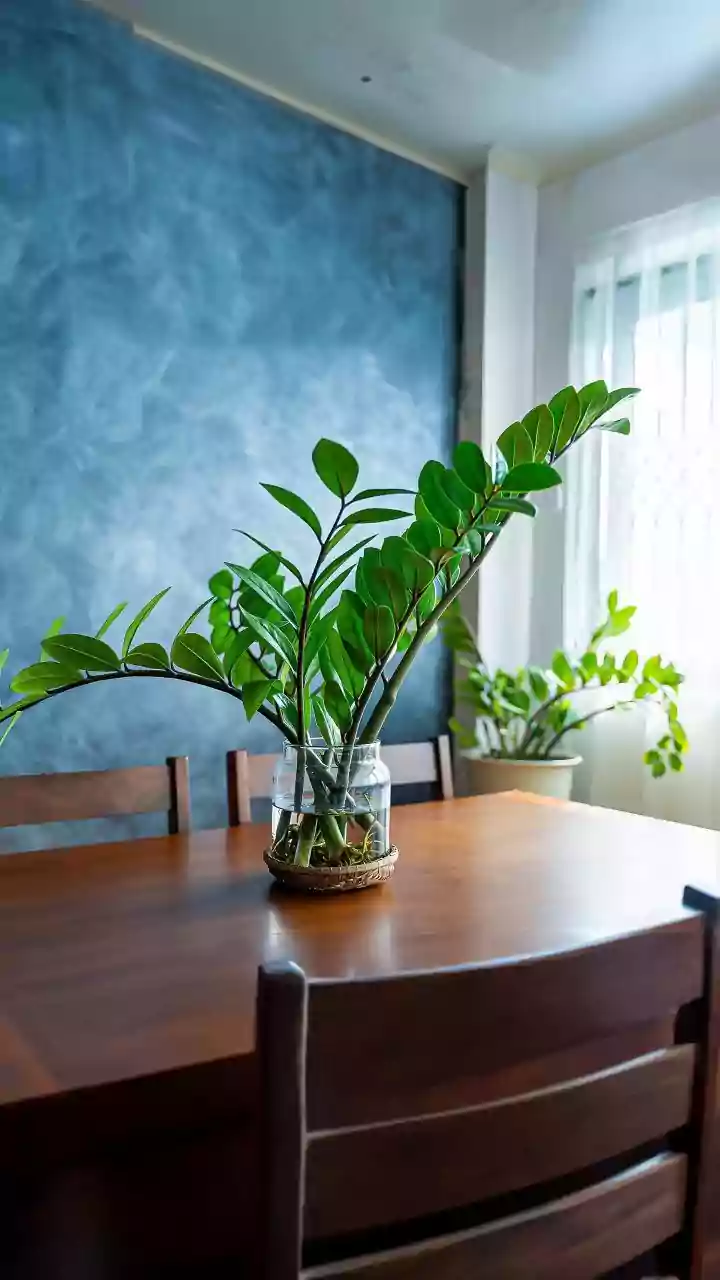
You’re on the home stretch. Now it’s about the finishing touches that elevate the space and help you maintain it. Sharpen your knives—a sharp knife is a safe knife and makes cooking much more enjoyable. Give your sink and taps a final polish until they gleam. Take stock of what you have and make a shopping list for essentials you’ve run out of. Consider one small, joyful upgrade. It doesn’t have to be expensive; it could be a new dish towel, a small plant for the windowsill, or a nice soap dispenser. Finally, establish one new habit to keep the chaos at bay. A popular one is the 'one-minute rule': if a task takes less than a minute (like rinsing a dish or wiping a spill), do it immediately.