


What Is an Olla Pot?
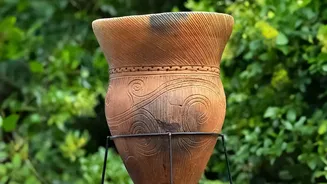
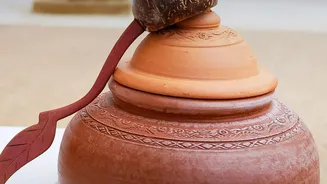
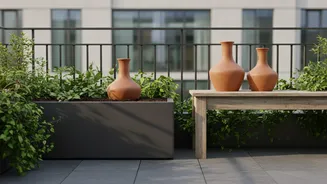
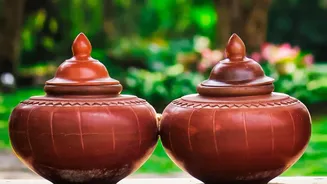
An olla (pronounced 'oh-yah') is an unglazed terracotta pot that is buried in the soil, leaving only its neck exposed. You fill the pot with water, and thanks to the porous nature of the clay, that water slowly seeps out into the surrounding soil. It’s
a low-tech, high-efficiency irrigation method that has been used for thousands of years in arid climates across the globe, from North Africa to China. The principle is simple: it’s passive, underground watering that delivers moisture directly where it’s needed most—at the plant's roots.
The Genius of Slow-Release Watering
The magic of the olla lies in osmosis. The soil itself and the plant roots 'pull' water out of the pot only when the surrounding earth begins to dry out. If the soil is already moist after a good rain, the water stays in the olla. This self-regulating system means plants get a consistent supply of moisture, preventing the stressful wet-and-dry cycles that can harm them. This method is incredibly water-efficient, reducing water usage by up to 70% compared to surface watering because there is minimal loss to evaporation or runoff. It also promotes healthier, deeper root growth and discourages weeds, which thrive on surface moisture.
Perfect for Balconies and Containers
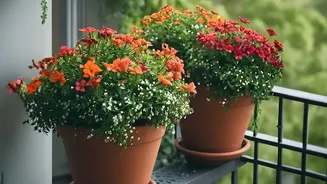
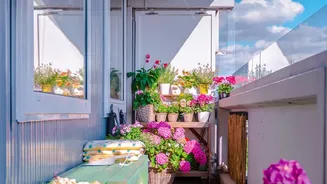
While traditionally used in garden beds, ollas are brilliantly suited for the challenges of container gardening. Balcony pots dry out quickly, but a small olla buried in a large container can provide a steady water source for days, making it a perfect vacation watering system. It ensures water penetrates the entire pot, rather than just running down the sides of dry, compacted soil. For urban Indian gardeners, this means healthier tomato, chilli, and basil plants on the sunniest of balconies, with far less daily effort. The consistent moisture can even prevent issues like blossom end rot in tomatoes, a common problem with fluctuating water levels.
How to Use Ollas in Your Pots
Getting started is straightforward. First, choose an appropriate size; a small olla is perfect for a medium-sized container, while a larger pot might accommodate a bigger olla or two. Place the olla in your container before adding the plant, burying it up to its neck. Plant your seedlings or plants around it, leaving a few inches of space. Give the entire pot a thorough initial watering to settle the soil, then fill the olla. Remember to place a small stone or a lid over the olla’s opening to prevent mosquitoes from breeding and to keep dirt and debris out. Check the water level every few days and refill as needed; you’ll find you’re watering far less frequently than before.
Choosing the Right Plants and Pots
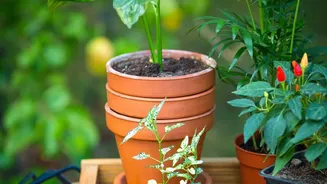
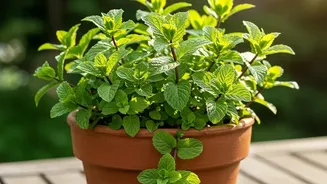
Ollas work best with plants that have fibrous root systems and appreciate consistent moisture. Fruiting vegetables like tomatoes, peppers, cucumbers, and squash are ideal candidates. Herbs such as basil and mint also thrive with this system. Even flowers like zinnias and marigolds do well. It’s less effective for plants that prefer very dry conditions, like some succulents. When it comes to the ollas themselves, you can purchase specially made ones or create your own. A popular DIY method involves gluing two unglazed terracotta pots together at the rim, after plugging the drainage hole of the one that will be the bottom.
Tips for Success
To get the most from your ollas, keep a few things in mind. Only use unglazed terracotta, as glazed pots won't allow water to seep through. Never add liquid fertilizer directly into the olla, as it can clog the porous clay over time; fertilize the soil directly instead. In regions with heavy freezes, it's wise to empty and remove the ollas from the soil at the end of the season to prevent cracking, though this is less of a concern for most Indian climates. At the end of the season when you unearth the olla, you’ll likely see a dense mat of healthy roots around it—proof of a happy, well-watered plant.