






The Ergonomic Imperative
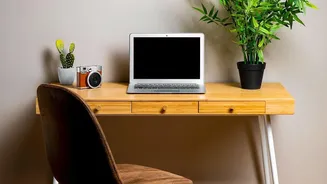
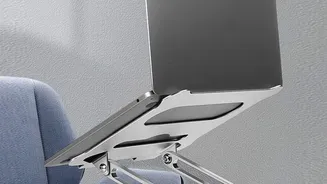
Before building, it's worth knowing why you're doing this. The goal of a laptop stand is to raise the screen so that the top of it is at or just below your eye level. This allows you to sit up straight, aligning your head, neck, and spine, which reduces
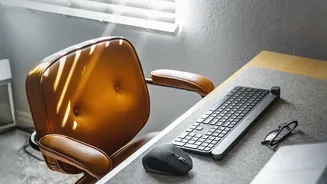
strain and prevents pain from developing over a long workday. When you raise your laptop, its built-in keyboard and trackpad will be at an awkward, high angle. For this setup to be truly comfortable and ergonomic, you’ll need to use a separate, external keyboard and mouse. This combination allows you to keep the screen at eye level while your hands and wrists rest in a natural position on the desk.
The Classic Book Stack
This is the most common and accessible method for a reason. A stack of books can create a sturdy, adjustable platform for your laptop. The key to stability is using your largest, heaviest hardcover books for the base. Build a wide foundation and add progressively smaller books as you go up. Ensure the top surface is flat and wide enough to securely hold the entire base of your laptop without it teetering. Avoid using a wobbly tower of mismatched paperbacks. Reams of printer paper also work exceptionally well for this, as their uniform shape and weight create a very stable riser. This method is not only free but also highly versatile, allowing you to fine-tune the height easily.
The Sturdy Box Method
Look no further than your recycling bin for this solution. A sturdy cardboard box, such as a shoebox or a shipping box, can serve as an excellent laptop stand. The most important factor is the integrity of the box. Ensure it is not flimsy or damaged. For added stability, you can fill the box with other items (like books or magazines) to give it more weight and prevent it from sliding or collapsing. You can also turn a box on its side to create a small 'desk' with a nook for storing your external keyboard when not in use. Some people have even successfully repurposed pizza boxes for a quick, angled stand, but always check for sturdiness first.
Creative Kitchenware Solutions
Your kitchen holds several potential candidates for a makeshift stand. A sturdy, inverted baking pan or a stack of thick wooden cutting boards can provide a flat, elevated surface. The advantage here is that these items are typically solid and have a low centre of gravity, making them quite stable. You could also use an empty, sturdy three-ring binder, which provides a natural angle and a space to tuck cables or a hard drive underneath. Just be sure that whatever you use has a non-slip surface or that your laptop's rubber feet can get a good grip to prevent it from sliding off.
A Final Check for Safety and Stability
Whatever method you choose, safety is paramount. Once your stand is built, give it a thorough test before placing your expensive hardware on it. Gently push and nudge it from all sides to check for any wobbling or instability. Ensure the surface is wide enough to support the laptop fully. Also, be mindful of ventilation. Make sure your stand isn't blocking your laptop’s cooling vents, as this can cause it to overheat. Stacking objects in a way that allows for airflow underneath is ideal. For slick surfaces, placing a non-slip drawer liner or a piece of rubbery material on top of your stand can provide extra grip and peace of mind.