





Why Gentle Sectioning Matters
Before you even open a single clip, understanding the 'why' behind your technique is crucial. Rushing the application or creating messy parts can lead to tension on your scalp and hair follicles, which may cause breakage over time. Gentle, clean sectioning
does more than just protect your hair; it ensures the wefts lie flat against your head, preventing bumps and creating a seamless blend. It also distributes the weight of the extensions evenly, making them more comfortable to wear for extended periods. A few extra minutes spent on careful parting is the difference between a detectable, uncomfortable set and a style that looks and feels like your own.
Gather Your Essential Tools
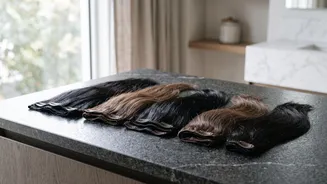
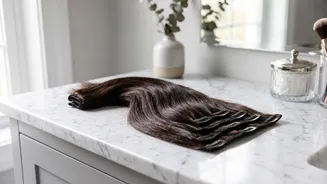
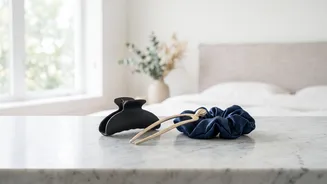
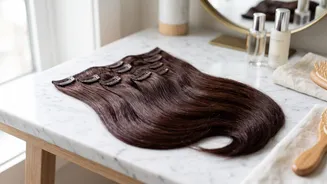
You don’t need a professional salon kit, but a few key tools will make the process infinitely smoother. First, a rat-tail comb is non-negotiable for creating crisp, clean horizontal lines. Its pointed end allows for precision that your fingers just can't match. Second, you'll need sectioning clips—like duckbill or alligator clips—to hold the rest of your hair securely out of the way. This prevents stray hairs from getting caught in the extension clips. Finally, have your clip-in wefts brushed and ready to go. For those with fine or silky hair, keeping a light-hold hairspray or a dry shampoo nearby can also be a game-changer for adding a little grip at the roots.
Creating Your Foundational Section
Your first section is the most important, as it provides the base for your entire look. Start at the nape of your neck. Use the tail of your comb to draw a clean, horizontal line from one side to the other, about an inch above your hairline. Clip the rest of your hair securely on top of your head. This first weft is typically one of the smaller ones in your set. Before attaching it, you might want to gently tease the root of the sectioned hair. This creates a small cushion of texture for the clips to grip onto, preventing any slipping. Open the clips on the weft, position it along the part, and snap the middle clip shut first before securing the side clips. It should feel snug, but never painful.
Working Your Way Up the Head
Once your foundation is set, the process is a simple matter of repetition. Release your hair and create another clean horizontal part about one inch above the first weft you placed. As you move up the back of your head towards the widest part, you will start using your wider wefts. A common method is to use a 3-clip weft, then a 4-clip weft at the top of your ears, and the widest weft at the crown area. Maintaining that one-inch spacing is key; it leaves enough of your natural hair to cover the top of the weft below it, which is essential for a natural blend. Always check that the weft doesn't extend wider than the section of hair you've parted.
Placing the Side and Top Pieces
With the back of your head complete, it's time to address the sides. These smaller, one or two-clip wefts are designed to frame your face and blend the shorter layers around your temples. Create a diagonal or vertical part about two inches above your ear and clip a weft in, angling it slightly to follow your natural hairline. Repeat on the other side. It's crucial to avoid placing any wefts too high up on your head, in what is often called the 'danger zone'. The hair at your crown and along your main parting needs to remain free to fall over the extensions and conceal all your careful work.
Final Touches for a Seamless Finish
With all the clips in place, let down the final top section of your hair. Gently brush through everything with a wide-tooth comb or an extension-safe brush to meld your natural hair with the extensions. One of the most effective ways to ensure a perfect blend is to add a wave or curl. Styling your natural hair and the extensions together helps hide any subtle lines where the wefts begin. This final styling step marries the different textures and lengths into one cohesive, beautifully voluminous look.