

The Foundation: A Soft and Pliable Dough
The journey to exceptional naan begins not with the topping, but with the dough. A common mistake is a dough that is too stiff. For a soft, pillowy texture, you need a dough that is soft, slightly sticky, and well-rested. Many recipes call for a combination
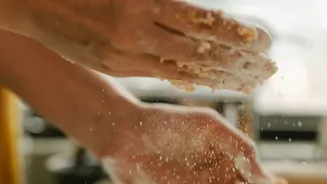
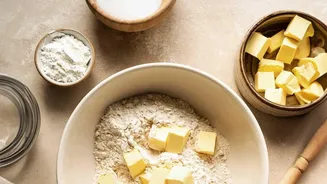
of all-purpose flour (maida), a leavening agent like yeast or baking powder, salt, and sugar. The real secret to a tender crumb, however, lies in the wet ingredients. Incorporating plain yogurt or curd lends a subtle tang and makes the naan incredibly soft. Lukewarm milk and a bit of oil or melted butter also contribute to the dough's richness and elasticity. Knead the dough for about 5-10 minutes until it becomes smooth, then let it rest in a warm place for at least 30-60 minutes. This resting period allows the gluten to relax, making the dough easier to roll and ensuring a light, airy final product.
The Star of the Show: The Aromatic Garlic Topping
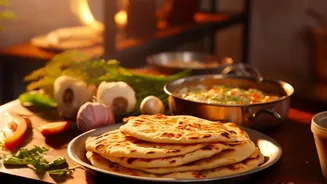
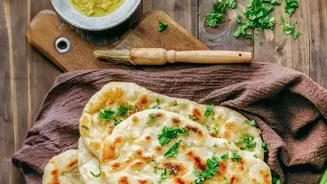
This is where the magic happens. How you prepare and apply the garlic topping is crucial for achieving that signature aroma. The most common method involves pressing finely minced raw garlic and chopped fresh coriander onto the surface of the rolled-out dough. Gently roll the pin over the toppings one last time to embed them slightly into the dough, ensuring they don't fall off during cooking. While some recipes incorporate garlic paste directly into the dough, applying it as a topping allows the garlic to toast on the hot tawa, releasing its potent fragrance. Another popular method is to create a garlic butter. This involves melting butter and infusing it with minced garlic, sometimes right as you turn off the heat to prevent the garlic from turning bitter. This aromatic butter can then be brushed on the naan as it cooks or immediately after it comes off the heat for a double layer of flavour.
The Tawa Technique: Cooking Without an Oven
You don't need a tandoor to get those beautiful charred spots. A heavy-bottomed iron tawa or a cast-iron skillet is your best friend here. Do not use a non-stick pan, as the naan needs to stick to the surface. Heat the tawa over a high flame until a drop of water sizzles and evaporates instantly. After rolling your naan into the desired oval shape and applying the garlic topping, flip it over. Brush the plain underside liberally with water. This step is vital—the water helps the naan adhere to the hot tawa, allowing you to flip the entire pan upside down over the flame later. Place the naan water-side down onto the hot tawa and press gently. You'll soon see bubbles forming on the surface, which is a sign of a perfect cook.
The Final Flip: Achieving the Tandoor Effect
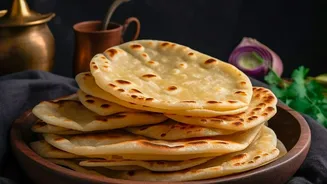
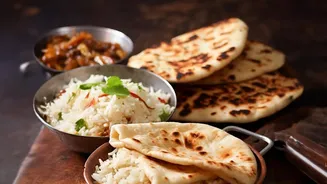
Once bubbles have appeared all over the top surface (after about a minute or two), it's time for the most exciting part. Firmly grip the handle of the tawa and flip it completely upside down, holding it a few inches above the direct gas flame. Move the inverted tawa around to allow the flame to cook the top side of the naan evenly. This direct heat exposure is what creates the coveted brown and black charred blisters that mimic a tandoor oven. Keep a close eye on it, as this process only takes about a minute. Once you see beautiful charred spots, flip the tawa back over. Use a pair of tongs or a spatula to gently peel the naan off the surface.
The Finishing Touch: A Lavish Butter Brush
Your naan is not complete without one final, indulgent step. As soon as the hot naan comes off the tawa, brush it generously with melted butter or ghee. If you prepared a garlic butter earlier, now is the time to use it. This final brush not only adds a rich flavour but also keeps the naan soft and moist, locking in the steam and all that wonderful garlic aroma. The heat from the fresh naan will melt the butter, allowing it to soak in and create a glistening, irresistible finish. Serve immediately while hot and enjoy the satisfaction of recreating a restaurant favourite in your own kitchen, a testament to the simple power of a tawa and the right technique.