


Why Barefoot is Better
Before we get to the drills, let’s understand the ‘why’. Our feet contain a complex network of 26 bones, 33 joints, and over 100 muscles, tendons, and ligaments. For millennia, they evolved to walk, run, and balance on varied, natural terrain. Modern,
overly-cushioned shoes can act like a cast, restricting movement and preventing the small muscles in your feet and ankles from doing their job. This can lead to weakness and instability over time. Going barefoot, especially on a natural surface like grass, reawakens these muscles. It improves proprioception—your body's awareness of its position in space—which is crucial for balance, agility, and preventing injuries like ankle sprains. Think of it as waking up a part of your body that’s been asleep for years.
Safety First: Before You Begin
The idea of going barefoot in a public park can seem daunting, but a few precautions make it safe and enjoyable. First, choose your location wisely. Find a clean, well-maintained patch of grass. Before you start, do a slow visual sweep of the area for any sharp objects like glass, sharp stones, or thorns. Start on soft surfaces like grass or sand before progressing to harder ground. The goal is to stimulate your feet, not injure them. Most importantly, start slow. If you’ve spent your life in shoes, your feet will be sensitive. Begin with just 5-10 minutes per session, a few times a week, and gradually increase the duration as your feet adapt and strengthen. Listen to your body; if you feel any sharp pain, stop.
Drill 1: The Short Foot Exercise
This is the foundational exercise for foot strength. Stand barefoot with your feet flat on the ground. Without curling your toes or moving your heel, try to pull the base of your big toe towards your heel, creating a small arch in your foot. You should feel the muscles in your arch engage. It's a very subtle movement, so don't be discouraged if it takes time to master. Hold the contraction for 5 seconds, then relax. This exercise directly targets the intrinsic muscles that support your arch and provide a stable base for your ankle. Aim for 10-15 repetitions on each foot.
Drill 2: Toe Spreading and Lifts
Our toes spend most of their lives squished inside shoes. This drill helps them regain their natural dexterity and strength. While standing or sitting, try to spread your toes as wide apart as you can, like opening a fan. Hold for 5-10 seconds, then relax. Next, try to lift just your big toe while keeping the other four toes pressed firmly into the ground. Then, reverse it: press your big toe down and try to lift the other four. This might feel impossible at first, but it’s a powerful exercise in neuromuscular control that directly contributes to better balance and ankle stability. Practice these movements for a minute on each foot.
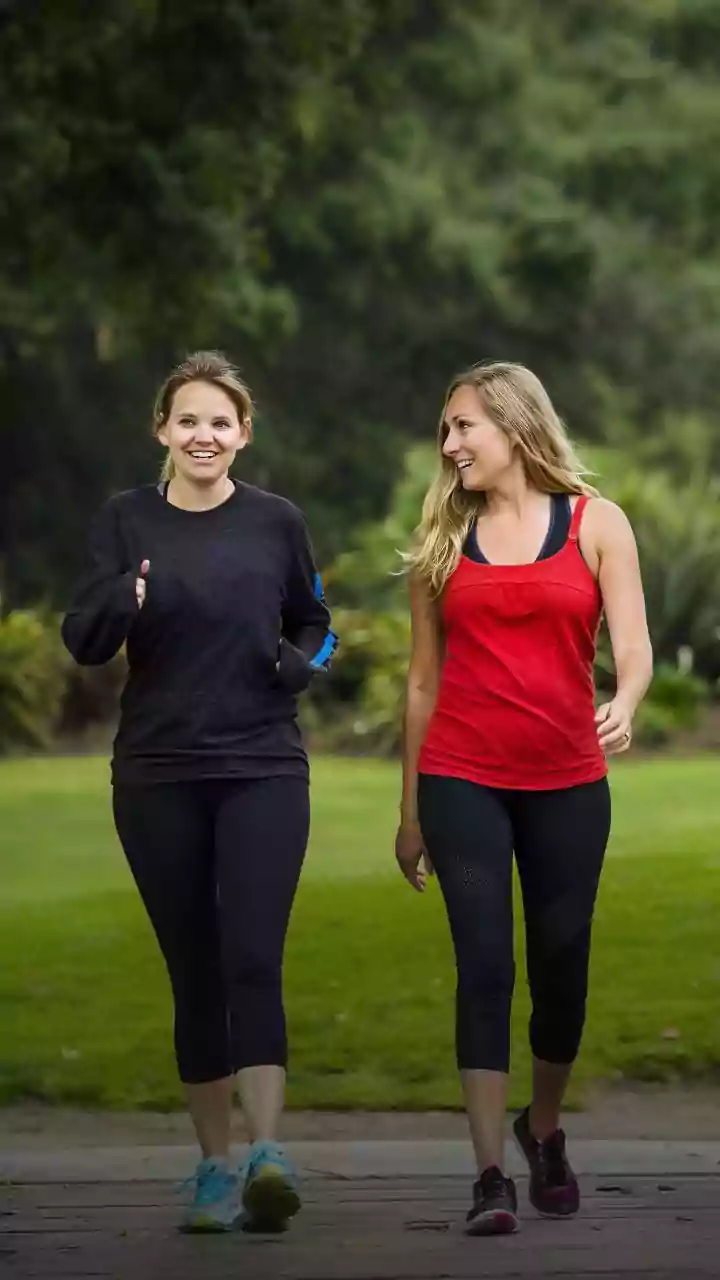
Drill 3: Barefoot Walking and Balancing
The simplest drill is often the most effective. Just walk barefoot on the grass. Pay attention to how your foot lands and pushes off. Try walking on your heels for a few steps, then on the balls of your feet. This variation challenges different muscles. To take it up a notch, incorporate single-leg balancing. Stand on one foot and try to hold your balance for 30 seconds. To make it harder, close your eyes or have a friend gently toss a small ball to you. This forces the small stabiliser muscles around your ankle to fire constantly, building incredible strength and resilience against unexpected twists and turns.
Drill 4: Barefoot Calf Raises
Strong calves are essential for powerful and stable ankles. Performing calf raises barefoot adds an extra challenge for the feet. Stand with your feet hip-width apart. Slowly rise up onto the balls of your feet, holding the peak contraction for a moment. Feel the engagement not just in your calves, but through the muscles in your feet. Slowly lower yourself back down with control. Don't rush the movement. For an added challenge, perform these one leg at a time while lightly touching a wall or tree for balance. Aim for 2-3 sets of 15-20 repetitions.