

The Tiny Giants of Nutrition
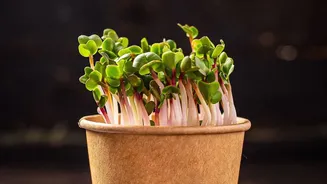
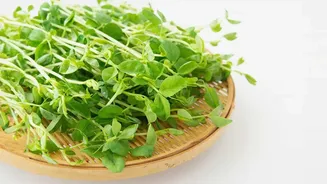
So, what exactly are microgreens? They are young vegetable greens harvested just after the first true leaves have developed. Don’t confuse them with sprouts, which are germinated seeds consumed root, seed, and shoot. With microgreens, you only eat the stem
and leaves. The real magic lies in their concentrated nutritional profile. Studies have shown that microgreens can contain significantly higher levels of vitamins and antioxidants—sometimes up to 40 times more—than their mature counterparts. This means that a small handful of, say, broccoli microgreens could offer a more potent nutritional punch than a whole head of mature broccoli. These tiny plants are rich in compounds like polyphenols, which help the body combat cellular stress and inflammation. For anyone looking to enhance their diet without overhauling their kitchen, microgreens offer a simple, high-impact solution.
Choosing Your Antioxidant All-Stars
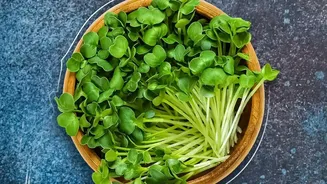
While most microgreens are nutrient-rich, some are true standouts in the antioxidant department. If you're looking to maximize health benefits, certain varieties are known for their potent properties. Broccoli microgreens are famously rich in sulforaphane, a compound studied for its powerful antioxidant and anti-inflammatory effects. Radish microgreens, which add a peppery kick to any dish, are high in vitamin E. For a vibrant splash of colour and health, red cabbage microgreens are an excellent choice, packed with vitamin C and anthocyanins, the antioxidants responsible for their deep purple hue. Others like pea shoots, sunflower, and arugula are also fantastic, easy-to-grow options for beginners. Pea shoots are rich in vitamins and carotene, while arugula microgreens offer a peppery taste and contain significantly more calcium and vitamins than iceberg lettuce.
Your Simple Windowsill Garden
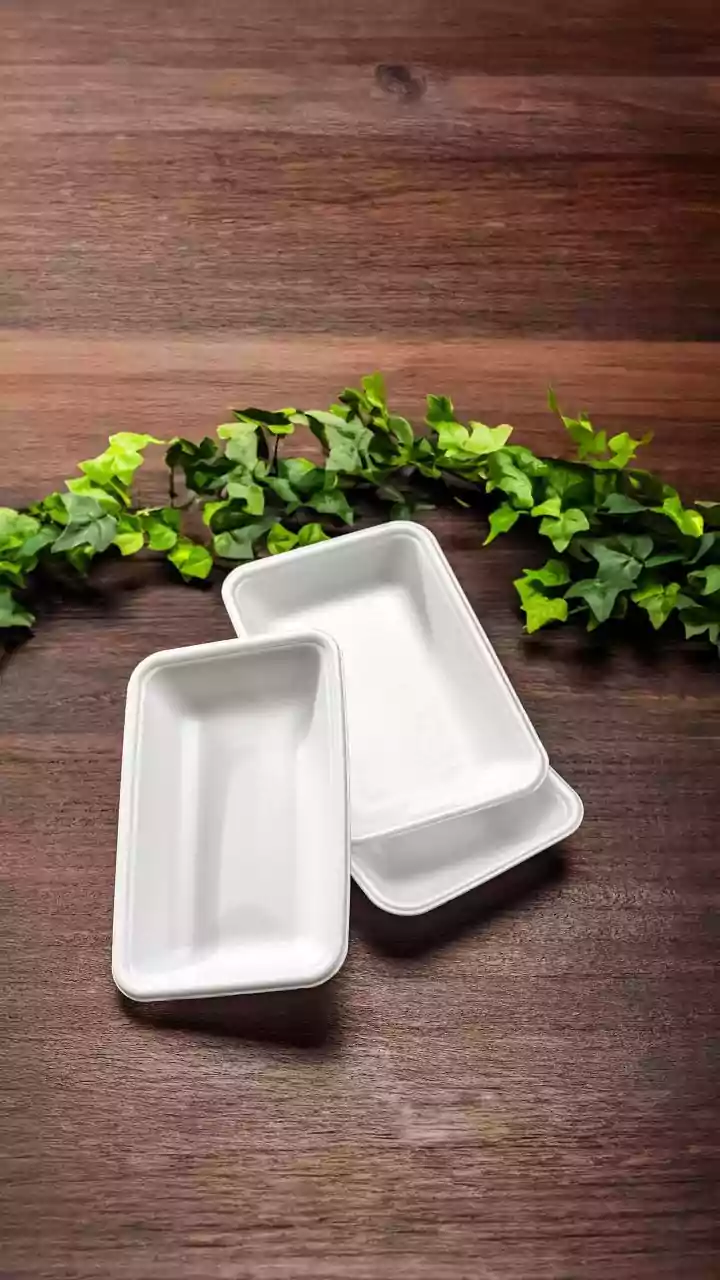
Starting your own microgreen farm is surprisingly simple and requires minimal equipment. You don't need a sprawling garden; a sunny windowsill is perfect. Here’s how to begin: First, gather your supplies. You'll need a shallow tray (a recycled plastic takeaway container works well), a small amount of potting soil or a soil-less medium like coco coir, your seeds of choice, and a spray bottle for water. Next, fill your tray with about an inch or two of moist soil, pressing it down gently to create a flat surface. Then, sprinkle your seeds evenly and densely across the soil. Press them gently into the surface. Lightly mist the seeds with water and cover the tray to create a dark, humid environment for germination. Check on them daily and mist as needed to keep the soil damp but not waterlogged. In a few days, you'll see them sprout. At this point, uncover the tray and move it to a spot that receives plenty of indirect sunlight. Continue to water daily, and your greens will be ready to harvest in about 7 to 14 days, depending on the variety.
From Harvest to Plate
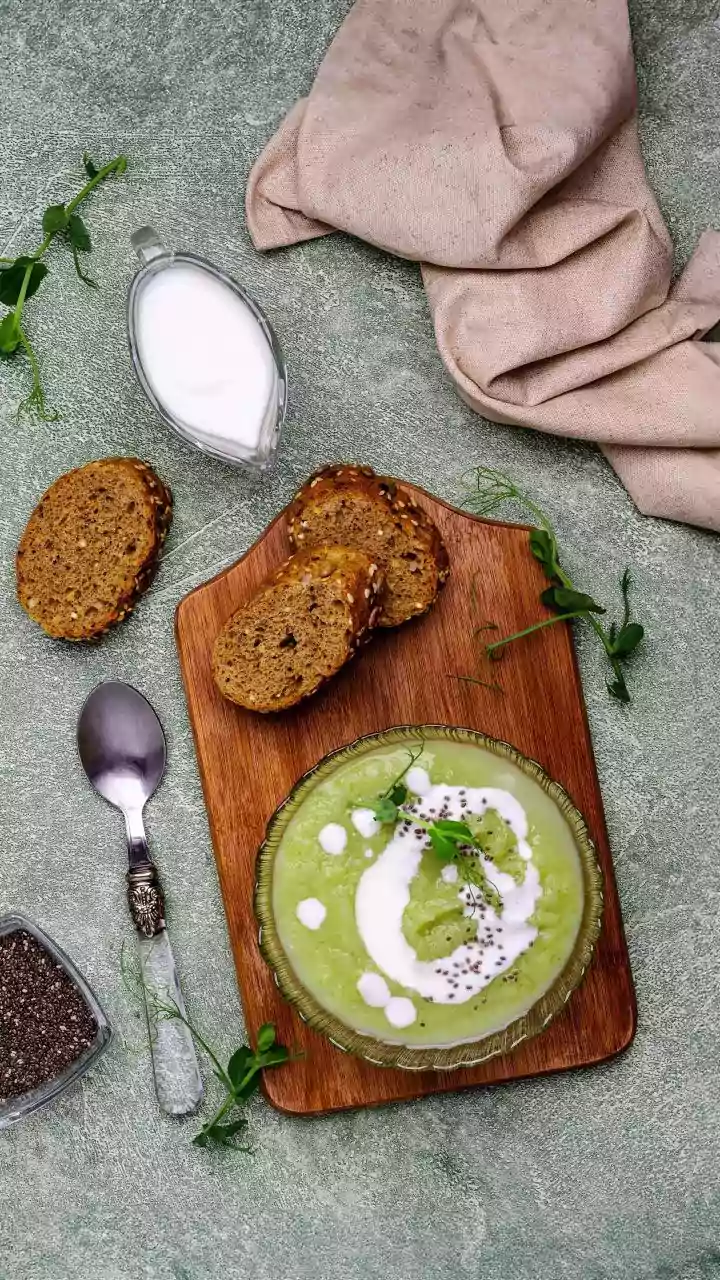
Knowing when and how to harvest is key. Most microgreens are ready when they are about one to three inches tall and have developed their first set of true leaves. To harvest, use a clean pair of scissors and simply snip the stems just above the soil line. It's best to harvest them right before you plan to use them to ensure maximum freshness and nutritional value. For the best health benefits, it's recommended to eat microgreens raw. Their delicate flavours and textures can be damaged by cooking, which can also degrade some of their valuable nutrients. They make a fantastic addition to salads, sandwiches, and wraps, adding a burst of flavour and a touch of elegance. You can also use them as a garnish on soups, curries, dals, or even on top of your morning eggs or avocado toast. Their intense flavour means a little goes a long way in transforming an ordinary meal into something special and significantly more nutritious.