

The Right Foundation: Paneer and Potato
The heart of a great kofta is its texture, which begins with your core ingredients. For paneer, fresher is better. If using store-bought paneer, ensure it's soft; you can soak it in warm water for 20 minutes to improve its texture. Crucially, it must
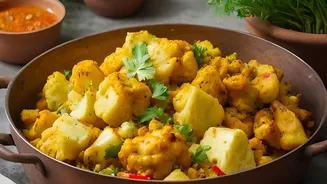
be grated finely and patted dry to remove excess moisture. For the potato, use older, low-moisture varieties, not new ones which are watery. They should be boiled until just fork-tender, cooled completely, and then grated, not mashed. Using wet potatoes or mushy, over-boiled ones is a primary reason homemade koftas become dense or fall apart. The goal is a dry, pliable base.
The Perfect Binder: Don't Overdo the Flour
A common mistake is adding too much binding agent, resulting in hard, chewy koftas instead of melt-in-your-mouth ones. Cornflour or a mix of cornflour and all-purpose flour is used only to absorb any remaining moisture and bind the mixture. Start with a small amount—just a couple of tablespoons for around 200-250 grams of paneer. The final dough should be smooth and non-sticky, but not heavy or stiff. Mix the grated paneer, potato, a minimal amount of cornflour, and gentle seasonings like salt, ginger, and perhaps a pinch of cardamom powder until they just come together. Some recipes also include finely chopped nuts and raisins for a classic touch of sweetness and texture.
The Art of Frying: Temperature is Everything
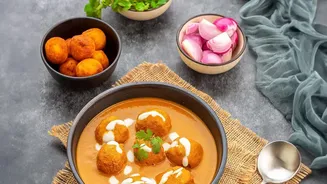
How you fry the koftas determines their fate. The oil must be at the right temperature—medium-hot. To test it, drop a tiny piece of the kofta mixture into the oil. It should sizzle and rise to the top without browning immediately. If the oil isn't hot enough, the koftas will absorb too much oil and may disintegrate. If it's too hot, they will brown too quickly on the outside while remaining uncooked inside. Don't overcrowd the pan, as this lowers the oil temperature. Fry them in small batches, turning gently until they are uniformly golden and crisp. Let them fry undisturbed for the first couple of minutes to form a crust before you start turning them.
Building a Silky Gravy: The Two-Step Process
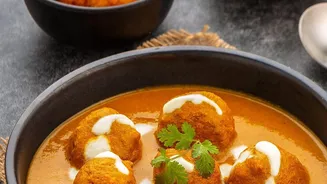
A restaurant-quality gravy is defined by its velvety smoothness. This is achieved through a two-step process: cooking and straining. The base is typically made from onions, tomatoes, ginger, garlic, and whole spices, all sautéed until soft. A handful of cashews is essential here, as they provide the creamy body without excessive heaviness. Once the mixture is cooked and cooled, it's blended into a fine puree. The non-negotiable next step is to strain this puree through a fine-mesh sieve. This removes any fibrous bits from the tomatoes, onions, and whole spices, which is the ultimate secret to that luxurious, silky texture.
Balancing Flavours and Finishing Touches
The gravy’s flavour should be a delicate balance of tangy, sweet, and aromatic. A pinch of sugar or a little honey helps balance the acidity of the tomatoes. The richness comes from a final addition of cream or malai. However, one of the most important flavour contributors is kasuri methi (dried fenugreek leaves), which should be crushed between your palms and added towards the end of cooking for its distinctive aroma. A final sprinkle of garam masala and cardamom powder can also lift the flavours.
The Final Assembly: Timing Is Key
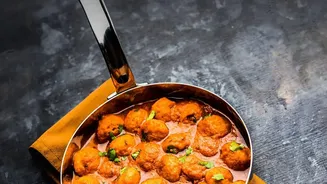
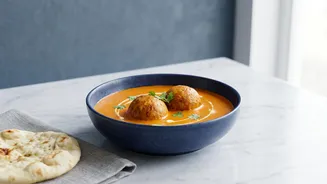
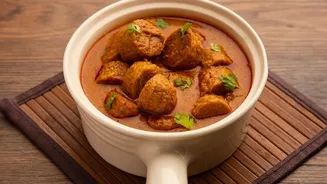
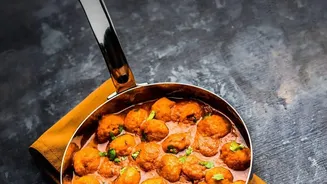
Perhaps the most critical rule is to never boil the koftas in the gravy. Doing so will cause them to become soggy and break apart. To serve, gently warm the gravy. Place the koftas in a serving dish and pour the warm gravy over them just before you bring the dish to the table. Avoid adding hot koftas to hot gravy, as the temperature difference helps maintain their structure. This ensures the koftas are warm and have absorbed some flavour without losing their delicate, crisp-on-the-outside, soft-on-the-inside texture.