

Gather Your Simple Supplies
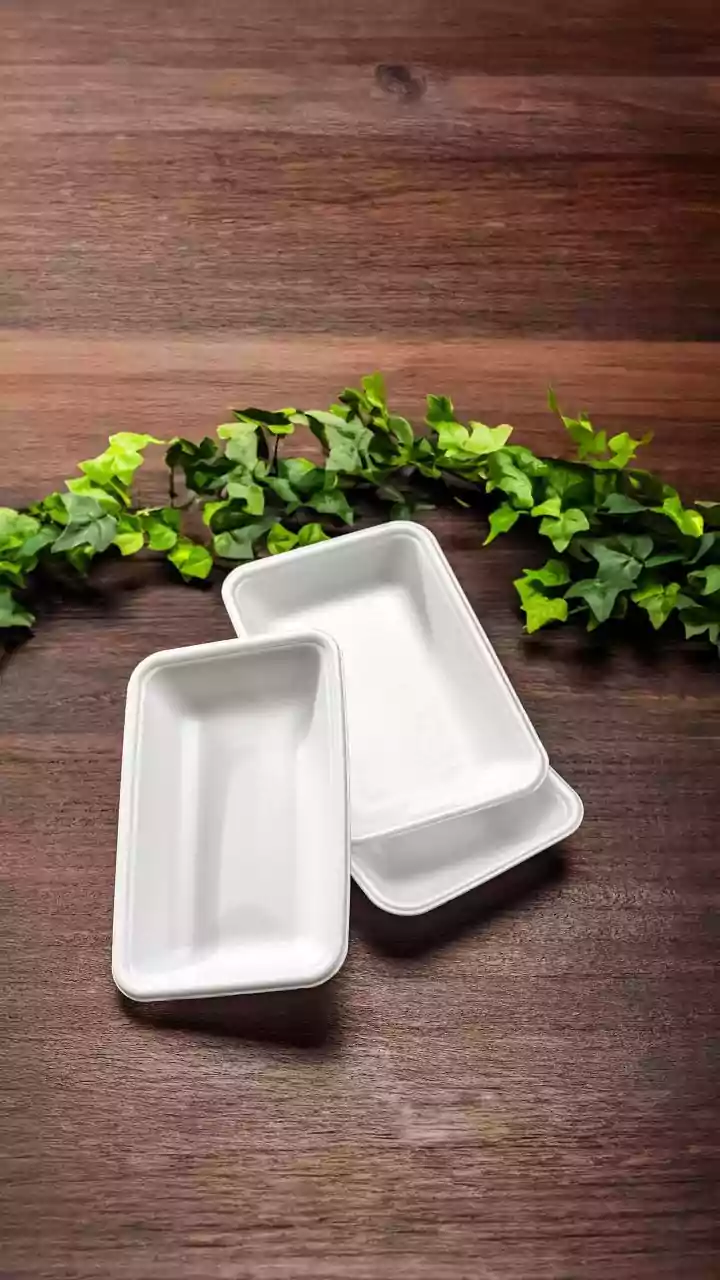
You don’t need a lot of fancy equipment to get started. The basic setup is minimal and can often be created with items you already have. You will need a shallow tray, ideally about two inches deep. Plastic takeaway containers or salad boxes work well,
but make sure to poke a few holes in the bottom for drainage. You'll also need a growing medium. Potting soil or coconut coir are excellent choices. Finally, grab a spray bottle for gentle watering. This simple kit is all that stands between you and a fresh supply of greens.
Choose Fast-Growing Seeds
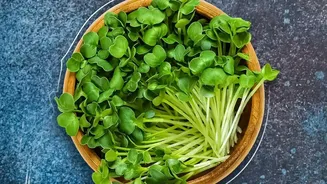
For rapid results, seed selection is key. Some of the easiest and fastest-growing microgreens are perfect for beginners. Radish, broccoli, mustard, and arugula are fantastic choices, often ready to harvest in under 12 days. These varieties are not only quick but also packed with flavour, from the spicy kick of radish to the mildness of broccoli. You can buy specific microgreen seed mixes or use any standard vegetable seeds with edible leaves. Starting with these forgiving types will build your confidence and give you a quick, rewarding harvest.
The Planting Process
First, moisten your growing medium. It should feel like a damp sponge, not soaking wet. Fill your tray with about an inch of the damp soil. Next, sprinkle your seeds evenly and densely across the surface—they should be close but not overlapping. Gently press them into the soil. For many seeds, a short 'blackout' period is beneficial. Cover the tray with a lid or another tray to block out light for two to three days. This encourages strong roots and upright growth as the seeds germinate.
Mastering Your Windowsill Location
Once your seeds have sprouted, it’s all about the sun. Light is the most critical factor for healthy, rapid growth. A south-facing windowsill is the gold standard, as it provides the most direct sunlight throughout the day. If you don't have a south-facing window, an east or west-facing one can also work, though growth might be slightly slower. Aim for at least four to six hours of direct sunlight daily. To ensure all your tiny plants get equal light and don't lean too much in one direction, give the tray a quarter turn every day. This simple habit promotes straight, strong stems.
Hack Your Sunlight for Better Absorption
To truly optimize sunlight, you can create a simple light reflector. This is especially useful if your window doesn't get sun all day. Take a piece of cardboard and cover it with aluminum foil, with the shiny side facing out. Place this behind your microgreen tray, opposite the window. The foil will bounce light that passes by the tray back onto the plants, effectively bathing them in light from a second direction. This DIY trick maximizes light absorption, preventing leggy stems and encouraging lush, compact growth, helping you achieve a faster and more abundant harvest.
Watering and Harvesting for Success
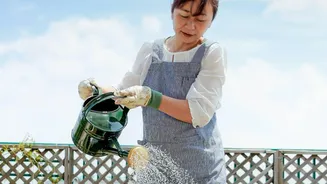
Proper watering is a delicate balance. Keep the soil consistently moist but never waterlogged, which can lead to mould. Use a spray bottle to mist your seedlings daily. As they grow taller, you can also water from the bottom by placing the growing tray into a larger tray of water for a few minutes, allowing the soil to soak up moisture from below. Your microgreens are typically ready to harvest when their first set of 'true leaves' appear, usually within 7 to 14 days. To harvest, use a sharp pair of scissors and snip the stems just above the soil line.