
Choosing Your Indian Flour
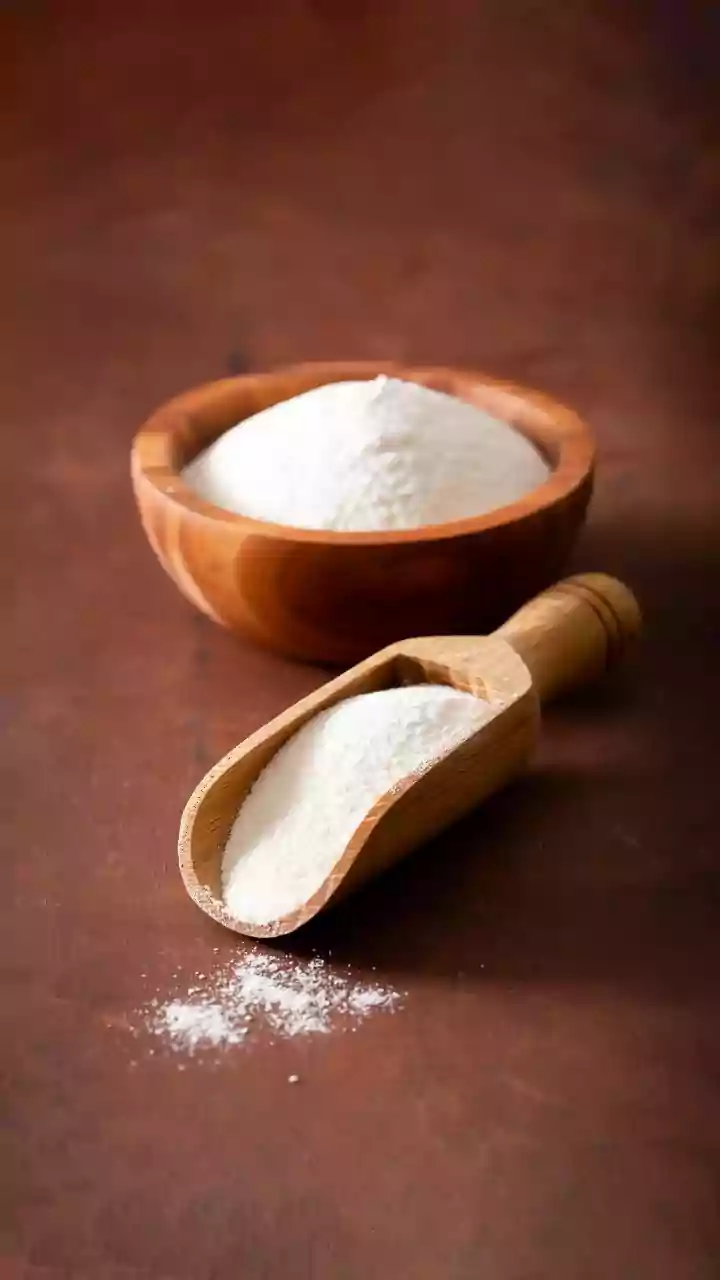
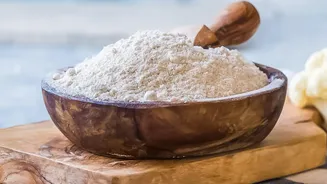
The heart of your starter is the flour. While many international recipes call for bread flour, Indian kitchens are rich with options that work beautifully. Whole wheat flour (atta) is fantastic for kickstarting a starter because the bran and germ contain
abundant natural yeasts and bacteria. You can use 100% atta, especially in the initial days, to get things going. All-purpose flour (maida) can also be used, but it contains fewer of these helpful microbes. Many bakers find success with a 50/50 blend of atta and maida, which provides the microbial boost from the whole wheat and a balanced environment for the yeast to thrive. Don't be afraid to experiment with local varieties like khapli wheat, which can also yield excellent results.
Essential Equipment
You don't need a professional laboratory to make a starter. All you need are a few simple tools: a clean glass jar (at least 750ml to allow for growth), a kitchen scale for accurate measurements (highly recommended over cups), a spatula for mixing, and some clean water. Use filtered or bottled water if your tap water is heavily chlorinated, as chlorine can inhibit yeast and bacteria growth. If you must use tap water, let it sit out overnight to allow the chlorine to dissipate.
Day 1-2: The Beginning
In your clean glass jar, combine 50 grams of whole wheat atta with 50 grams of lukewarm water. Mix thoroughly until no dry flour remains, creating a thick, paste-like consistency. Scrape down the sides of the jar, cover it loosely with the lid or a cloth, and place it in a warm spot (ideally 23-28°C) away from direct sunlight for 24 hours. After 24 hours, you might not see much activity, and that's perfectly normal. Add another 50 grams of atta and 50 grams of water, stir well, and let it sit for another 24 hours. You may start to see a few tiny bubbles forming.
Day 3-6: Establishing a Rhythm
By day three, you should start seeing more noticeable bubble activity. Now, it's time to begin the feeding schedule. Before each feeding, you must discard a portion of the starter. This keeps the culture manageable and ensures the yeast has enough fresh food. Discard all but about 50 grams of your starter. To this, add 50 grams of flour (you can switch to a 50/50 atta-maida blend now) and 50 grams of water. Mix well, scrape down the sides, and cover. Repeat this process twice a day, roughly 12 hours apart. The starter might develop a sour or fruity aroma, which are good signs.
Day 7 and Beyond: Signs of a Healthy, Mature Starter
After about a week, your starter should be showing predictable signs of life. A healthy, mature starter will reliably double or even triple in volume within 4-8 hours after feeding. It will be full of bubbles, both large and small, and have a web-like texture when you pull it with a spatula. The aroma should be pleasantly tangy, yeasty, or even fruity, not foul or rotten. Once your starter consistently rises and falls after feedings, it's ready to be used for baking. You can test its readiness by dropping a small spoonful into a glass of water; if it floats, it is full of gas and ready to leaven bread.
Troubleshooting in a Warm Indian Climate
Indian climates can be a blessing and a challenge. Warm temperatures speed up fermentation significantly. If your kitchen is very warm (above 28°C), your starter will peak and fall much faster. You may need to feed it more frequently, perhaps every 4-6 hours, or use a higher feeding ratio (e.g., 1 part starter to 4 parts flour to 4 parts water) to slow it down. If your starter looks sluggish, ensure it's in a consistently warm spot. If it develops a strong, vinegary, or acetone-like smell, it's just very hungry—don't panic, just discard and feed it. Only discard your starter entirely if you see visible mold (pink, orange, or fuzzy spots).