







Your Batter Consistency is Off
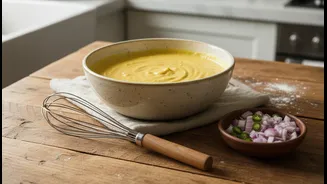
The most common culprit behind a failed chilla is the batter. If it's too thick, it won't spread easily and will cook into a dense, heavy pancake. If it's too thin and watery, it will lack the structure to hold together and will likely break. The ideal
consistency is smooth, lump-free, and pourable, much like dosa batter. To achieve this, add water gradually to the besan while whisking continuously to prevent lumps. The amount of water needed can depend on the freshness and grind of your besan, so adding it slowly is key.
The Pan Temperature is Incorrect
Pouring batter onto a pan that is either too hot or not hot enough is a recipe for disaster. If the pan is excessively hot, the batter will set instantly without giving you time to spread it, and it may burn on the outside while remaining raw inside. If the pan is too cold, the chilla will absorb too much oil and stick stubbornly. The sweet spot is a well-heated pan on a medium flame. A good way to test this is to sprinkle a few drops of water on the surface; if they sizzle and evaporate immediately, your pan is ready.
You're Not Using the Right Pan
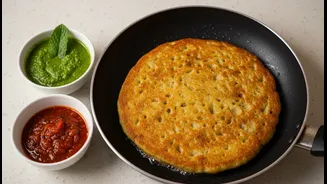
While you can make a chilla on any flat pan, your choice of cookware makes a significant difference. A non-stick pan is the most foolproof option, as it requires minimal oil and prevents sticking. A well-seasoned cast iron tawa is another excellent choice, as it distributes heat evenly and imparts a unique flavour. However, using a steel or unseasoned pan can be tricky, as they are more prone to sticking. If using a regular tawa, ensure it's properly heated and lightly but evenly greased with oil before pouring the batter.
You're Overloading with Vegetables
Adding finely chopped onions, tomatoes, coriander, and chillies elevates a chilla, but it's possible to have too much of a good thing. Overloading the batter with vegetables, especially watery ones like tomatoes, can compromise its binding and cause it to fall apart. To avoid this, ensure your vegetables are chopped very finely and maintain a good balance between the amount of batter and the volume of add-ins. Adding a tablespoon of rice flour or semolina (suji) to the batter can also act as a binding agent, providing extra crispiness and structure.
You're Being Impatient with Flipping
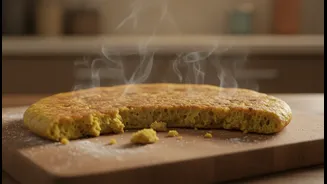
Patience is a virtue, especially when making chillas. Trying to flip the chilla before it's ready is a guaranteed way to break it. You must wait for the top surface to look set and the edges to start looking dry and crisp. Once the edges begin to lift away from the pan on their own, it's a clear sign that the base is cooked and it's safe to flip. Gently slide a thin spatula underneath and flip it to cook the other side for another minute or two until golden spots appear.
You Didn't Let the Batter Rest
While chillas are an instant breakfast, letting the batter rest for just 10 to 15 minutes can make a noticeable difference. This brief waiting period allows the besan to fully absorb the water, which helps in creating a smoother, more uniform batter. A rested batter spreads more evenly and results in a chilla with a better texture. If you've refrigerated the batter overnight, it will thicken; be sure to bring it to room temperature and adjust the consistency with a little water before cooking.