


Why Bake Grain-Free?
Just like humans, some dogs have sensitivities to grains like wheat, corn, or soy. These can manifest as itchy skin, a dull coat, or digestive upset. A grain-free diet isn't necessary for every dog, but for those with specific allergies or sensitivities,
it can make a world of difference. By baking your own grain-free biscuits, you're not just giving them a tasty snack; you're providing a treat that's gentle on their system. Using alternative flours like coconut or almond flour provides a healthy, low-carb base that’s packed with flavour and perfectly safe for most pups.
The Most Important Step: Check Your Peanut Butter
Before you begin, this is a critical safety check. Many peanut butters, especially 'low-sugar' or 'natural' varieties, contain an artificial sweetener called xylitol. While safe for humans, xylitol is extremely toxic to dogs, even in small amounts. Always read the ingredient label on your peanut butter jar. The ingredients should be simple: ideally, just peanuts and salt. If you see xylitol (sometimes listed as 'birch sugar'), do not use it. Opt for an all-natural, unsalted peanut butter to be extra safe. When in doubt, choose another jar.
The Simple Ingredient List
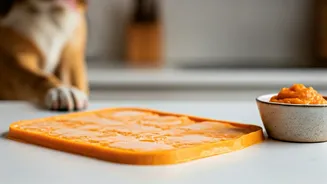
This recipe is designed for simplicity and uses ingredients you might already have. Here’s what you’ll need: * **2 cups of coconut flour:** A great grain-free alternative. You can also use almond flour or chickpea flour. * **1/2 cup of natural, xylitol-free peanut butter:** Creamy or crunchy works just fine. * **2 large eggs:** These act as a binder to hold the dough together. * **1/4 cup of water:** Add more, one tablespoon at a time, if your dough is too dry and crumbly. * **Optional: 1/4 cup of pure pumpkin puree or mashed banana:** For extra flavour and nutrients. Ensure the pumpkin puree is 100% pure pumpkin, not pie filling.
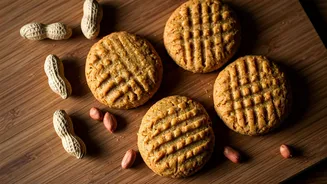
Step-by-Step Baking Guide
Let’s get baking! This process should take about 30-40 minutes from start to finish. 1. **Preheat and Prep:** Preheat your oven to 180°C (350°F). Line a large baking sheet with parchment paper to prevent sticking. 2. **Mix the Ingredients:** In a large bowl, combine the coconut flour, peanut butter, and eggs. Use a wooden spoon or your hands to mix until the dough starts to come together. It will be thick and a bit crumbly. 3. **Add Water and Knead:** Slowly add the water, mixing until the dough is pliable and holds its shape. If you're using pumpkin or banana, add it now. The dough should be easy to handle but not sticky. If it’s too dry, add another tablespoon of water. If too sticky, add a little more flour. 4. **Roll and Cut:** Lightly dust your work surface with a bit of coconut flour. Roll the dough out to about 1/4-inch thickness. Use a cookie cutter—a bone shape is classic, but any shape will do—to cut out your biscuits. Place them on the prepared baking sheet. 5. **Bake to Perfection:** Bake for 15-20 minutes, or until the edges are golden brown. The baking time will vary slightly depending on the size and thickness of your biscuits. For a crunchier treat, turn off the oven and let the biscuits cool inside with the door slightly ajar.
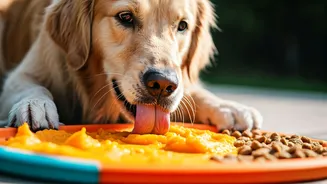
Storage and Serving
Once the biscuits are completely cool, you can store them in an airtight container at room temperature for up to a week. For longer storage, they can be refrigerated for up to two weeks or frozen for up to three months. Your pup will likely smell them from across the room, but remember that treats should only make up about 10% of your dog’s daily calorie intake. These are special rewards, not a meal replacement. Serve one or two as a thank you for being the best companion a person could ask for.