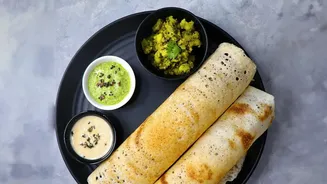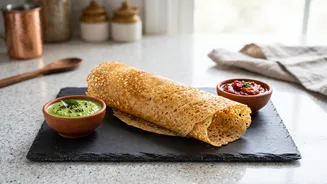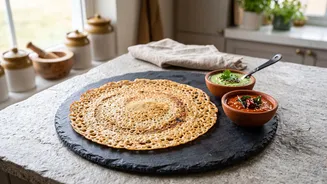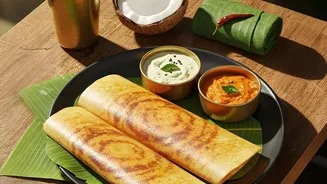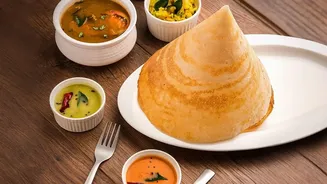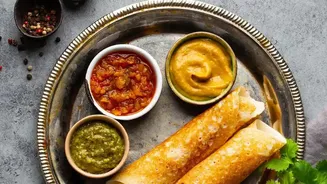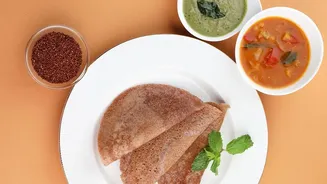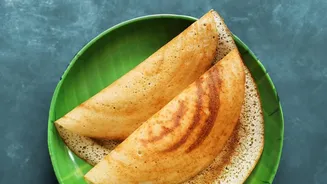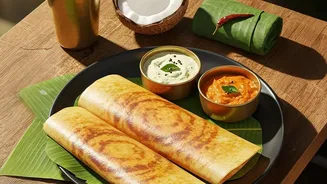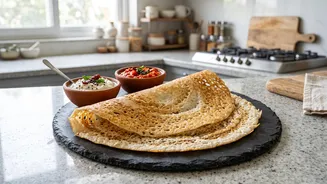




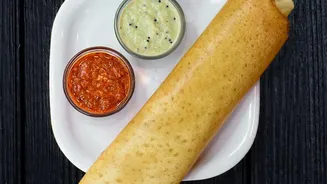
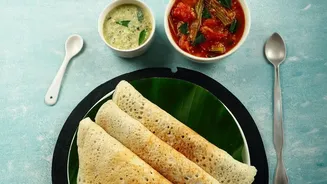
The oats dosa is a breakfast hero: quick, healthy, and satisfying. But achieving that perfect, lace-like crispy edge without a burnt centre can be frustrating. The secret isn't just in the recipe, but in understanding how the ingredients work.
The Foundation: Your Batter Mix
An oats
dosa made with only oat flour will often turn out soft or even gummy. The magic lies in a balanced blend of flours. Most successful recipes combine powdered oats with rice flour and a small amount of rava (semolina or sooji). The rice flour provides structure and helps the dosa release from the pan, while rava is the key to creating that signature crispiness and lacy texture. For best results, use either quick-cooking or rolled oats, but make sure to grind them into a fine powder first. A light roasting of the oats before grinding can also enhance their nutty flavour.
Mastering Batter Consistency
This is where many home cooks falter. An oats dosa batter should not be thick like a traditional dosa or pancake batter. Instead, it needs to be very thin and free-flowing, similar to the consistency of buttermilk or even runnier. A thick batter will create a soft, thick pancake rather than a crisp dosa. A good rule of thumb is to start with a base mix of the flours and then slowly whisk in water until it's a watery consistency. Let the batter rest for 10-20 minutes; this allows the rava and oats to absorb liquid. The batter will likely thicken during this rest, so it's crucial to stir it well and add a bit more water right before cooking to get it back to that thin, pourable state.
The Secret Weapon: Pan Temperature
Temperature control is everything. If the pan (tawa) is too cool, the batter will spread slowly, steam instead of sizzle, and result in a pale, soft dosa. If the pan is smoking hot, the batter will burn on contact before the inside has a chance to cook, leaving you with a bitter, unevenly cooked dosa. The ideal temperature is medium-high. A great way to test this on a cast-iron pan is to sprinkle a few drops of water; they should sizzle and evaporate almost instantly. For non-stick pans, avoid the water test as it can damage the coating; instead, heat it until you can feel a strong warmth radiating from the surface. A cast-iron tawa is often recommended because it retains and distributes heat more evenly, which is crucial for a uniform, golden-brown crust.
The Perfect Pour and Cook
Unlike traditional dosas where you spread the batter with a ladle, instant oats dosa batter should be poured onto the hot pan. Stir the thin batter well each time, as the solids tend to settle at the bottom. Then, pour the batter from a bit of a height, starting from the outer edge of the pan and moving towards the centre in a circular motion to create a lacy pattern. Don't try to spread it. Let the heat do the work. Drizzle a little oil or ghee around the edges and in any gaps to help with crisping. Now, be patient. This type of dosa takes longer to cook than a regular one. Let it cook on medium heat for 3–4 minutes until the edges start to brown and lift away from the pan on their own.
To Flip or Not to Flip?
For the crispiest possible result, many chefs recommend cooking the dosa on only one side. Because the batter is so thin, it cooks through from the heat of the pan. Flipping it can sometimes reintroduce moisture and soften the delicate, crispy texture you worked so hard to achieve. Once the base is a beautiful golden brown and the edges are crisp, you can simply fold it in half and serve it immediately. These dosas are best eaten straight off the tawa, as they will soften as they cool. If you prefer a more well–done dosa or have made a slightly thicker one, you can give it a quick flip for about 30 seconds before serving.