

Prepare for the Second Fermentation
Before you can bottle your kombucha, you need to prepare it for the next stage, often called the second fermentation (or F2). This is where you'll add flavours and create carbonation. First, gently remove your SCOBY from the brewing vessel with clean
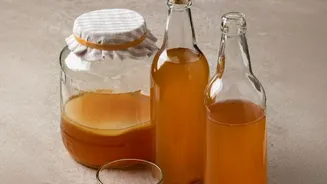
hands. Place it in a separate bowl and pour in about two cups of your freshly brewed kombucha. This liquid is your starter tea, which you'll use to begin your next batch. The remaining kombucha in your vessel is what you will be bottling. It's a good practice to stir the remaining brew gently, as this distributes the yeast that has settled at the bottom, which is crucial for good carbonation.
Choose Your Bottles Wisely
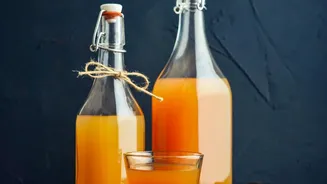
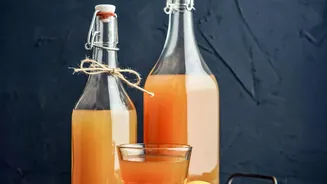
The single most important factor for safety and success is your choice of bottles. During second fermentation, carbon dioxide builds up, creating significant pressure. Using the wrong container can lead to leaks, flat kombucha, or even dangerous bottle explosions. Always use glass bottles that are specifically designed to hold pressure. The most popular and reliable choices are swing-top (or flip-top) bottles, often called Grolsch-style bottles, which have a strong wire cage and a rubber gasket that creates an airtight seal. Another excellent option is reusing commercial kombucha bottles with their original screw-top caps, as these are proven to handle the pressure. Avoid using decorative glass, square-shaped bottles, standard canning jars, or any bottle with visible chips or cracks, as these are not built to withstand the pressure of carbonation.
Add Your Favourite Flavours
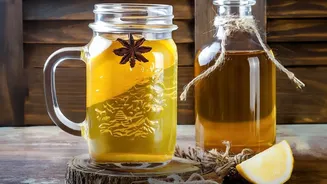
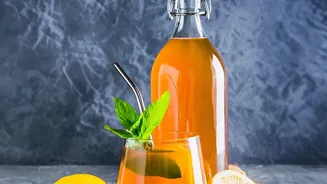
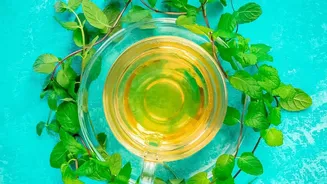
This is the most creative part of the process. You can flavour your kombucha with a wide variety of ingredients, but the key is to add a source of sugar for the yeast to consume, which in turn creates the carbon dioxide for fizz. Popular options include fresh fruit, fruit juice, purees, ginger, and herbs. A good rule of thumb is to use a ratio of about 10-20% juice or flavouring to 80-90% kombucha. For a standard 500ml bottle, this means adding 1 to 2 tablespoons of fruit puree or juice. Using pureed fruit or juice will generally result in stronger carbonation because the sugars are more accessible to the yeast. Think combinations like strawberry and basil, mango and ginger, or pineapple and mint. Don't be afraid to experiment to find what you love.
The Bottling and Carbonating Process
Using a funnel, carefully pour your flavoured kombucha into your pressure-safe bottles. It is crucial to leave about one to two inches of headspace (empty space) at the top of each bottle. This small air pocket helps manage the pressure build-up and reduces stress on the glass. Once filled, seal the bottles tightly. Place the sealed bottles in a warm, dark place, like a kitchen cabinet, for anywhere from two to five days. The warmer the environment, the faster the fermentation and carbonation will occur. This is the period where the magic happens, as the trapped CO2 dissolves into the liquid, creating the fizz.
Safety First: Check Your Fizz
The build-up of CO2 can be powerful, so monitoring your bottles is essential to prevent over-carbonation and potential messes or explosions. If you are using swing-top bottles, you can carefully and slowly open one bottle after a couple of days to check the carbonation level. This is often called 'burping'. If you hear a satisfying hiss, your kombucha is likely carbonated. However, some brewers advise against burping as it releases the fizz you're trying to build. A safer method for any bottle type is to store your fermenting bottles inside a closed box or cooler. This contains any potential leaks and provides peace of mind. Check on them daily; if you see the caps bulging or they feel extremely firm, it's time to move them.
Refrigerate, Serve, and Enjoy
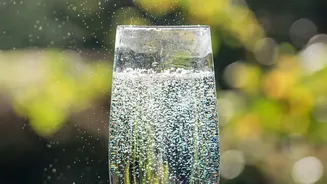
Once your kombucha has reached your desired level of carbonation, it's time to stop the fermentation process. The easiest and most effective way to do this is by moving the bottles to the refrigerator. The cold temperature will dramatically slow down the yeast activity, locking in the bubbles and preserving the flavour you've created. Let the bottles chill completely for at least a day before opening. When you're ready to enjoy your creation, open the bottle slowly over a sink, just in case it's extra fizzy. Pour it into a glass and admire the bubbles you made from scratch. Your homemade, fizzy kombucha is now ready to drink.