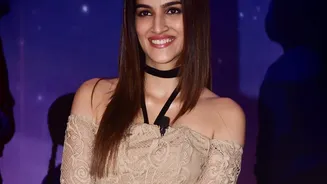




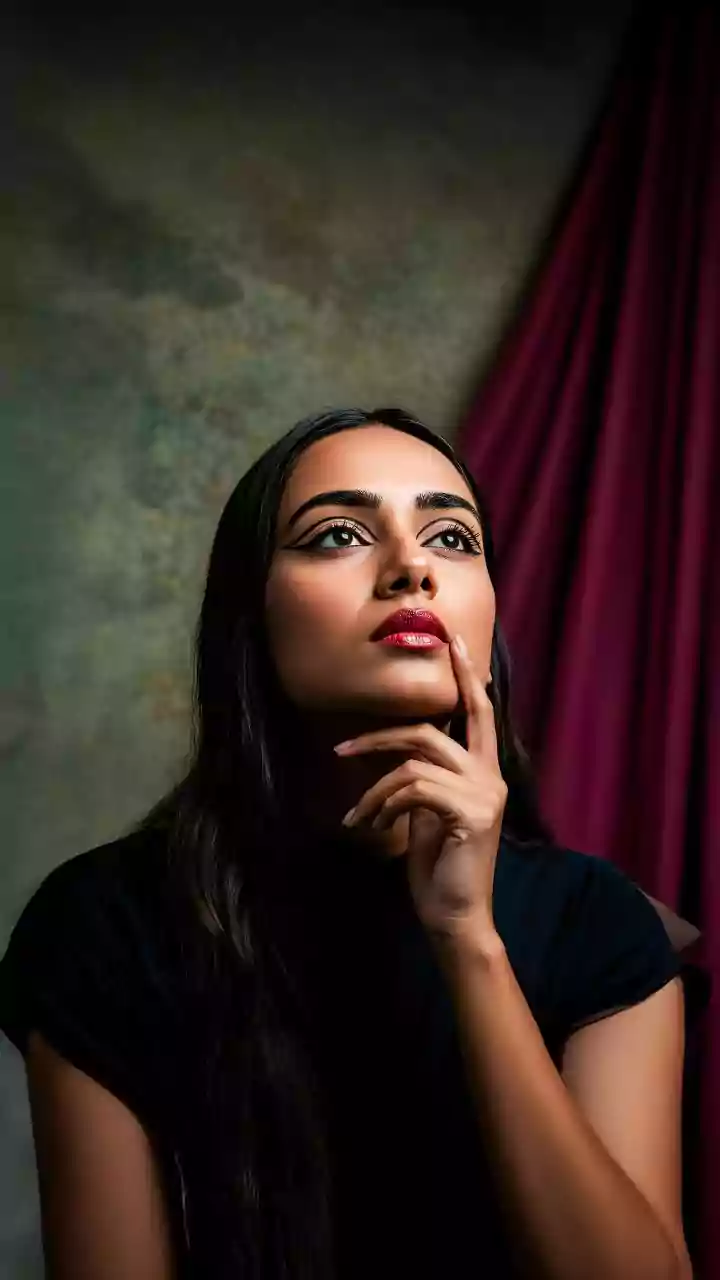



Kriti Sanon’s signature brown smoky eye is the epitome of effortless glamour. It’s softer than a classic black smoky but just as sultry. The good news? You don’t need a celebrity makeup artist to achieve it. Here’s how to get the look at home.
Why the Brown Smoky Eye Works
The brown
smoky eye is universally flattering and incredibly versatile. Unlike harsh black shadows, shades of chocolate, taupe, and bronze create depth and definition while maintaining a soft, warm effect that complements all skin tones. This makes it more forgiving for beginners and wearable for any occasion, from a daytime brunch to an evening gala. It has all the sultriness of a traditional smoky eye but without the intensity, allowing it to enhance your features without overpowering them. It’s a modern classic that adds a touch of sophistication to any makeup routine.
Step 1: Prime and Prep
A flawless smoky eye starts with a smooth canvas. Prepping your eyelids is a crucial step that ensures your eyeshadow applies smoothly and lasts all day. Begin by applying an eyeshadow primer or a small amount of your everyday concealer across the entire eyelid, from the lash line up to the brow bone. Blend it in gently with your fingertip or a brush. This not only creates an even base and neutralizes any discolouration but also gives the eyeshadow something to grip onto, preventing it from creasing or fading.
Step 2: Build Your Base Colour
The key to a multi-dimensional smoky eye is layering. Start with your lightest shade. Using a fluffy blending brush, sweep a light matte brown or warm taupe eyeshadow across your entire eyelid and into the crease. This initial wash of colour acts as your transition shade, which will help you seamlessly blend the darker colours later. Use gentle, back-and-forth windshield-wiper motions to diffuse the colour and avoid any harsh lines.
Step 3: Define the Crease and Outer Corner
Now it’s time to add depth. Take a slightly smaller, tapered blending brush and dip it into a medium_brown matte eyeshadow. Apply this shade into your crease, focusing the colour on the outer third of your eye in a 'V' shape. Blending is the most important part of this look. Keep blending the medium brown into the lighter transition shade until you have a smooth gradient. The goal is to create a soft, diffused shadow that adds dimension without looking harsh. This technique helps to sculpt the eye and intensify the smoky effect.
Step 4: Smoke Out the Lash Line
This step is what truly creates the 'smoky' look. Take your darkest brown eyeshadow—think chocolate or espresso—on a small, dense pencil brush. Press this colour along your upper lash line, getting as close to the roots of your lashes as possible. Then, gently smudge and smoke it upwards, blending it into the medium brown shade on your lid. Don’t bring the dark colour up too high; it should be most concentrated at the lash line. For an even more intense effect, you can use a creamy brown kohl pencil first and then smudge it out with the dark brown shadow on top.
Step 5: Finishing Touches on Top and Bottom
To balance the look, apply the same medium_brown eyeshadow you used in your crease along your lower lash line with a smudger brush. For extra definition, run your dark brown kohl pencil along your lower waterline. A touch of shimmer can elevate the look, so dab a bit of a light champagne or bronze shadow on the inner corner of your eye and just under the arch of your brow. This brightens and opens up the eyes. Finally, curl your lashes and apply two generous coats of your favourite mascara to both the top and bottom lashes to complete the look.