

The Enduring Allure of Vintage Waves
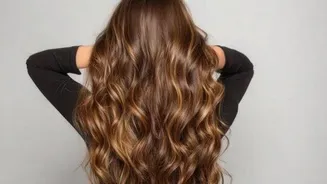
From the sleek, sculpted S-waves of the 1920s to the softer, voluminous curls of the 1940s and 50s, vintage waves have an unmistakable glamour. This look became iconic thanks to silver screen sirens like Veronica Lake, Rita Hayworth, and Jean Harlow,
who made these structured curls a symbol of sophistication. The style's defining feature is that the waves flow in a continuous, polished line. What originated with hot tongs and patient setting techniques in the early 20th century evolved over decades, but the core appeal remains. These styles were not just for movie stars; women between the 1920s and 1950s commonly used methods like pin curls to create their everyday hairstyles, proving that with a little patience, this look is achievable for anyone.
Your Essential Toolkit
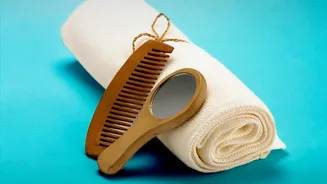
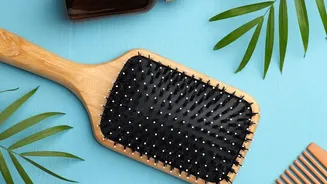
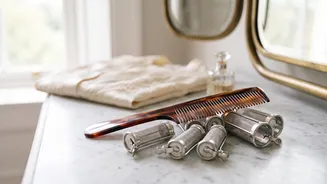
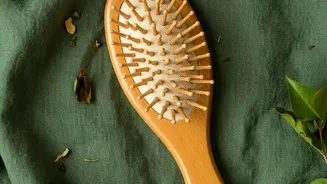
Before you begin, gathering the right tools will make the process much smoother. You won’t need much, but these items are key. First, a good setting product is non-negotiable. For tight, wet-set styles like finger waves, a strong-hold gel or a classic setting lotion is essential to mold the hair and provide a glossy finish. For softer, heat-styled or dry-set curls, a mousse can provide hold without stiffness. You'll also need a fine-toothed comb, preferably with a 'rat-tail' end for creating clean parts and sculpting the hair. For securing the styles as they set, have a supply of duckbill clips or double-prong pin curl clips on hand. Finally, a good paddle brush for the final brush-out and a firm-hold hairspray will lock everything in place.
Technique One: 1920s Finger Waves
Finger waves are the iconic look of the Roaring Twenties, creating a sleek, S-shaped pattern that sits close to the head. This technique works best on clean, very damp hair that has been thoroughly detangled. Start by applying a generous amount of strong-hold gel or setting lotion until the hair is fully saturated. Create a deep side part. Place your index finger flat on the hair near the part. Take your fine-toothed comb, place it against your finger, and comb the hair forward to create the top of your first 'C' shape. Without moving your comb, press down and slide it about an inch down. Then, comb the hair in the opposite direction to form the bottom of the 'S'. You are essentially pushing a ridge of hair up between two fingers. Use a duckbill clip to hold this ridge in place. Continue this C- and S-shaping process down the side of your head. Let the hair dry completely—either by air-drying or sitting under a hooded dryer—before removing the clips. Do not touch it until it's fully dry.
Technique Two: 1940s Pin Curl Set
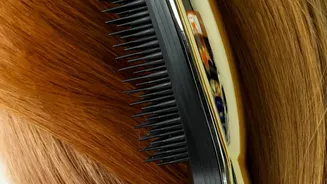
For the softer, bouncier waves popular in the 1940s, a pin curl set is the go-to method. This technique can be done on damp or dry hair. Start by sectioning your hair. Taking a small, one-inch section of hair, comb it smooth. Starting from the end, roll the hair up towards your scalp. The direction you roll the curl matters for the final style. Once you reach the scalp, secure the coiled curl flat against your head using a pin curl clip or a bobby pin. Continue this process across your entire head, ensuring all curls are rolled in the same direction for a uniform wave pattern. Allow the hair to dry completely. If you set your hair while damp, sleeping on it with a protective scarf is a great option. Once dry, carefully remove all the clips. This next step is crucial: you must brush it out. Using a paddle brush, brush through the curls repeatedly. It might feel like you're ruining your work, but keep brushing until the individual curls merge into a cohesive, soft wave. Use your hands to help shape the waves, and then finish with a mist of hairspray.