


Choosing and Preparing Your Fabrics
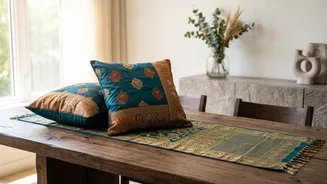
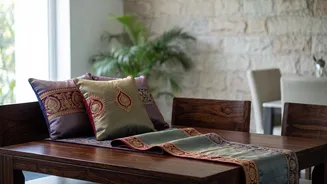
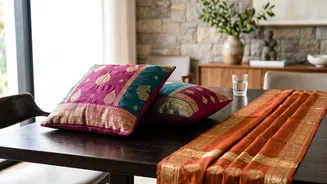
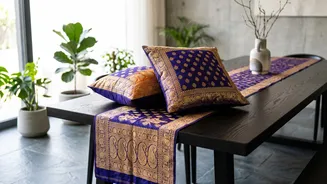
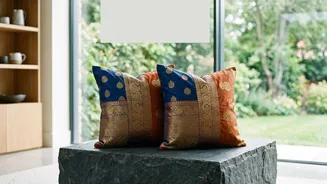
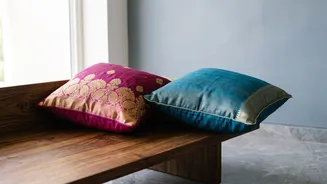
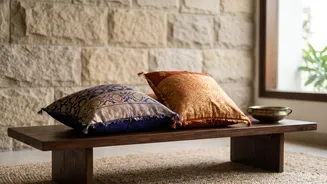
The beauty of this project lies in the stories your fabrics tell. That heavy brocade curtain that once framed your living room window or a silk saree that holds sentimental value are perfect candidates. Before you begin, it's essential to prepare your chosen
material. Give the fabric a gentle wash and dry it according to how you plan to care for the finished cushion. This pre-shrinks the material and ensures it's clean. A good press with an iron will make measuring and cutting much more accurate. For delicate silks or brocades, use a low heat setting and consider using a press cloth to prevent scorching. Check the fabric for any worn-out spots or stains, which you can work around during cutting.
Gathering Your Essential Tools
You don't need a professional setup for this project. A few basic tools will get you started. First, a cushion insert of your desired size. For measuring, you'll need a standard tape measure. A good pair of fabric scissors or a rotary cutter will ensure clean, straight cuts. You'll also want some pins or sewing clips to hold the fabric in place, thread that coordinates with your fabric, and a sewing machine. If you plan to add embellishments, gather those as well. Think tassels, pom-poms, fabric glue, or embroidery thread.
Cutting the Fabric: The Envelope Method
The envelope cushion cover is a fantastic project for beginners because it requires no zippers or buttons. For a standard square cushion, you'll cut one piece for the front and two overlapping pieces for the back. To do this, first cut one square piece for the front that matches the dimensions of your cushion insert, adding a seam allowance of about 1.5 cm to each side. For the back, cut two rectangular pieces. They should be the same width as the front piece. For the height, each piece should be half the height of the front piece plus an extra 10-12 cm to allow for the hem and overlap. This overlap is what creates the 'envelope' opening to insert the cushion.
The Simple Sewing Process
Start with the two back pieces. On one of the long edges of each piece, create a clean hem by folding the edge over by about 1 cm, pressing it flat, and then folding it over again. Stitch along this fold to create a neat, finished edge. Now, lay your front fabric piece with the 'right' side facing up. Place the two hemmed back pieces on top, with their 'right' sides facing down. The hemmed edges of the back pieces should overlap in the middle. The raw outer edges of all three pieces should align. Pin everything in place and sew around all four sides with a 1.5 cm seam allowance. To ensure sharp corners, snip the corners of the seam allowance before turning the cover right side out.
Adding a Touch of Festive Flair
This is where you can truly personalise your creations. The rich border or 'pallu' of an old saree can be strategically placed on the front of the cushion for an elegant statement. You can attach ready-made tassels to the corners or sew on a fun pom-pom trim around the edges for a playful look. If you have sections of embroidery from old kurtas or other fabrics, you can cut them out and applique them onto your new cover. For a subtler touch, simple running stitches in a contrasting thread colour can create a modern, handcrafted feel. Even leftover fabric scraps can be turned into patchwork designs or appliques.