


It All Starts with the Pan
The single most important factor in preventing any dosa from sticking is the pan, or 'tawa'. Whether you use a modern non-stick pan or a traditional cast-iron tawa, proper preparation is key. For non-stick pans, ensure the surface is clean and free of
any residue. For a cast-iron tawa, seasoning is non-negotiable. Seasoning is the process of creating a natural non-stick layer by baking oil onto the iron. To season a new or old cast-iron pan, wash and dry it completely, then apply a thin layer of a high-smoke-point oil like sesame or vegetable oil over the entire surface. Heat the pan until it begins to smoke slightly, then let it cool. Repeating this process a few times builds a slick, protective layer known as a patina. A well-seasoned cast-iron tawa not only prevents sticking but also enhances the flavour of the dosa over time.
The Pre-Dosa Pan Ritual
Once your pan is seasoned, there is a simple ritual to perform right before you pour your first dosa. Heat the tawa over a medium-high flame until it is hot. A good test is to sprinkle a few drops of water on the surface; if they sizzle and evaporate immediately, the pan is ready. Now, for the crucial step: add a few drops of oil and rub it across the entire surface using a paper towel or half an onion on a fork. This onion trick not only distributes the oil evenly but also helps clean the surface and imparts a subtle flavour. Wiping away the excess oil is important; you want a greased sheen, not a pool of oil, which can make the batter slide around instead of spreading evenly.
Get the Batter Consistency Right
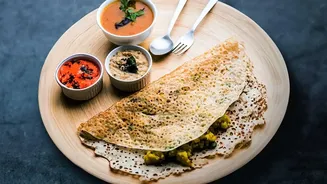
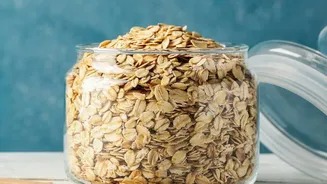
Oats dosa batter is fundamentally different from traditional fermented rice and dal batter. Most recipes are 'instant' and rely on a mix of oat flour, rice flour, and sometimes semolina (rava). The consistency should be thin and watery, much like buttermilk or the batter for a rava dosa. A thick batter is a primary cause of sticking and results in a heavy, pancake-like outcome rather than a crisp, lacy crepe. After mixing your ingredients, let the batter rest for 10 to 20 minutes. This allows the flours and semolina to absorb the water. The batter will likely thicken during this time, so you will need to add more water just before cooking to bring it back to that thin, pourable consistency. Always stir the batter well right before you make each dosa, as the solids tend to settle at the bottom.
A Simple, Foolproof Recipe
Having a reliable recipe is the foundation for success. For a crisp and easy instant oats dosa, try this combination. In a bowl, mix together 1 cup of finely powdered rolled oats, 1 cup of rice flour, and ¼ cup of semolina (rava). To this dry mix, add salt to taste, 1 teaspoon of cumin seeds, finely chopped green chillies, ginger, and a handful of chopped onions or coriander for flavour. Pour in about 4 cups of water gradually, whisking continuously to avoid lumps, until you achieve a very thin, watery batter. Some recipes also incorporate a bit of curd (yogurt) for a slight tang. Let this mixture rest for at least 15 minutes before adjusting the consistency with more water as needed.
Mastering the Cooking Technique
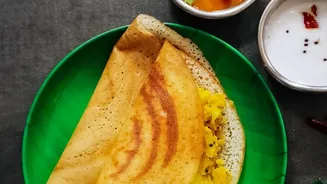
With your hot, prepared pan and thin batter, the technique is the final piece of the puzzle. Unlike regular dosa, you do not spread oats dosa batter with the back of a ladle. Instead, you pour it from a height of a few inches, starting from the outer edge and working your way towards the centre in a circular motion. This creates its signature lacy texture. Fill in any large gaps with a little more batter. Don't worry about small holes; they are characteristic of a good oats dosa. Drizzle a teaspoon of oil or ghee around the edges and cook on a medium flame. Be patient; it takes longer to cook than a regular dosa. You will know it's ready to be flipped when the edges start to turn golden brown and lift away from the pan. Use a thin spatula to gently loosen it before flipping to cook the other side for a minute. For maximum crispness, serve immediately.