


The Two Magic Ingredients
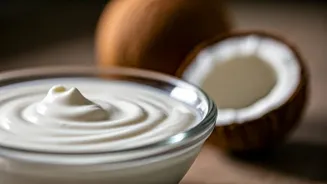
The foundation of this recipe is its beautiful simplicity. All you need are two items: one can of full-fat coconut milk and two high-quality probiotic capsules. [6, 7] The "trick" isn't a complicated technique but a commitment to quality. For the creamiest
result, you must use full-fat canned coconut milk, ideally one that is organic and free from gums or thickeners like guar gum. [8, 14] Cheaper coconut milk often has a lower fat content and won't thicken properly. The second ingredient is your culture. You'll need vegan-friendly probiotic capsules that can be easily opened to release the powder inside. [4, 6] Look for a high-potency blend with multiple bacteria strains, totalling at least 50 billion CFUs, to ensure a successful and tangy fermentation. [8, 15]
Preparation and Sterilisation
Before you begin, proper preparation is essential to prevent unwanted bacteria from spoiling your yogurt. Start by sterilising a clean glass jar or bowl. You can do this by rinsing it with boiling water and allowing it to cool completely. [6] Next, prepare your coconut milk. Some recipes recommend chilling the can overnight and scooping out only the thick cream that separates at the top for a Greek-style yogurt. [2, 15] Others suggest shaking the can well to combine the cream and water for a smoother, though slightly thinner, final product. [4, 6] Pour the coconut milk into your sterilised jar. Then, carefully open the probiotic capsules and empty the powder directly into the milk. Using a wooden or plastic spoon—as metal can sometimes react with the live cultures—stir until the powder is fully dissolved and the mixture is smooth. [4, 8]
The Fermentation Process
This is where the magic happens. Cover the jar with a breathable material like cheesecloth or a thin, clean tea towel, and secure it with a rubber band. [2, 4] This allows air to circulate while keeping contaminants out. Now, the mixture needs a warm, draft-free place to ferment for 24 to 48 hours. [2, 7] An oven with just the light turned on provides a perfect, consistent temperature. [4] The longer you let it ferment, the tangier the flavour will become. You can check it after 24 hours to see if it has reached your desired level of tang. You'll notice it start to thicken and develop a characteristic yogurt aroma. [14]
Chilling for Ultimate Creaminess
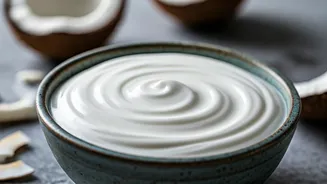
Once the yogurt has fermented to your liking, the final step is crucial for achieving that coveted thick and creamy texture. Remove the cheesecloth, secure the jar with an airtight lid, and place it in the refrigerator to chill for at least 6-12 hours, or even up to 24 hours. [2, 16] The cold temperature will cause the yogurt to set and thicken considerably, transforming it from a slightly runny mixture into a rich, spoonable treat. [4] Don't be discouraged if it looks a bit thin before chilling; this final step makes all the difference. [16]
Troubleshooting and Enjoying Your Yogurt
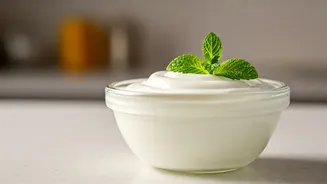
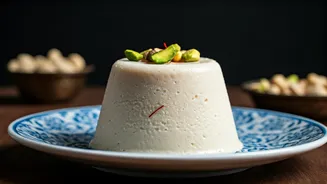
If your yogurt is still too thin after chilling, it’s likely due to the brand of coconut milk used. [2] Some brands simply have less fat content. You can try a different brand next time, ensuring it has a high percentage of coconut extract (at least 80%). [8, 13] For a batch that is already made, you can strain it through a cheesecloth or nut milk bag to remove excess liquid and achieve a thicker consistency. [2] Store your finished yogurt in an airtight container in the fridge for up to a week. [15] Enjoy it plain, sweetened with a little maple syrup, or topped with fresh fruit, granola, or chia seed jam. [2, 6]