




Why Gentle Sectioning Matters
The goal of any hairstyle enhancement is to look great without compromising the health of your natural hair. This is where gentle sectioning becomes crucial. Aggressive pulling or creating messy, uneven parts can strain your hair follicles, leading to tension
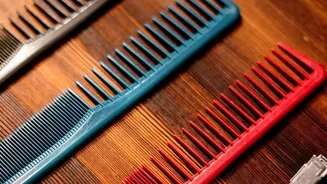
and potential breakage over time. Proper sectioning ensures that the weight of each extension weft is distributed evenly across a stable base of hair. Clean, horizontal lines created with a rat-tail comb not only make the application process smoother but also help the wefts lie flat against your scalp, which is essential for a comfortable and undetectable finish.
Preparation is Everything
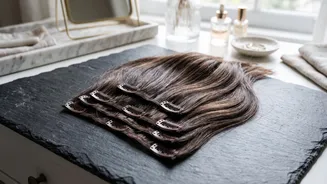
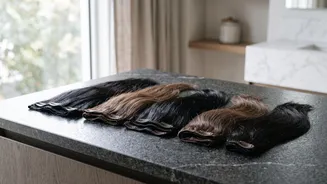
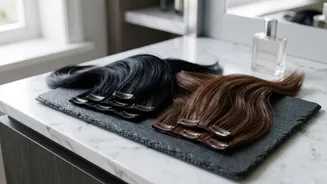
Before you begin, start with hair that is completely clean, dry, and detangled. Wet hair is more fragile and prone to breakage under the weight of clips. Gather your tools: a full set of clip-in extensions, a rat-tail comb for precise parting, and clips to hold your hair out of the way. If your hair is fine or silky, a light mist of texturizing spray or a sprinkle of dry shampoo at the roots can provide extra grip and prevent the clips from slipping. Gently brush through your extensions as well to ensure they are tangle-free and ready for application.
The Sectioning and Application Blueprint
Start at the nape of your neck. Use your comb to create a clean, horizontal part about an inch above your hairline, clipping the rest of your hair securely up and away. For added security without damage, you can very lightly tease the root area—just one or two passes with the comb is enough to create a cushion for the clip to grip. Take your first weft (typically a smaller one for the nape), open the clips, and position the middle clip first along the part line, as close to the root as possible. Gently stretch the weft taut before securing the side clips. This ensures the weft lies flat without buckling. Continue working your way up the back of your head, creating new horizontal sections about an inch above the last weft. Use your wider wefts for the widest part of your head, typically around the top of your ears.
Placing the Side Pieces
The side pieces are key to a seamless blend around your face. Create a horizontal or slightly diagonal part about two inches above your ear. It’s important to place these wefts at least an inch or two back from your actual hairline to keep them hidden when your hair moves. Attach the smaller two- or one-clip wefts here, making sure they feel secure but comfortable. Placing them at a slight angle can help them blend more naturally with your hair's layers. By layering the side pieces, you create a soft gradient of length that frames the face beautifully.
Blending for a Flawless Finish
Once all the wefts are in place, let down the top section of your hair. Use a gentle brush or a wide-tooth comb to blend your natural hair with the extensions, starting at the ends and working your way up. The most effective way to create a truly seamless look is to style your hair and the extensions together. Use a curling iron or straightener (after applying a heat protectant) to create a uniform texture. Curling your natural hair and the extension hair together in the same section helps erase any visible line between the two.
Gentle Removal and Aftercare
Proper removal is just as important as application. Never sleep in your clip-in extensions, as this can cause tangling and put unnecessary stress on your roots. To remove them, un-snap each clip and slide it out gently—never pull or yank. Brush your extensions after each use and store them flat or hanging to prevent knots. Wash them only when needed with a sulfate-free shampoo and let them air dry to preserve their quality and longevity. By handling them with care, you protect both your investment and the health of your own hair.