


From Trash to Treasure
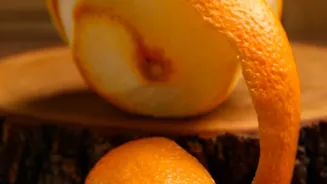
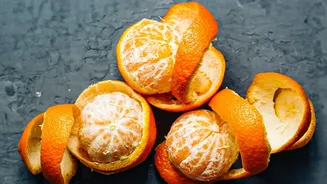
Every time you squeeze a lemon for shikanji or enjoy a fresh orange, you’re left with the peel. While it often ends up in the bin, citrus peel is packed with flavour and nutrients. The zest contains aromatic oils, and the peel itself holds beneficial
compounds like flavonoids and fibre. By turning these peels into preserves, you’re not just fighting food waste; you're unlocking a new world of flavour. The process transforms the tough, slightly bitter rind into a soft, jewel-like confection. While homemade preserves do contain sugar, you have full control over the ingredients, creating a purer treat than many store-bought options.
Choose and Prepare Your Peels
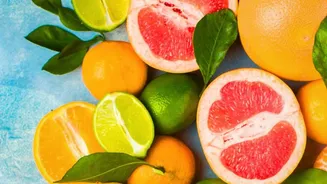
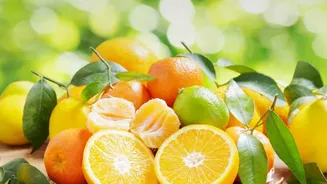
The quality of your preserve starts with the fruit. Whenever possible, opt for organic or unsprayed citrus to avoid pesticide residues on the skin. If you can't find organic, give your fruit a thorough scrub with a brush under running water before you begin. Any citrus will work—oranges, lemons, limes, grapefruit, or seasonal favourites like kinnows and mosambis. After juicing or eating the fruit, use a knife to slice the peels into uniform strips, about a quarter-inch wide. Some recipes call for removing the white pith to reduce bitterness, but others embrace its chewy texture once candied. If you prefer a less chewy preserve, you can carefully scrape away some of the pith with a spoon or knife.
The Secret to Great Taste: Banish the Bitterness
Raw citrus peel has a natural bitterness that needs to be tamed. The key is a simple process called blanching. Place your prepared peel strips in a saucepan, cover them with cold water, bring it to a boil, and let them cook for about 10-15 minutes. Then, drain the water completely. Repeating this process two or three times with fresh water each time will draw out the bitter compounds, leaving the peel soft and ready to absorb sweetness. You’ll notice the intense, harsh smell of the first boil give way to a gentler, more pleasant aroma by the third round. This step is crucial and shouldn't be skipped; it’s the difference between a harsh-tasting preserve and a delightful one.
The Sweet Transformation: A Basic Recipe
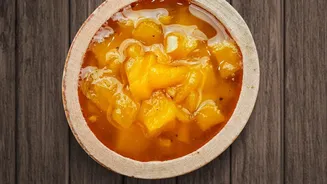
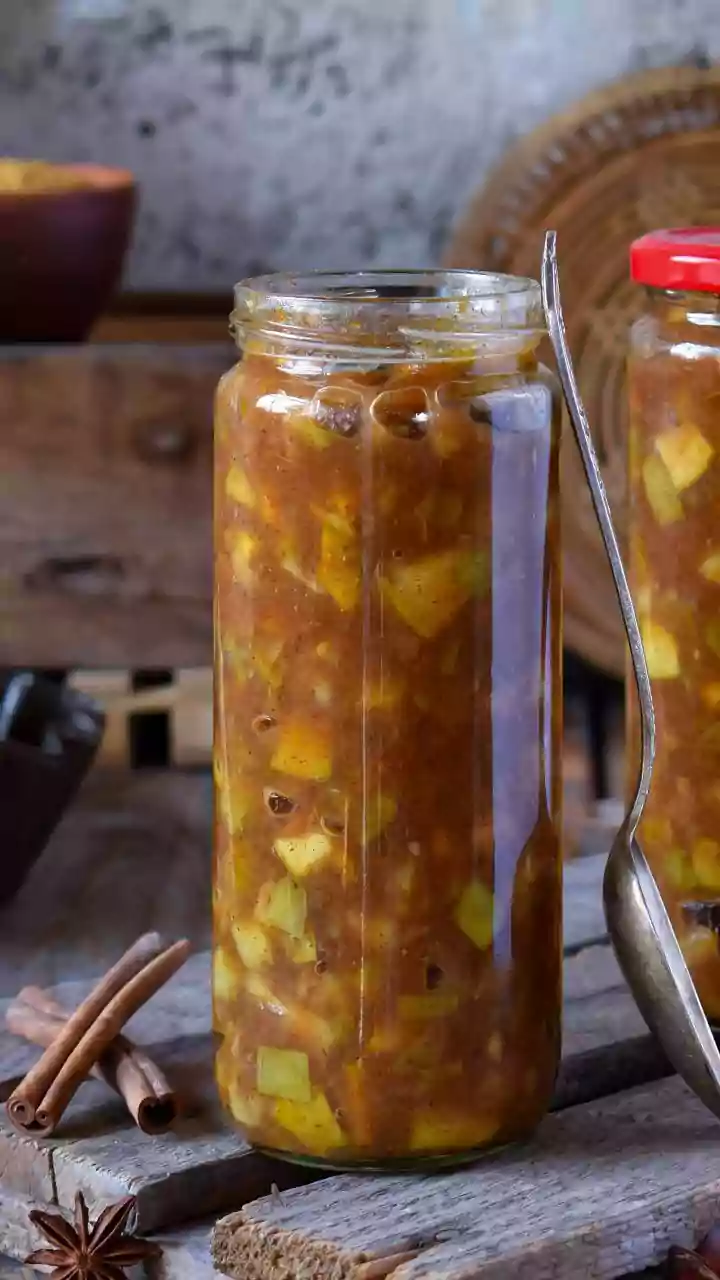
Once your peels are blanched, the magic happens. For a basic candied peel, you'll need a simple syrup made from equal parts sugar and water. A common ratio is one cup of sugar to one cup of water for every cup of blanched peels. Combine the sugar and water in a saucepan and heat gently, stirring until the sugar has completely dissolved. Add the blanched peels to the simmering syrup. Let them cook on low heat for 45 to 60 minutes, or until the peels become translucent and have absorbed the syrup. You can add spices like a cinnamon stick or star anise during this stage for extra flavour.
Finishing and Storing Your Preserves
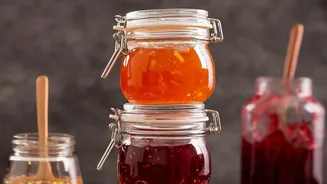
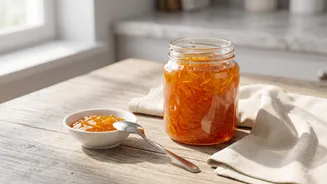
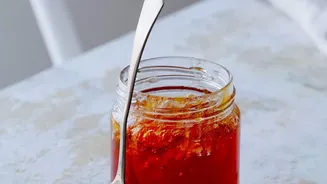
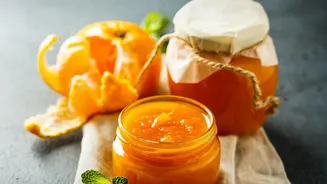
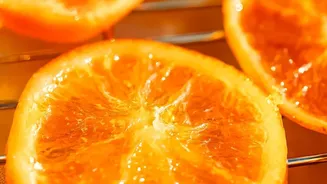
After simmering, you have two main options. For a classic candied peel, use a slotted spoon to remove the peels from the syrup, letting the excess drip off. Spread the sticky peels on a wire rack and let them air dry for several hours, or even overnight. Once they are no longer wet, toss them in a bowl of granulated sugar to create a crystalline coating that prevents them from sticking together. For a richer, syrupy preserve, simply transfer the peels and their cooking syrup directly into a clean, sterilised glass jar. The leftover citrus-infused syrup is a bonus treasure—perfect for sweetening tea, cocktails, or drizzling over pancakes.
How to Use Your Homemade Treat
Your zero-waste citrus preserves are incredibly versatile. Finely chop the candied peels and fold them into cake batters, cookie dough, or scone mixtures for a burst of chewy, citrusy flavour. Use them as an elegant garnish for desserts like cheesecakes, panna cotta, or a simple bowl of ice cream or yoghurt. They can also be dipped in melted dark chocolate for a truly luxurious confection. The syrupy preserves are wonderful spooned over toast or mixed into your morning oatmeal. They even work in savoury dishes, adding a sweet and sour note to salads or glazes for roasted meats.