




Why Propagate Mint in Water?
Starting mint from seed can be a slow and inconsistent process. Cuttings, on the other hand, are clones of a mature plant, ready to grow. While you can root them directly in soil, water propagation is a nearly foolproof method for beginners. It's clean,
requires minimal supplies, and offers a fascinating visual reward as you can watch the roots develop day by day. This visibility helps you know exactly when the cutting is ready for soil, taking much of the guesswork out of indoor gardening and making it a fun project for any skill level.
Selecting and Preparing Your Cutting
The success of your new plant begins with a healthy cutting. Look for a strong, vibrant, and non-flowering stem from an existing mint plant or even a fresh bunch from the grocery store. Using clean scissors or a sharp knife, snip a 4- to 6-inch section from the top growth of the plant. Make your cut just below a leaf node—the small bump on the stem where leaves emerge. This node is where the new roots will sprout. Once you have your cutting, gently strip the leaves from the bottom half of the stem, ensuring no leaves will be submerged in the water, as they can rot.
The Simple Rooting Process
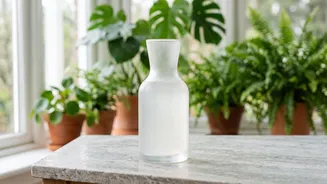
Place your prepared cuttings in a clear glass or jar filled with fresh, room-temperature water. A clear container allows you to easily monitor root growth. Ensure the stripped nodes are fully submerged but the remaining leaves stay dry and above the waterline. Position the jar in a spot that receives bright, indirect sunlight, like a windowsill that doesn't get harsh, direct sun. The most crucial step for preventing rot and keeping your cuttings healthy is to change the water every two to three days. This keeps the water oxygenated and free from bacteria.
Watching for Roots and When to Plant
Mint is an eager plant that often wants to live. You may start to see tiny white roots emerge from the nodes in as little as a week. Within about 10 to 14 days, these roots should become more developed. The ideal time to transplant your cutting into soil is when the roots are between one and two inches long. Waiting for a small but sturdy cluster of roots, rather than just one or two threads, gives the new plant a much stronger start once it moves to soil.
Transitioning Your Mint to a Pot
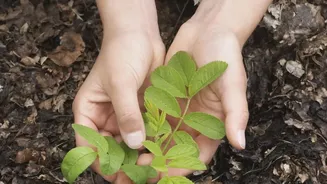
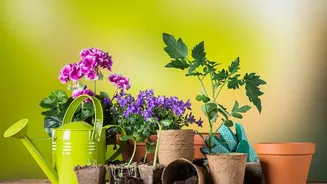
Moving from an aquatic environment to soil can be a shock for new roots. To ease the transition, choose a small pot with a drainage hole and fill it with a moist, well-draining potting mix. Use a pencil or your finger to make a hole in the soil, then gently place the rooted cutting inside, being careful not to damage the fragile new roots. Backfill the hole and gently press the soil to secure the plant. For the first week or two, it's vital to keep the soil consistently moist (but not waterlogged) to help the 'water roots' adapt to their new soil environment.
Caring For Your New Indoor Mint Plant
Once your mint is potted, place it back in a spot with bright, indirect light. Continue to water regularly, ensuring the soil stays moist. Mint is a thirsty plant, but good drainage will prevent the roots from becoming waterlogged. As your plant grows, you can encourage it to become bushier by regularly pinching off the top sets of leaves. Not only does this promote healthier growth, but it also provides you with a steady supply of fresh mint for teas, cocktails, and culinary creations.