

The Science of Wild Yeast
A sourdough starter is a live culture of wild yeasts and beneficial bacteria, specifically lactic acid bacteria, living together in a simple mixture of flour and water. Unlike commercial baker's yeast, which contains a single, isolated yeast strain, a sourdough starter cultivates
the natural yeasts present in your flour and environment. These microorganisms work together: the yeast produces carbon dioxide gas, which makes the bread rise, while the bacteria create lactic acid, contributing the signature tangy flavour. This symbiotic relationship is the heart and soul of traditional sourdough baking.
What You'll Need
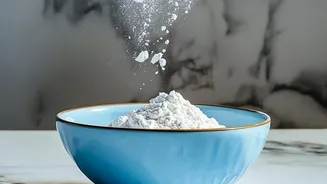
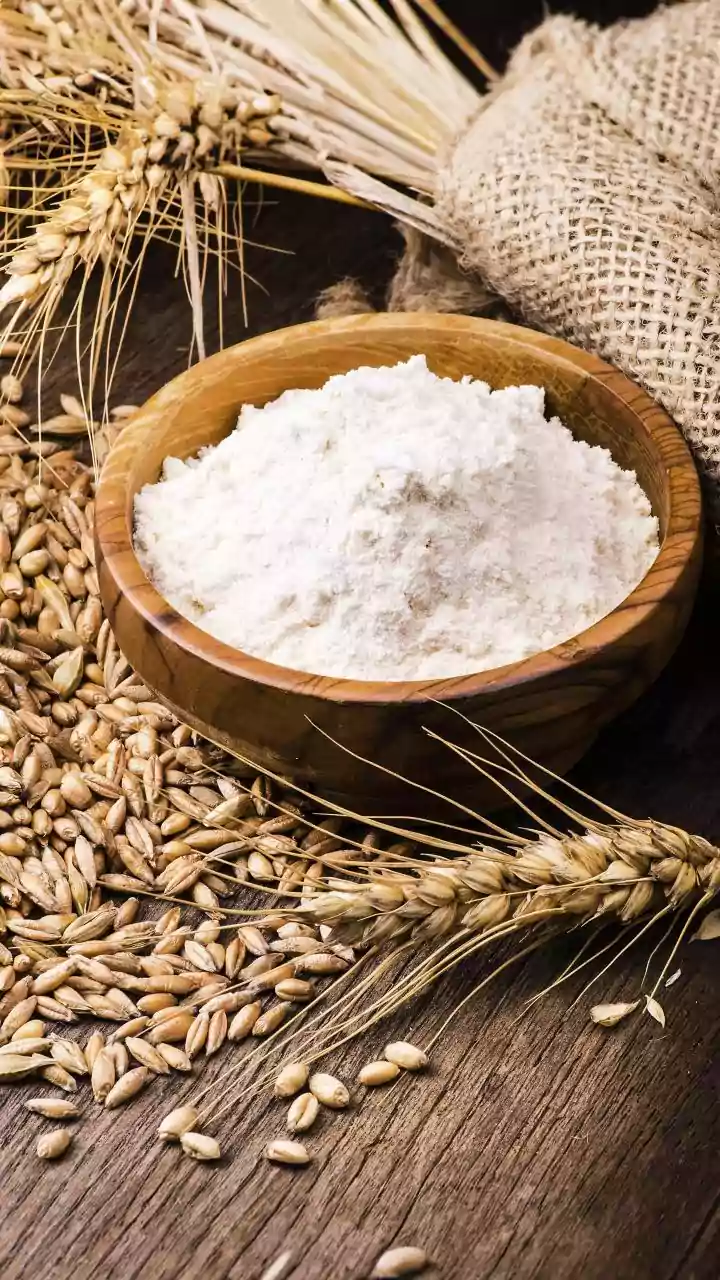
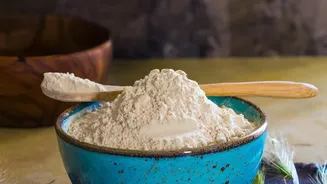
The beauty of a sourdough starter is its simplicity. You only need a few basic items to begin: a clean glass jar (a Mason jar works perfectly), a kitchen scale for accuracy, flour, and water. For the flour, a blend often works best for a new starter. Many bakers recommend a 50/50 mix of whole-wheat or rye flour with unbleached all-purpose or bread flour. The whole-grain flours provide more of the natural microbes needed to kickstart the process, while the refined flours offer an easily accessible food source for the growing yeast colony. Once your starter is mature, you can switch to using just all-purpose flour for feedings.
Day 1-2: The First Mix
To begin, combine equal parts by weight of your flour blend and lukewarm water in your jar. A common starting point is 50 grams of flour and 50 grams of water. Mix them into a thick, smooth paste, scrape down the sides of the jar, and cover it loosely. A loose-fitting lid or a clean cloth is perfect; you want to allow gas to escape without letting contaminants in. Place the jar in a warm spot, ideally between 21-26°C. For the first 24 to 48 hours, you might not see much activity, perhaps just a few bubbles. This is normal as the microorganisms begin to establish themselves.
Day 3-7: Feeding Your Starter
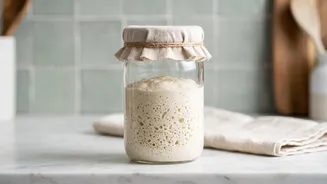
From day three onwards, you will begin a regular feeding schedule. The process involves discarding a portion of the starter before adding fresh flour and water. This 'discard' step is crucial because it keeps the culture manageable and ensures the yeast and bacteria have enough food. A typical routine is to discard all but about 50-60 grams of your starter, then add 50 grams of flour and 50 grams of water, mixing well. This is known as a 1:1:1 ratio (starter:flour:water). Aim to feed your starter once or twice every 24 hours. During this week, you should start to see significant activity: the starter will become bubbly, develop a pleasantly sour aroma, and begin to rise and fall predictably a few hours after each feeding.
Is It Ready for Baking?
A starter is mature and ready for baking when it shows consistent and vigorous signs of activity. The key indicator is its ability to reliably double or even triple in volume within 4 to 8 hours of being fed. A ready starter will be full of bubbles, have a spongy texture, and a mildly sweet and tangy smell. A popular method to check for readiness is the 'float test': drop a small spoonful of the starter into a glass of water. If it floats, it's full of gas and active enough to leaven a loaf of bread. This readiness usually takes about one to two weeks to achieve from scratch.
Troubleshooting Common Issues
Sometimes starters can be sluggish or develop strange smells. If you see a dark liquid on top, this is 'hooch', an indication that your starter is hungry; simply stir it in or pour it off and feed it. A smell of acetone or nail polish remover also means it's hungry and needs a feeding. If your kitchen is too cold, the starter's activity might slow down; try placing it in a warmer spot like an oven with just the light on. However, if you see any signs of fuzzy green, black, or orange/pink mold, this indicates contamination, and the starter must be discarded. In that case, thoroughly clean your equipment and begin again.