


The Ingredients You Need
The beauty of a mug cake lies in its simplicity. Most, if not all, of these ingredients are likely already waiting in your pantry, ready to be transformed. This single-serving recipe is designed for a standard 12-ounce (approx. 350ml) microwave-safe mug.
Using a larger mug is always a safe bet to prevent any overflow. For your magical creation, you will need: - 4 tablespoons all-purpose flour - 4 tablespoons granulated sugar - 2 tablespoons unsweetened cocoa powder - ¼ teaspoon baking powder - A pinch of salt - 3 tablespoons milk - 3 tablespoons melted butter or a neutral oil - ½ teaspoon vanilla extract - 2 to 4 squares of good quality dark or semi-sweet chocolate, or about 2-3 tablespoons of chocolate chips
The Five-Minute Method
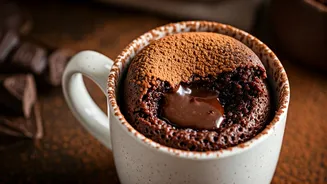
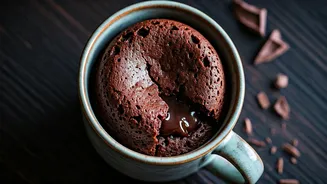
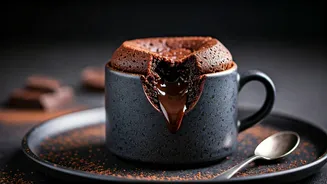
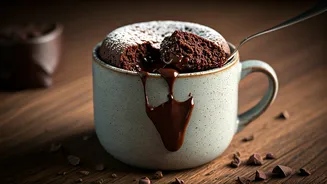
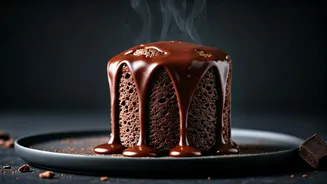
This process is so fast, you’ll barely have time to wash your fork before it’s ready. There is no need for multiple bowls; the entire cake can be mixed directly in the mug you'll be eating from, making cleanup just as magical as the cake itself. Step 1: In your microwave-safe mug, combine all the dry ingredients: flour, sugar, cocoa powder, baking powder, and salt. Use a fork to whisk them together thoroughly, ensuring there are no lumps and everything is evenly distributed. This step is crucial for a smooth, consistent cake texture. Step 2: Add the wet ingredients directly into the mug with the dry mix. Pour in the milk, melted butter (or oil), and vanilla extract. Whisk everything together with the fork until the batter is smooth and well-combined. Make sure to scrape the bottom and sides of the mug to incorporate any hidden pockets of flour. Step 3: This is where the "lava" comes from. Take your chocolate squares or chips and gently press them into the center of the batter. There's no need to fully submerge them; they will sink as the cake cooks, creating that coveted molten core. For an extra gooey result, some recipes even recommend drizzling a tablespoon of water over the top of the batter before cooking, which helps create steam and a saucier texture.
Mastering the Microwave
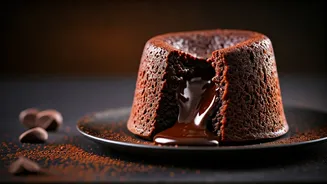
Cooking is the final and most critical step. Microwave wattages vary, so your perfect cooking time might require a little experimentation. A good starting point for a standard microwave is around 70 to 90 seconds on high power. For a more powerful microwave, you may want to reduce the power to 80% or shorten the time. You’re looking for the edges of the cake to look set and firm, while the very center remains slightly wet and shiny. It’s much better to undercook it slightly than to overcook it. An overcooked mug cake can become tough and rubbery. Start checking at the 70-second mark. If the center is still raw batter, add 10-second intervals until it’s just right. The cake will continue to set up as it cools for a minute or two.
Serving and Customization
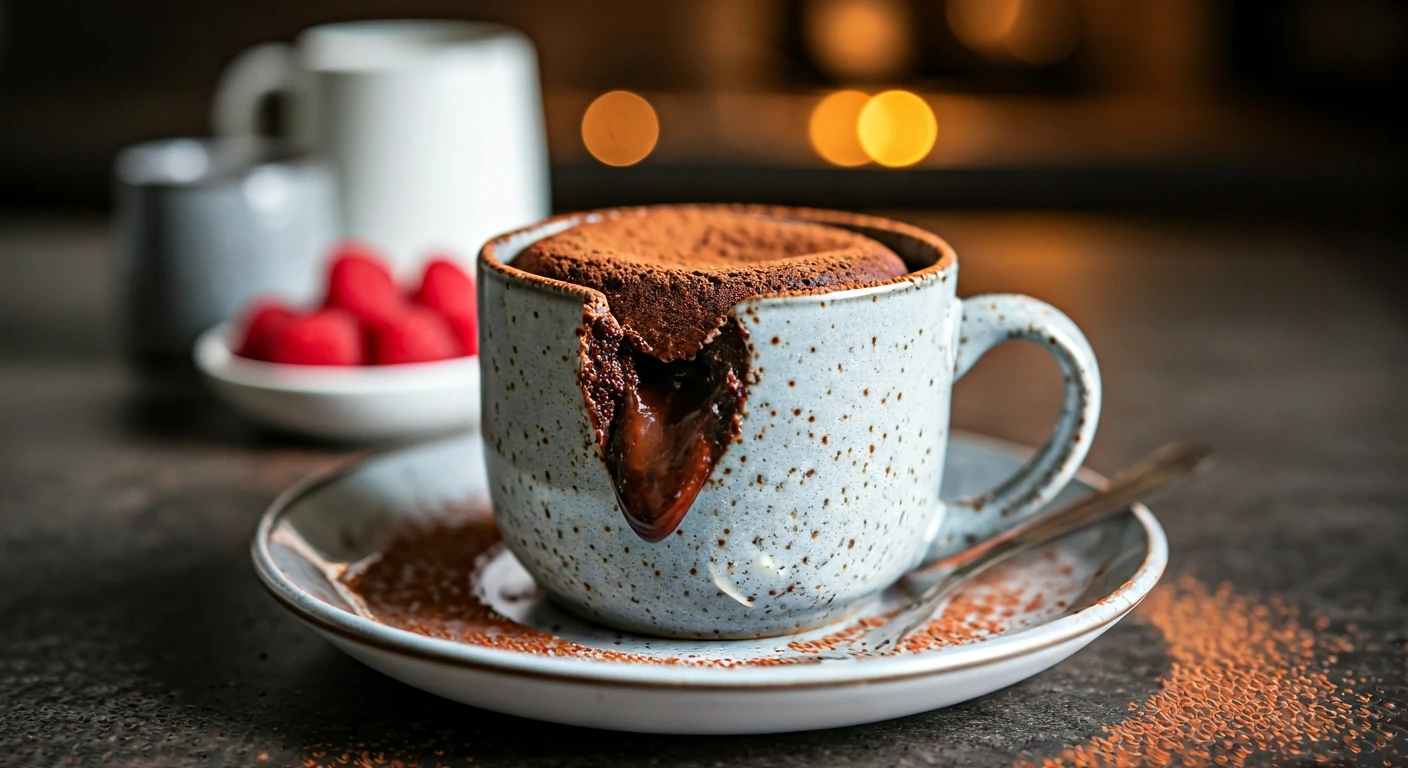
Let the cake rest for at least a minute before diving in — that molten center is incredibly hot. This brief rest also allows the cake to finish setting and the flavors to meld. The simplest way to enjoy it is straight from the mug with a spoon. To elevate your creation, a dusting of powdered sugar, a small scoop of vanilla ice cream, or a dollop of whipped cream works wonders. The contrast of the cold ice cream with the warm, gooey cake is a classic for a reason. For a different flavor profile, try adding a pinch of espresso powder to the dry ingredients to intensify the chocolate flavor, or a spoonful of peanut butter on top of the chocolate chunks before cooking for a decadent surprise.