

Win the Shot Before You Go
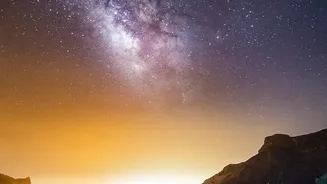
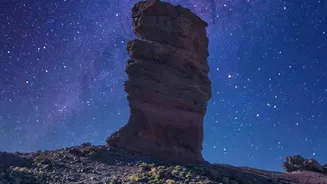
The most crucial step in astrophotography happens before you even touch your camera. Success is all about planning. Your biggest enemy is light pollution, which washes out the stars. Use online light pollution maps to find 'dark sky' locations as far
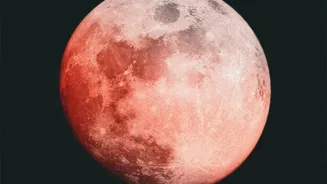
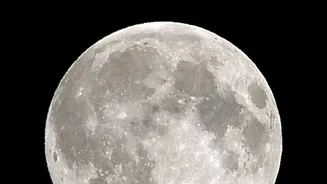
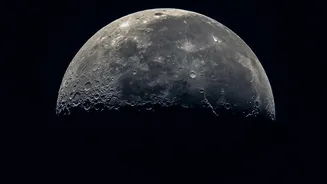
from city lights as possible. The moon is another factor; its brightness can overpower the stars, so plan your shoots around the new moon phase for the darkest conditions. Finally, check the weather forecast obsessively. Clear skies are essential. Apps like PhotoPills or Sky Guide can help you predict the position of the Milky Way or specific constellations, so you know exactly where and when to point your lens.
Master Your Camera's Manual Mode
To capture the faint light of stars, you must take control of your camera's settings. Autofocus will not work in the dark, so switch your camera and lens to Manual Mode (M). There are three key settings to balance: Aperture: This is the opening in your lens. You want it as wide as possible (the lowest f-number, like f/2.8) to let in the maximum amount of light. Shutter Speed: This determines how long the camera sensor is exposed to light. A good starting point is between 15 and 30 seconds. Much longer and the Earth's rotation will cause stars to appear as streaks instead of sharp dots. ISO: This controls the camera's sensitivity to light. Start with an ISO between 1600 and 3200. These settings are a starting point; practice and experimentation are key to finding what works best for your specific conditions.
The Art of Nailing Focus
One of the biggest frustrations for beginners is getting blurry stars. Since autofocus is useless in the dark, you have to focus manually. The best technique is to use your camera's 'Live View' screen. Point your camera at the brightest star or planet you can find. Then, use the digital zoom function on your screen to magnify that star as much as possible. Carefully turn your lens's focus ring until the star appears as the smallest, sharpest pinprick of light you can get. Once you've nailed the focus, be careful not to bump the focus ring for the rest of the night. Some photographers even use a small piece of tape to lock it in place.
The Power of Stacking Images
A single long-exposure photo will always have some digital 'noise' or graininess. The secret to a clean, detailed image is a technique called 'stacking'. This involves taking many identical pictures and then using free software to blend them together. The process averages out the random noise, leaving you with a much smoother final image. You don't need a tracking mount for this with wide-angle shots. Simply set up your tripod and take 10-20 consecutive photos using the same manual settings. Freeware programs like DeepSkyStacker, Sequator, and Siril are specifically designed for this purpose and are accessible to beginners. While it sounds technical, these programs can often align the stars and stack your images with just a few clicks.
Bringing Your Image to Life
What comes out of the camera is just the beginning. Post-processing is where your stacked image truly becomes a work of art. You don't need expensive software; basic adjustments can be made in any photo editor. Start by adjusting the contrast to make the dark sky darker and the stars brighter. Gently increase the 'clarity' or 'dehaze' sliders to make the details of the Milky Way pop. You can also make subtle adjustments to the white balance to give the sky a more natural colour. The goal is to enhance what's already there, not to create something artificial. A little bit of editing goes a long way in revealing the hidden colours and structures you've worked so hard to capture.