


Knowing the Signs: When to Repot
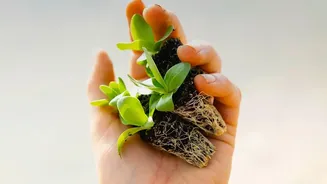
Plants give clear signals when they're feeling cramped. The most obvious sign is roots growing through the drainage holes at the bottom of the pot. You might also see roots circling the inside of the pot or even pushing the plant up and out of the soil.
Another key indicator is how quickly the soil dries out; if you're watering far more frequently than you used to, it's a sign that the root system has filled the pot, leaving little soil to hold moisture. Slower or stunted growth, especially during the growing season of spring and summer, can also mean the plant has run out of space and nutrients. If the plant looks top-heavy and unstable or water runs straight through without being absorbed, it's time for an upgrade.
Gather Your Supplies
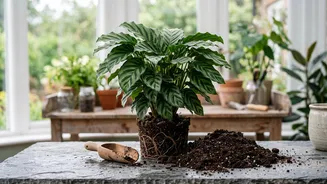
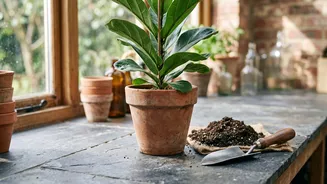
Proper preparation makes the process smooth and stress-free. Before you start, gather everything you'll need. This includes a new pot, fresh potting mix, gloves, a small shovel or trowel, and a watering can. It’s also wise to lay down a mat or old newspapers to protect your work surface from soil. The most critical choice is the new pot. As a rule, select a container that is only about 1-2 inches larger in diameter than the current one. Choosing a pot that is too large is a common mistake that can lead to root rot, as the excess soil holds too much moisture for the roots to absorb. Ensure the new pot has drainage holes to prevent waterlogging.
Choose the Right Soil
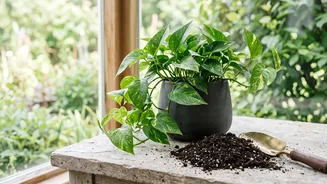
Using soil from your garden is not recommended for indoor plants, as it can be too heavy, drain poorly, and introduce pests or diseases. Most houseplants will thrive in a high-quality, all-purpose potting mix specifically designed for indoor containers. These mixes are typically composed of peat moss, perlite, and vermiculite, which provide a good balance of moisture retention and aeration. Some plants have more specific needs. Cacti and succulents, for example, require a special mix that offers faster drainage. Similarly, orchids should be planted in a bark-heavy orchid mix, not standard potting soil, to allow their roots to breathe.
The Repotting Process: Step by Step
Once your supplies are ready, it's time to repot. Water your plant a day in advance to help reduce stress and make it easier to remove from the pot. To begin, gently turn the plant on its side and ease it out of its current container. If it's stuck, you can squeeze the sides of a plastic pot or run a knife around the inner edge of a rigid one to loosen it. Once free, inspect the root ball. Gently loosen any tightly wound roots with your fingers to encourage them to grow outwards in the new pot. Trim away any roots that appear mushy, black, or dead. Place a layer of fresh soil in the bottom of the new pot, set the plant in the center, and ensure it sits at the same depth as before. Fill in the space around the root ball with more soil, gently firming it down to eliminate large air pockets without compacting it too tightly. The final soil level should be about a quarter to half an inch below the rim of the pot.
Aftercare for a Happy Plant
The first few weeks after repotting are a recovery period. The process can cause some stress, known as transplant shock, which might result in some wilting or yellowing leaves. To help your plant adjust, give it a thorough watering immediately after repotting to help the new soil settle around the roots. After this initial watering, allow the top inch of soil to dry out before watering again to avoid over-saturating the vulnerable roots. Place the plant in a spot with lower light for about a week before moving it back to its usual location. Hold off on fertilizing for at least four to six weeks, as the fresh potting mix contains plenty of nutrients and you don't want to burn the sensitive, recovering roots.