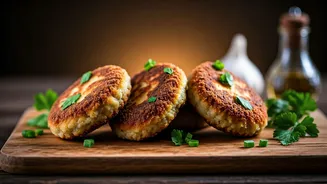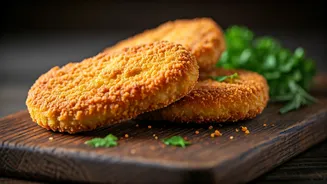


The Anatomy of a Perfect Cutlet
There’s a simple magic to a great chicken cutlet. It’s a dish built on contrasts: a shatteringly crisp, golden-brown crust giving way to tender, flavorful meat. Achieving this perfection isn’t about a secret, complicated recipe; it’s about mastering a few
fundamental steps. The three pillars of a perfect cutlet are the protein preparation, the breading station, and the fry. Get these right, and you unlock a world of crunchy, satisfying dinners, from chicken Parmesan to a simple cutlet served with a squeeze of lemon.
Start with the Right Foundation: Prepping the Chicken
Your journey to crispiness begins with the chicken itself. For the best results, use boneless, skinless chicken breasts. The most crucial step is ensuring an even thickness, which guarantees the chicken cooks quickly and uniformly, preventing dryness. [16] Slice each breast in half horizontally to create two thinner pieces. [1] Place these cutlets between sheets of plastic wrap or parchment paper and gently pound them to an even ¼-inch thickness using a meat mallet, rolling pin, or even a heavy pan. [5, 6] This not only tenderizes the meat but also creates a uniform canvas for cooking. [6] Before you do anything else, be sure to trim off any excess fat or tough sinew, as these parts can create a chewy texture and cause the cutlet to cook unevenly. [15] Finally, season the chicken itself generously on both sides with salt and pepper. [3, 18] Seasoning the meat directly, not just the breading, is key to a flavorful result. [18]
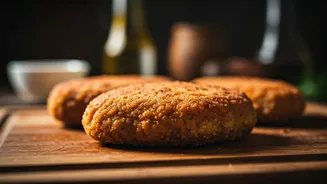
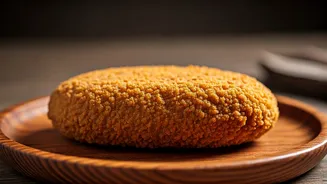
The Three-Step Breading Process for Maximum Crunch
The secret to a breading that sticks and crisps up beautifully is the classic three-bowl setup. [1] In the first shallow dish, place all-purpose flour. In the second, whisk a couple of large eggs with a splash of water. [1] In the third, create your breadcrumb mixture. For the ultimate crispy texture, Japanese-style panko breadcrumbs are highly recommended. [10, 12, 13] Their light, flaky structure absorbs less oil, resulting in a lighter, crunchier crust that stays crispy longer. [10, 13, 14] To the panko, add grated Parmesan cheese, garlic powder, and Italian seasoning for a boost of flavor. [1] It's important to season each layer, so add a little salt and pepper to both the flour and the breadcrumb mixtures. [3] Working one cutlet at a time, dredge it in flour and shake off the excess. [5] Next, dip it into the egg wash, allowing any extra to drip off. [2] Finally, press the cutlet firmly into the panko mixture, ensuring it's fully coated. [2] For an even more resilient crust, let the breaded cutlets rest on a wire rack for 5-10 minutes before frying; this helps the coating set and adhere better. [1]
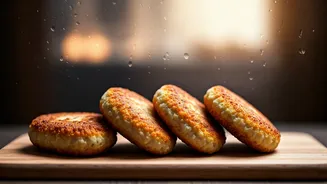
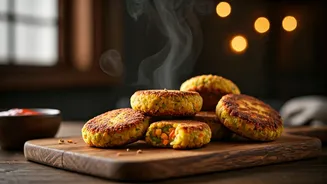
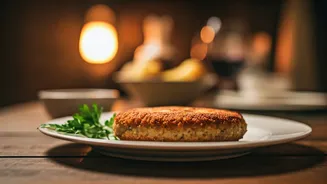
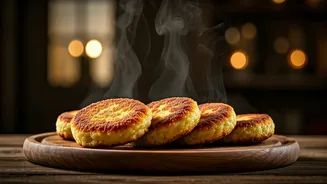
The Final Step: A Perfect, Golden Fry
The way you fry the cutlet is just as important as the prep. Use a large, heavy-bottomed skillet, like cast iron, and add enough neutral oil (like canola, vegetable, or light olive oil) to come about halfway up the sides of the chicken. [1, 16] The oil temperature is critical for achieving a crispy, not greasy, result. Heat the oil over medium-high heat until it reaches between 350-375°F (175-190°C). [1] If you don't have a thermometer, you can test the oil by dropping a breadcrumb into the pan; it should sizzle immediately and turn golden, not burn. [5] One of the biggest mistakes is overcrowding the pan, which lowers the oil temperature and leads to steaming instead of frying. [3, 7] Cook the cutlets in batches, placing only two or three in the pan at a time. [3] They cook quickly—about 2-3 minutes per side is all it takes for them to become deeply golden brown and cooked through to an internal temperature of 165°F. [1] Once cooked, transfer the cutlets to a wire rack, not paper towels. This allows air to circulate and prevents the bottom from getting soggy. [1] Immediately sprinkle with a pinch of flaky salt and serve with fresh lemon wedges. [1]