




First, Does Your Plant Need a New Home?
Before you start, it’s important to know if your plant actually needs repotting. Not every plant requires a new pot annually. Look for clear signs that your green friend is feeling cramped. Are roots growing through the drainage holes at the bottom of
the pot? Does the plant look top-heavy and unstable, tipping over easily? Another key indicator is how quickly the soil dries out; if you find yourself watering much more frequently than you used to, it's a strong hint that the roots have filled the pot, leaving little soil to retain moisture. You may also notice that new leaves are smaller than older ones or that growth has stalled altogether, even during the growing season. If you gently slide the plant out of its pot and see a dense, tangled mass of roots with very little soil visible, it's definitively time for an upgrade.
Understanding the Heart of the Matter: Potting Soil
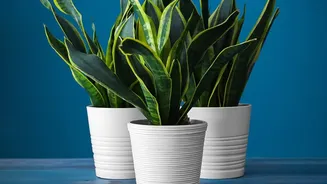
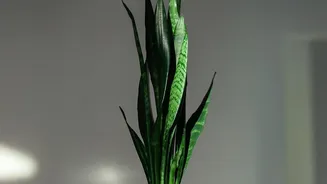
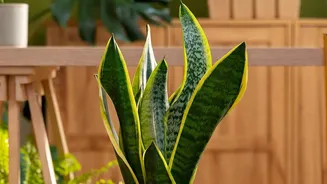
The term 'potting soil' is a bit misleading, as most high-quality mixes don't contain actual soil from the garden. Garden soil is too dense for pots, compacting easily and suffocating roots by preventing air and water from moving freely. Instead, a good potting mix is a carefully blended medium designed to provide structure, nutrients, aeration, and proper moisture control for container plants. The basic components you'll find are a base like coco peat (from coconut husks) or peat moss for moisture retention, compost for nutrients, and materials like perlite, sand, or vermiculite to ensure good drainage. For many common Indian houseplants like money plants or snake plants, a well-draining mix is crucial to prevent root rot. A popular and effective DIY mix for Indian conditions follows a simple 1:1:1 ratio: one part coco peat, one part compost (like vermicompost), and one part garden soil or sand to improve drainage.
Choosing the Right Pot
When repotting, it's tempting to give your plant a massive new home to grow into, but this is a common mistake. A pot that is too large holds excess soil, which retains too much moisture and can lead to root rot. The golden rule is to choose a new pot that is only about 1-2 inches larger in diameter than the current one. This provides enough fresh space for roots to expand without overwhelming the plant. The most critical feature of any pot is drainage. Ensure your new pot has at least one drainage hole at the bottom. Without it, water will pool and drown the roots, a fatal problem for almost any indoor plant. The material matters, too. Terracotta pots are porous and allow soil to dry out faster, making them great for succulents and plants prone to overwatering. Plastic pots are lighter and retain moisture longer.
The Repotting Process: A Step-by-Step Guide
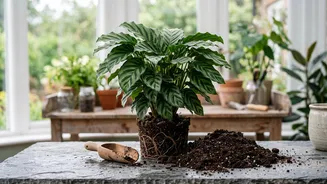
Once you have your new pot and soil, it's time to repot. It’s best to water your plant the day before to reduce stress. First, gently remove the plant from its old pot. You might need to tap the sides or squeeze a plastic pot to loosen it. Once it's out, inspect the root ball. Gently tease apart any tightly wound or circling roots with your fingers. Don't be afraid to trim any that are dead, mushy, or brown; this encourages healthy new growth. Place a layer of fresh potting mix in the bottom of the new pot. Position the plant in the center, ensuring the top of the root ball sits about an inch below the rim of the pot. Fill the space around the root ball with more fresh soil, gently tamping it down to eliminate large air pockets but without compacting it too firmly. The final soil level should be the same as it was in the old pot.
Aftercare: Helping Your Plant Settle In
The first couple of weeks after repotting are a recovery period for your plant. Immediately after repotting, give the plant a thorough watering until you see it run out of the drainage holes. This helps the new soil settle around the roots. After this initial soaking, let the soil dry out a bit more than usual before watering again. For a week or so, keep the plant out of direct, bright sunlight, which can add stress while it's adjusting. A spot with medium or lower light is ideal. It's also important to hold off on fertilizing. Fresh potting mix contains enough nutrients to support the plant for at least a month, and fertilizing too soon can burn the delicate, recovering roots. Wait until you see clear signs of new growth before resuming your regular feeding schedule.