




Gathering Your Natural Palette
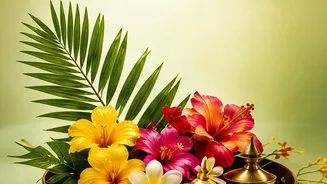
The foundation of a beautiful floral rangoli lies in your choice of materials. For petals, think vibrant and varied. Marigolds offer brilliant oranges and yellows, while rose petals provide deep reds and soft pinks. Jasmine can be used for fragrance and specks
of white, and daisy or chrysanthemum petals work well for clean, bright sections. For your powder base, plain rice flour provides a perfect white for outlines and patterns. Traditionally, this was also seen as an offering to small creatures like ants and birds. To create natural colours, you can use kitchen staples like turmeric for a radiant yellow and kumkum for red. You can also make your own coloured rice by mixing uncooked rice with natural food dyes derived from ingredients like beetroot for pink or spinach for green.
Preparing the Canvas and Colours
Start with a clean, dry surface for your rangoli. Before you begin, it’s helpful to sketch your design on paper to minimize mistakes and waste. For the white outline, you can use either dry rice flour or create a paste by mixing it with a little water for more defined lines. If you choose to colour your own rice powder, you can grind rice into a slightly coarse powder, which provides a nice texture and flow. Mix this homemade powder with natural colourants like turmeric or beetroot juice, and let it dry completely before use. This ensures the colours are vibrant and don't clump together.
Drawing the Outline
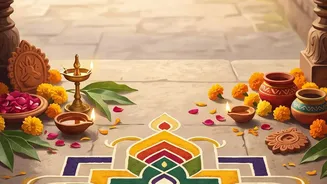
A clear outline is the skeleton of your rangoli. Using a piece of chalk, lightly sketch your chosen design onto the floor. This guide will be covered later by the petals and powder. Once you are happy with the sketch, use your white rice flour to create the main lines. You can do this freehand by pinching the powder between your thumb and forefinger for a controlled flow. For beginners, using stencils can help achieve clean, geometric or floral shapes with ease. Whether you opt for a simple circular mandala, a traditional peacock, or a geometric pattern, a strong white outline makes the final design pop.
The Art of Arranging Petals
With your outline complete, the fun begins. Start filling in the sections with flower petals. It's often easiest to work from the center outwards. Separate your petals by colour beforehand for easy access. You can create beautiful gradients by mixing different shades or keep it simple with solid blocks of colour. Don't be afraid to be generous with the petals; you want to create a dense, lush carpet of colour with no floor showing through. For added texture, you can use whole flowers, such as small marigolds, in the center or along the borders of your design.
Finishing Touches and Longevity
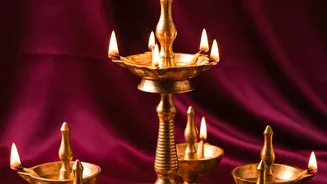
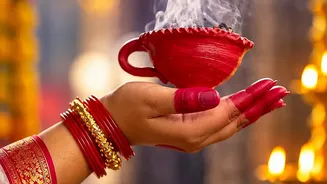
To elevate your rangoli, add a final flourish. Placing handcrafted clay diyas (oil lamps) around the border or in the center creates a warm, inviting glow, especially in the evening. You can also incorporate leaves or seeds for an earthy touch. The main challenge with floral rangoli is their short lifespan. To keep your creation looking fresh for longer, you can create a base of moist garden soil on the floor before starting. This moisture helps keep the petals from wilting quickly. You can also lightly spray the petals with water periodically to keep them hydrated. Be mindful that loose petals can be blown away, so place your rangoli in an area with less foot traffic or wind.