

First, Manage Your Expectations
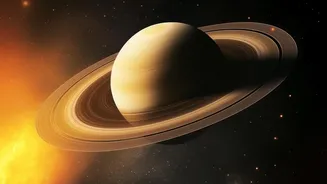
Before you spend a single rupee, it’s vital to set realistic expectations. The planets will not look like vibrant, detailed images from the Hubble Space Telescope. Through most beginner equipment, they will appear as small, bright discs of light. The magic
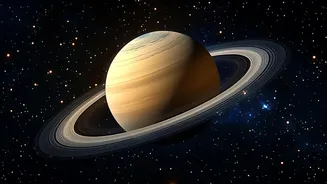
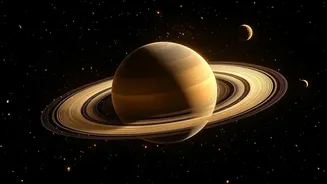
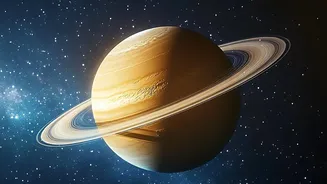
is in the details you can see: Jupiter’s four Galilean moons appearing as tiny pinpricks of light, the stunning reality of Saturn’s rings, or the phases of Venus. The thrill comes from seeing these distant worlds with your own eyes, not from high-definition close-ups. Most deep-sky objects like galaxies and nebulae will appear as faint, grey smudges, and you won't see the rich colours captured in long-exposure photographs. Appreciating these subtle, real-time views is the key to a lifetime of enjoyment.
Start Simple: Your Eyes and Binoculars
You don't need a powerful telescope to begin your journey. The best starting tools are your own eyes and a stargazing app on your smartphone to help identify what you're seeing. Once you can locate planets, the best first investment is not a telescope, but a good pair of binoculars. They are portable, require no setup, and provide a wide field of view that makes finding objects easy. For astronomy, look for specifications like 10x50. The '10x' refers to the magnification, and the '50' is the diameter of the front lenses in millimetres, which determines how much light they gather for a brighter image. Binoculars are perfect for scanning the moon's surface, spotting star clusters, and getting a feel for the sky.
Choosing Your First Telescope
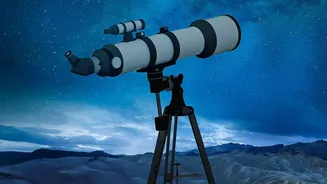
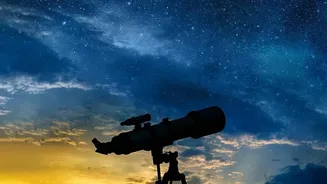
When you're ready to upgrade, focus on aperture—the diameter of the telescope's main lens or mirror. Aperture is more important than magnification because it controls how much light the telescope can collect, which translates to brighter and clearer images. A good starting point for a beginner is a telescope with an aperture between 4 and 6 inches (100-150mm). This is enough to show you Jupiter's cloud bands and Saturn’s rings. There are two main types: refractors (using lenses) and reflectors (using mirrors). Refractors often provide sharp, high-contrast views great for planets, while reflectors typically offer more aperture for the price. Don't overlook the mount; a shaky, unstable tripod will ruin any view, no matter how good the telescope's optics are. A sturdy mount is crucial for a frustration-free experience.
Comfort Is Not a Luxury, It's Essential
The 'comfortable' part of planet watching is often the most overlooked. You'll be sitting or standing still for long periods, often on chilly nights. Dress in warm layers, even in summer, as temperatures can drop significantly after sunset. A warm hat, gloves, and thick socks are essential. A comfortable, reclining chair is a game-changer, preventing neck strain and allowing you to relax while you observe. A thermos of a warm drink and some snacks can also make a long session much more pleasant. Dew can quickly coat your equipment and clothes, so a water-resistant blanket can be a great accessory to lie on or wrap up in.
The Small Things That Make a Big Difference
A few small accessories can dramatically improve your experience. First, get a red-light flashlight or headlamp. It takes about 20-30 minutes for your eyes to fully adapt to the dark, and a single flash of white light from a standard torch or phone screen can reset your night vision. A red light allows you to see your charts and equipment without ruining your dark adaptation. Second, a planisphere or a star chart book can help you navigate the sky without relying on a bright phone screen. Finally, consider investing in a few extra eyepieces for your telescope to give you different levels of magnification, and a good carry case will protect your equipment during transport and storage.