

Spotting the Signs: When to Repot
Plants are good at telling us what they need. Repotting is usually necessary every one to two years, but look out for these clear signals. If you see roots peeking out of the drainage holes at the bottom of the pot, it's a sure sign your plant is feeling
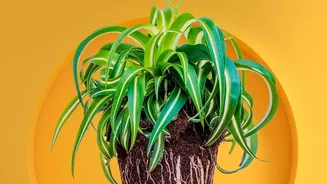
cramped. Another clue is how quickly the soil dries out; if you're watering much more frequently than you used to, the pot likely contains more roots than soil, leaving little to hold moisture. Slowed or stunted growth, even during the active growing seasons of spring and summer, can also indicate that the roots have run out of space to expand. To be certain, gently slide the plant out of its pot. If you see a dense network of roots circling the bottom and sides, it's officially time for an upgrade.
Gathering Your Tools and Supplies
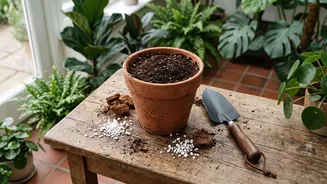
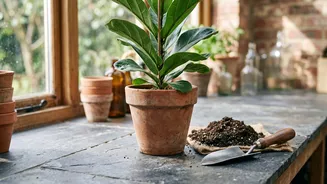
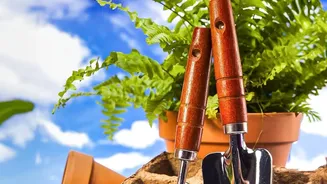
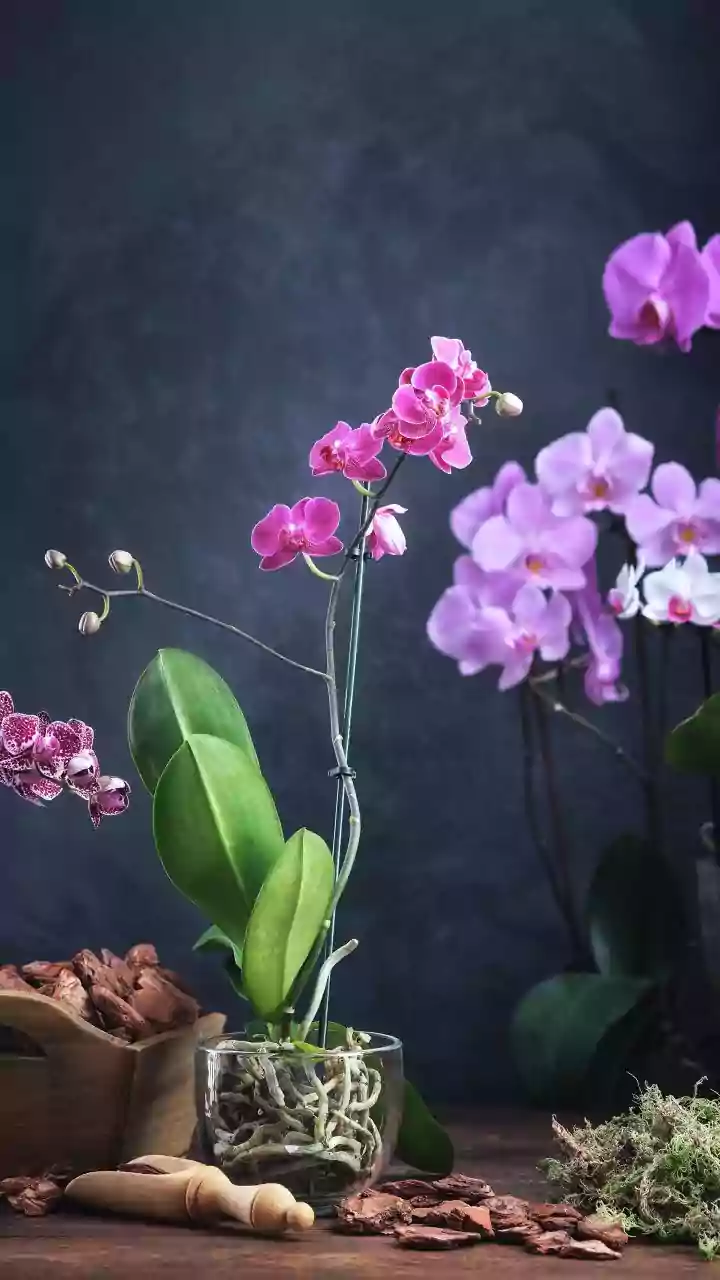
A successful repotting session starts with having everything you need on hand. First, choose a new pot. It should be just one to two inches wider in diameter than the current one. Moving to a pot that is too large can lead to waterlogged soil and root rot because the excess soil holds moisture the roots can't reach. Ensure the new pot has drainage holes. Next, you'll need fresh potting mix. Avoid using soil from your garden, which can be too dense and may contain pests. A quality, all-purpose indoor potting mix works well for most houseplants. Some plants, like succulents and orchids, need specialised mixes to ensure proper drainage. Having a small trowel, a pair of clean scissors or pruners, and a surface to work on (like old newspapers) will make the process smoother.
The Gentle Removal Process
To minimize stress on your plant, it's best to water it a day or two before you plan to repot. This makes the roots more flexible and helps the soil ball hold together. When you're ready, turn the plant's pot on its side and gently tap the bottom and sides to loosen the soil. Grasp the plant by the base of its stems and carefully slide it out. If it's stuck, you can run a butter knife or a small trowel around the inside edge of the pot to help release it. The key is to be gentle and avoid yanking the plant by its stems, which can cause damage.
Inspecting and Teasing the Roots
Once the plant is free, take a moment to examine its root system. If the roots are tightly wound in a circle (a condition known as being 'root-bound'), they need to be gently loosened. You can use your fingers to carefully tease the bottom roots apart. This encourages them to grow outwards into the new soil instead of continuing to circle. If the roots are extremely dense and matted, you may need to make a few shallow vertical cuts with your clean scissors to break up the mass. While doing this, trim away any roots that appear brown, mushy, or dead, as these are signs of rot.
Settling into the New Pot
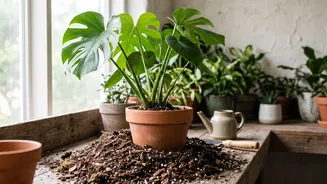
Now for the final step. Add a layer of fresh potting mix to the bottom of the new pot. Place your plant in the centre, ensuring the top of its root ball sits about an inch below the rim of the pot. Begin adding more potting mix around the sides, gently firming it down as you go to eliminate any large air pockets. Be careful not to pack the soil too tightly, as this can restrict air and water flow to the roots. Fill until the soil level is even with the base of the plant, leaving that one-inch gap at the top to make watering easier.
Aftercare: Preventing Transplant Shock
Repotting is a stressful event for a plant, often called 'transplant shock'. Proper aftercare helps it recover quickly. Once repotted, give the plant a thorough watering until you see it run from the drainage holes. This settles the soil and provides much-needed hydration. Place the plant in a spot with the same or slightly less light than it's used to, avoiding direct sun for a week or so as it acclimates. Hold off on fertilising for at least a month; the new soil has plenty of nutrients, and adding more can stress the recovering roots. You should see signs of new growth within a few weeks, a happy signal that your plant is enjoying its spacious new home.