




Is It Time for a New Pot?
Plants are good at telling us what they need. Repotting is generally needed every 12 to 18 months, but you should look for clear signs your plant is ready for a new home. One of the most obvious clues is roots growing out of the drainage holes at the bottom
of the pot. You might also notice that the plant has become top-heavy and unstable, or that its growth has slowed down despite good care. Another key indicator is how quickly the soil dries out. If you find yourself watering much more frequently because the soil is bone dry within a day or two, it's a strong sign that the roots have filled the container, leaving little room for soil to hold moisture. Gently sliding the plant out of its pot can confirm your suspicions; if you see a dense, tangled mass of roots circling the inside, the plant is 'root-bound' and ready for an upgrade.
Choosing the Perfect Pot and Soil
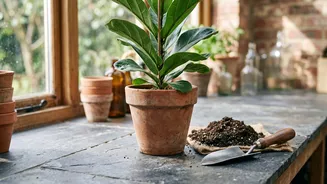
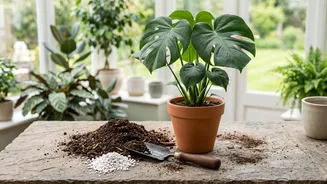
When selecting a new pot, resist the urge to go too big. A pot that is only one to two inches larger in diameter than the current one is ideal. Moving a plant into a container that is too large can lead to overwatering, as the excess soil will retain too much moisture, potentially causing root rot. Drainage is non-negotiable; always choose a pot with holes at the bottom. When it comes to material, terracotta is porous and allows air and water to move through, which is great for plants that prefer drier conditions like succulents. Glazed ceramic and plastic pots retain more moisture, making them suitable for plants that like to stay consistently moist. Just as important is the soil. Never use soil from your garden, which is too dense for containers and can lead to compacted, suffocated roots. Instead, opt for a quality indoor potting mix. These are specially formulated to be light and airy, typically containing ingredients like peat or coco coir for moisture retention and perlite for drainage.
The Gentle Art of Repotting
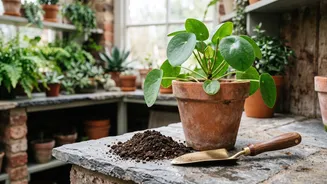
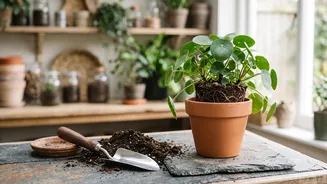
Begin by watering your plant a day or two before you plan to repot. This helps reduce stress on the plant and makes it easier to remove from its current container. To unpot it, turn the plant sideways, hold it gently by the stems or base, and tap the bottom of the pot until the plant slides out. If it’s stuck, you can try squeezing the sides of a plastic pot or carefully running a knife around the inner edge of a rigid one. Once the plant is out, inspect the root ball. If the roots are tightly wound in a circle, gently tease them apart with your fingers to encourage them to grow outwards into the new soil. Don’t worry if a few small roots break; it's a normal part of the process. Place a layer of fresh potting mix in the bottom of the new pot and position your plant in the center. The top of the root ball should sit about an inch below the rim of the pot to leave room for watering. Fill in the gaps around the root ball with more potting mix, gently pressing it down to eliminate large air pockets without compacting it too much.
Aftercare for a Happy Transition
Once your plant is settled in its new pot, give it a thorough watering until you see water run from the drainage holes. This helps the new soil settle around the roots. After this initial watering, allow the soil to dry out appropriately for your specific plant before watering again. The plant is experiencing what is known as 'transplant shock' and needs time to adjust. To help it recover, place it in a spot with the same or slightly less light than it's used to for about a week; avoid direct sunlight, which can add stress. It's also best to hold off on fertilizing for at least a few weeks to a month. The fresh potting mix contains enough nutrients to support the plant while its roots get established. Once you see signs of new growth, you can resume your regular fertilizing schedule.