


The Unique Charm of Amber Glass
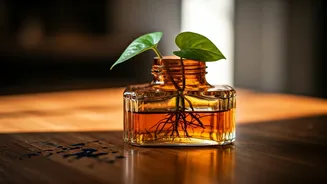
While any glass jar can hold a plant cutting, vintage amber bottles offer both aesthetic and practical advantages. Their warm, translucent colour provides a stunning contrast to the vibrant green of the money plant, creating an earthy, retro-chic look
that complements any decor style, from minimalist to bohemian. These bottles, often found as old pharmacy or beverage containers, bring a sense of history and character to your space. Beyond their beauty, there's a scientific reason why amber glass is a superior choice for water propagation. The dark-coloured glass blocks a significant amount of UV light from reaching the water. This helps to slow down, and often prevent, the growth of algae. Algae competes with your plant for nutrients and can make the water look murky and unappealing. By using an amber bottle, you’re creating a healthier environment for your plant's roots and significantly reducing the frequency with which you'll need to clean the container.
Selecting the Perfect Stems
The success of your project begins with choosing the right cuttings from a healthy, mature money plant (Epipremnum aureum). Look for a vine that is vigorous and has plenty of leaves. You don’t want a stem that looks weak, yellow, or has signs of pests.
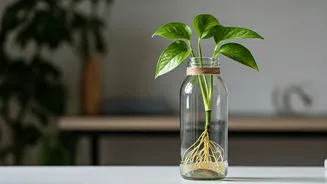
For each cutting, you'll want a piece that is about 4-6 inches long and has at least three to four leaf nodes. A node is the small, slightly raised bump on the stem where a leaf grows from. This is where new roots will emerge. When you take your cutting, use a clean, sharp pair of scissors or pruning shears to make a clean cut just below a node. Once you have your cutting, gently remove the bottom-most leaf or two. This ensures that no leaves are submerged in the water, as they will rot and contaminate it. The now-bare nodes at the bottom of the stem are what you will place in the water.
A Simple Guide to Propagation
This is the easiest part of the process, and it’s incredibly satisfying to watch the results. Follow these simple steps:
1. Prepare Your Bottle: Make sure your vintage amber bottle is thoroughly cleaned. Use a little soap and water, and a bottle brush if you have one, to remove any dust or residue. Rinse it well to ensure no soap is left behind.
2. Fill with Water: Fill the bottle with clean, room-temperature water. Filtered water or tap water that has been left to sit out for 24 hours is ideal, as it allows chlorine to dissipate. Fill it enough so that the bottom two nodes of your cutting will be fully submerged.
3. Place Your Cutting: Gently insert your prepared money plant cutting into the bottle. Ensure that the nodes are underwater but the remaining leaves are well above the waterline.
4. Find the Right Spot: Place your bottle in a location that receives bright, indirect sunlight. A spot near a window but not in the direct, harsh sun is perfect. Too much direct sun can scorch the leaves.
Long-Term Care and Maintenance
Money plants grown in water are famously low-maintenance, but a little care goes a long way in keeping them healthy and thriving.
Every 7-10 days, change the water to keep it fresh and oxygenated. This prevents stagnation and provides a clean environment for the roots. When you change the water, you can give the bottle a quick rinse to remove any film that may have started to form. As the roots grow, the plant will use up water, so be sure to top it off as needed between changes.
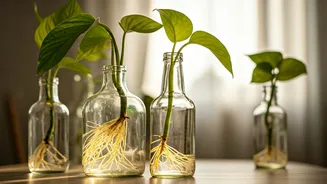
Money plants can survive in water for a very long time without any added nutrients. However, to encourage more lush growth, you can add a single drop of a balanced liquid fertiliser to the water once a month. Be careful not to over-fertilise, as this can harm the plant. In a few weeks, you will see delicate white roots begin to sprout from the nodes. It’s a magical process to witness!
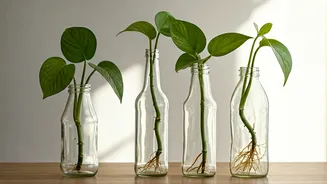
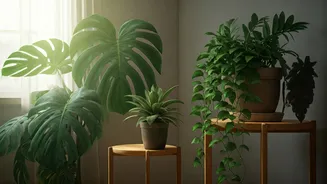
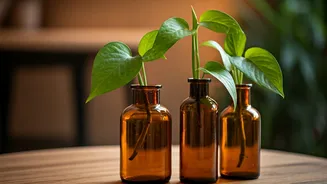
Styling Your New Green Accent
Now for the fun part: displaying your beautiful creation. The combination of amber and green is incredibly versatile. Group bottles of different shapes and sizes on a windowsill or a floating shelf for a dynamic, curated look. A single bottle on a bedside table, a work desk, or a bathroom counter can add a simple, elegant touch of nature. You can also use them as a centrepiece on a dining or coffee table. As the vines grow longer, you can let them trail down from a bookshelf or guide them along a wall with small, clear hooks. This simple DIY project not only brings life into your home but also serves as a beautiful, ever-evolving piece of decor.