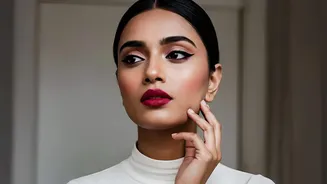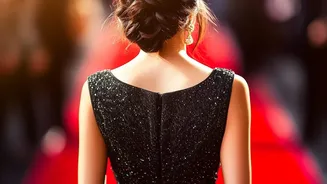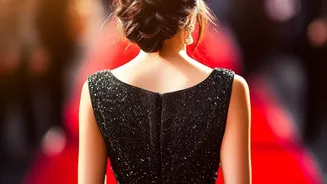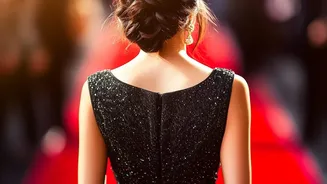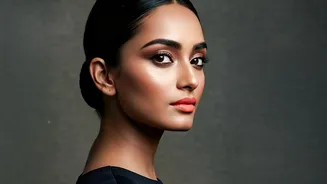


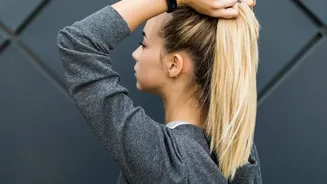
The sleek low bun is the epitome of chic, timeless style. Seen on red carpets and city streets, it’s a versatile look that can elevate any outfit. Mastering this polished hairstyle at home is easier than you think.
The Enduring Appeal of Sleekness
There's a reason why the sleek low bun
remains a go-to for celebrities and style influencers: it’s effortlessly sophisticated. This hairstyle has major staying power, offering a polished look that feels styled but not overdone. It’s a versatile choice that works for a formal event, a day at the office, or even to disguise greasy hair in the most elegant way possible. In fact, the style often works better on second or third-day hair, as the natural oils provide extra grip and hold that freshly washed hair lacks. The beauty of the sleek bun lies in its simplicity and its ability to deliver a clean, snatched look that highlights your facial features.
Gather Your Essential Toolkit
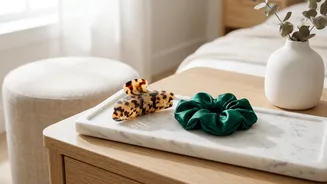
To achieve a flawless, bump-free finish, having the right products and tools is crucial. You don’t need a professional glam squad, just a few key items. First, a good brush is non-negotiable. A boar bristle brush is highly recommended for its ability to smooth down every strand and eliminate flyaways. You'll also need a fine-toothed comb or a rat tail comb for creating a precise part. For hold and that signature slicked-back shine, a styling gel, pomade, or strong-hold mousse is essential. Finally, gather your hair ties—bungee ties or gentle silk scrunchies are great for preventing breakage—and a handful of bobby pins to secure the bun.
Step-by-Step: Creating the Classic Low Bun
First, decide on your part—a sharp center part or a deep side part both look incredibly chic. Use your comb to create a clean line. Next, apply a generous amount of your chosen styling product (gel or mousse) from the roots to the mid-lengths. Using your boar bristle brush, start slicking your hair back into a low ponytail at the nape of your neck, ensuring there are no bumps. Secure it tightly with a hair tie. Now, twist the ponytail from the base to the ends. Wrap the twisted section around the base of the ponytail to form the bun. Secure the bun tightly against your head with another hair tie or several bobby pins, tucking any loose ends. For a flawless finish, spray a clean toothbrush or an edge brush with hairspray and gently brush down any remaining flyaways around your hairline.
Add Detail: Elevate Your Bun
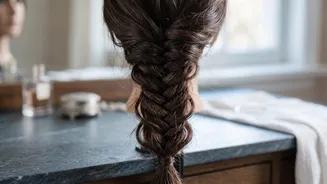
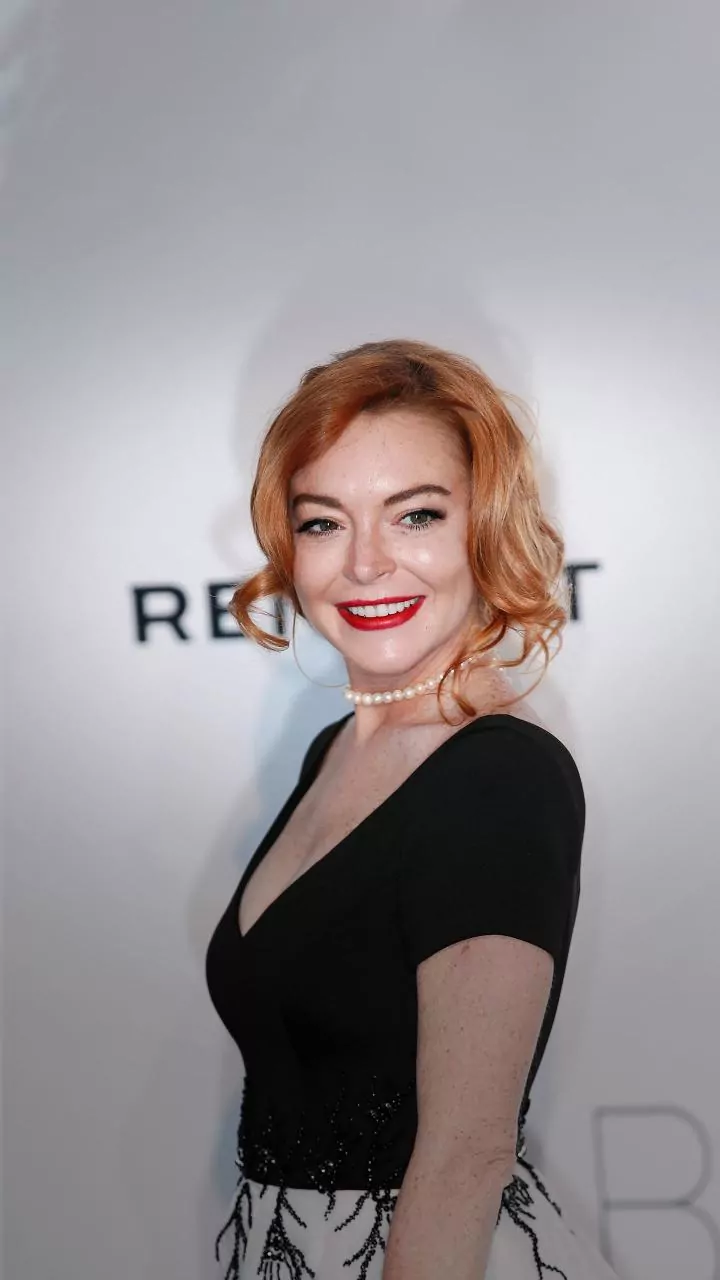
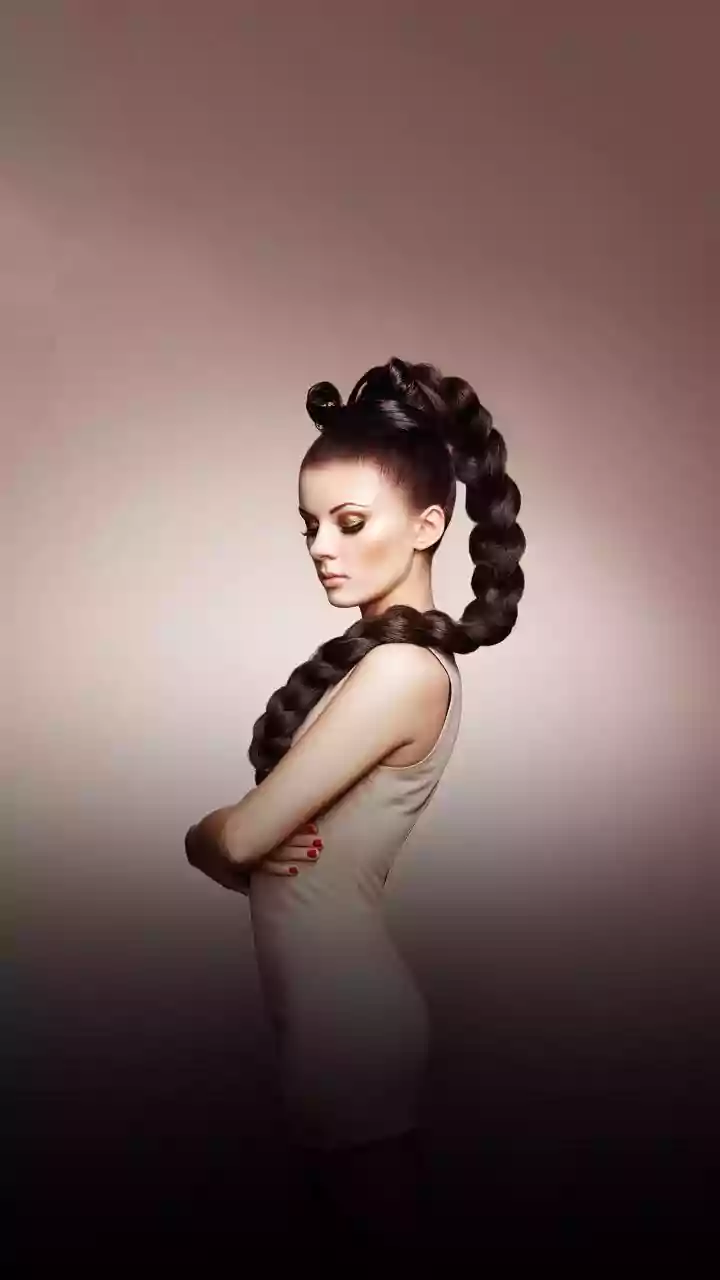
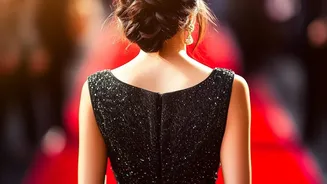
Once you've mastered the classic, you can start adding creative details. One simple variation is the knotted bun; instead of twisting the ponytail, split it into two sections, twist them together, and then wrap it around the base for a more intricate look. For a touch of romance, incorporate a braid. You can create a classic French braid along your hairline before pulling the rest of the hair into the bun, or simply braid the ponytail before twisting it into shape. Accessories also offer an easy way to add personality. Consider adding statement clips, a silk scarf wrapped around the bun, or elegant hairpins. Selena Gomez famously sported a slicked-back low bun with statement clips at the Cannes Film Festival.
Pro-Tips for a Perfect Finish
For those with curly hair, the key is to use products that offer both hold and moisture to avoid a crunchy feel. Applying a curl cream before your gel can help keep your texture defined. If you struggle with flyaways, don't be afraid to layer products. A styling cream can tame frizz, while a strong-hold pomade or gel locks everything in place. Some stylists even use a two-step process, securing a tight ponytail first, then twisting and pinning the bun with a second tie for extra security, which is especially helpful for those with long or heavy hair. And for an ultra-shiny, 'glass hair' effect, finish with a light mist of a shine-inducing hair oil or spray.