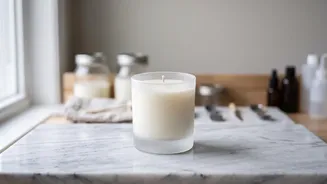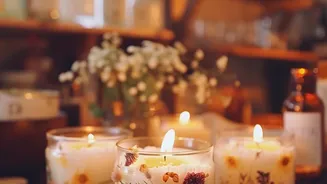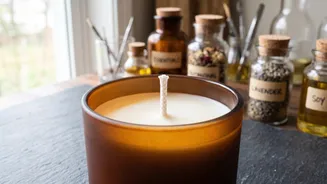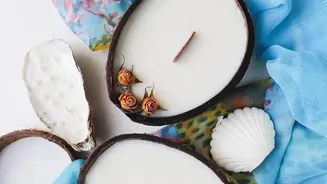



You’ve melted the wax, blended the perfect fragrance, and poured with a steady hand. But the final, crucial step in homemade candle making is one of patience: the cooling process. This is where your creation truly takes shape and form.
Why Cooling Is More Than Just Waiting
The cooling phase
isn't passive; it's an active process where the liquid wax crystallizes into a solid. How this happens determines the final look, safety, and scent of your candle. Rushing this stage is the number one cause of common candle-making frustrations. Fast or uneven cooling causes the wax to shrink and contract inconsistently. The wax on the outside and top solidifies first, while the inside remains molten. As the inner wax finally cools and shrinks, it can pull the solidified surface down, creating ugly craters or 'sinkholes' around the wick. It can also cause the wax to pull away from the container walls, leaving 'wet spots', or lead to surface cracks. A slow, controlled cool allows the entire candle to set at a more uniform rate, resulting in a smooth top and better adhesion to the glass.
Creating the Perfect Cooling Environment
The ideal cooling zone is a room with a stable temperature, ideally between 20-24°C. Consistency is key. Avoid placing your freshly poured candles near drafts from open windows, fans, or air conditioning vents, as these will cool parts of the candle too quickly. The surface where your candles sit also matters. A cold surface like a granite countertop or concrete floor can leach heat from the bottom of the container, causing it to set faster than the top. To ensure even airflow, place candles on a wire cooling rack, similar to one used for baking. Make sure to space the candles at least a few inches apart so their radiant heat doesn't affect each other, which can also lead to uneven cooling.
Troubleshooting Common Cooling Flaws
Even with the best preparation, issues can arise. If you find a sinkhole, the fix depends on its depth. For a shallow dip, a quick pass with a heat gun or a hairdryer on a low setting can melt the top layer, allowing it to level out. For deeper sinkholes, you’ll need to poke relief holes around the wick to release any trapped air, then do a second, smaller pour of reserved wax (heated slightly hotter than the first pour) to fill the cavity. 'Frosting', a white crystalline pattern common with natural waxes like soy, is often a cosmetic issue caused by temperature fluctuations during cooling. While sometimes unavoidable, a slower cool can help minimise it. 'Wet spots' are another cosmetic flaw where wax has pulled away from the glass. Ensuring your jars are clean and pre-warmed before pouring can greatly reduce the chances of this happening.
The Difference Between Cooling and Curing
It's a common point of confusion for beginners, but cooling is not the same as curing. Cooling refers to the wax physically hardening, which can take up to 24 hours. Curing is a longer, chemical process where the fragrance oil molecules fully bind and integrate within the wax's crystalline structure. This process is what creates a strong and stable scent throw, both when the candle is cold and when it's burning. Lighting a candle before it has fully cured will result in a weak, disappointing fragrance because the oil hasn't had time to properly disperse. While your candle might feel solid after a day, it is far from ready. Give your creation the time it needs to mature and develop its full aromatic potential.
How Long to Cure Your Candle
Patience during the curing phase is the final ingredient for a high-quality scented candle. The ideal curing time depends on the type of wax you've used. Paraffin wax, a more stable wax, cures relatively quickly, often within 3 to 5 days. Natural waxes, however, require more time. Soy wax typically needs a curing period of at least one to two weeks to achieve its best scent throw. Coconut and other vegetable wax blends can benefit from an even longer cure, sometimes up to three weeks. During this time, store your candles in a cool, dark, and dry place with their lids on to protect them from dust and prevent the fragrance from fading. Mark your candles with the date they were poured so you can track their curing progress accurately.