


Why 'No-Bake' Is a Game-Changer
Let’s be honest: traditional baked cheesecakes can be intimidating. There’s the risk of cracks, the hassle of a water bath, and the long cooling process. A no-bake cheesecake elegantly sidesteps all of that. It’s the perfect solution for hot Indian summers
when the last thing you want is a hot oven, or for those times when you need an impressive, make-ahead dessert without the fuss. The beauty of this recipe lies in its simplicity. By using high-quality ingredients and the power of refrigeration, you achieve a dessert that is just as luxurious and satisfying as its baked counterpart, but with a fraction of the effort. It’s dense, creamy, and melts in your mouth—pure dessert magic, no baking required.
The Ingredients for Chocolate Bliss
The secret to a cheesecake that’s ‘big on chocolate’ is using good ingredients. Don’t skimp here; the quality will shine through in the final product. Here’s what you’ll need: **For the Crust:** - 20-25 chocolate cream biscuits (like Oreo or Bourbon), about 250g - 6 tablespoons (85g) unsalted butter, melted **For the Filling:** - 450g full-fat cream cheese, softened to room temperature - 1 cup (120g) icing sugar, sifted - ½ cup (50g) unsweetened cocoa powder, sifted - 200g good-quality dark chocolate (60-70% cacao), melted and cooled - 1 teaspoon vanilla extract - 1 cup (240ml) cold heavy whipping cream Using full-fat cream cheese is non-negotiable for that classic rich texture. Room temperature cream cheese is crucial for a lump-free filling. For the chocolate, a quality dark chocolate bar will provide a much deeper, more complex flavour than standard cooking chocolate.
Step 1: Crafting the Perfect Crust
The crust provides the crunchy, buttery foundation for the creamy filling. Start by crushing your chocolate biscuits into fine crumbs. You can do this easily in a food processor, or place them in a zip-top bag and crush them with a rolling pin for a more rustic texture. Transfer the crumbs to a bowl and pour in the melted butter. Mix with a fork until all the crumbs are evenly moistened, resembling wet sand. Tip this mixture into a 9-inch springform pan. Using the back of a spoon or the flat bottom of a glass, press the crumbs firmly and evenly across the base and slightly up the sides of the pan. A tightly packed crust is key to ensuring it holds together when you slice the cheesecake. Place the pan in the freezer to chill and set while you prepare the filling.
Step 2: The Velvety Chocolate Filling
This is where the magic happens. In a large bowl, beat the softened cream cheese with an electric mixer on medium speed until it’s completely smooth and creamy. This initial step is vital to prevent lumps. Scrape down the sides of the bowl, then add the sifted icing sugar and cocoa powder. Mix on low speed until just combined, then increase to medium and beat until smooth. Pour in the cooled melted chocolate and vanilla extract, and mix again until everything is well incorporated and the mixture is a uniform, deep chocolate colour. In a separate, chilled bowl, whip the cold heavy cream until stiff peaks form. Be careful not to over-whip. Using a spatula, gently fold about a third of the whipped cream into the chocolate mixture to lighten it. Then, fold in the remaining whipped cream until no white streaks remain. This gentle folding technique keeps the filling light and airy.
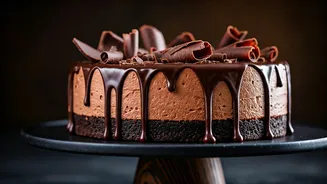
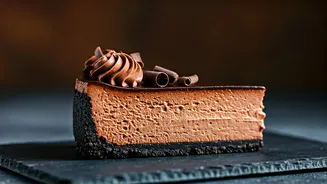
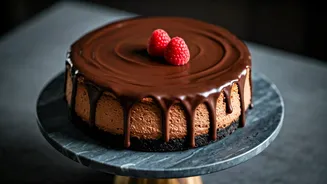
Step 3: The Chill and The Garnish
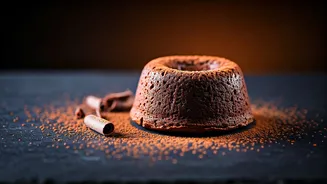
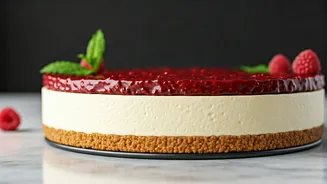
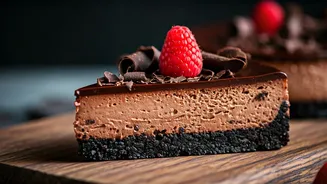
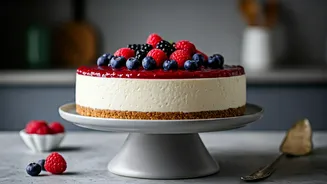
Retrieve your chilled crust from the freezer. Spoon the glorious chocolate filling onto the crust and spread it into an even layer with your spatula. Now for the hardest part: patience. The cheesecake needs to chill in the refrigerator for at least 6-8 hours, but overnight is even better. This time allows the filling to firm up completely, developing its signature dense, velvety texture. Do not rush this step! Once set, you can run a thin knife around the edge before releasing the springform pan’s collar. For decoration, the options are endless. You can top it with a simple dusting of cocoa powder, a rich chocolate ganache, a pile of fresh raspberries, or a generous amount of chocolate shavings. Serve chilled for the ultimate decadent experience.
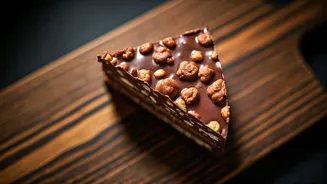
Pro-Tips for Next-Level Decadence
Want to make this recipe your own? Here are a few ideas to take it from great to unforgettable. For an even more intense chocolate flavour, add one teaspoon of instant espresso powder along with the cocoa powder; coffee is a natural flavour enhancer for chocolate. For textural contrast, consider folding in a cup of mini chocolate chips or roughly chopped toasted walnuts into the filling before chilling. You can also play with the crust—try using digestive biscuits mixed with a couple of tablespoons of cocoa powder for a different flavour profile. Finally, a drizzle of salted caramel over the top before serving adds a wonderful sweet-and-salty dimension that pairs beautifully with the rich chocolate.