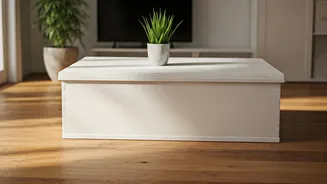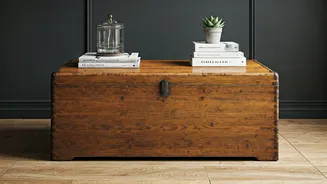


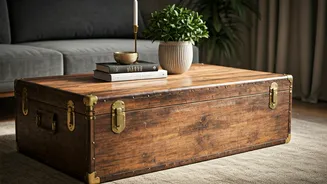


Step 1: Plan Your Minimalist Vision
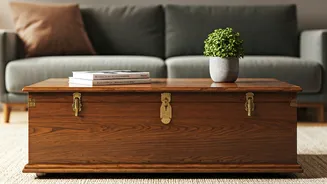
Before you pick up a paintbrush, take a moment to envision the final product. Minimalist design is all about clean lines, neutral colours, and a lack of clutter. Is your chest ornate with detailed carvings, or is it a simpler design? For a true minimalist
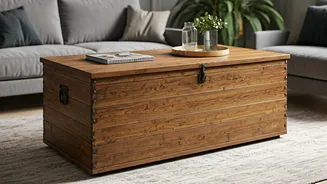
look, you'll want to downplay ornate features. Decide on a colour palette. Matte black, crisp white, or a cool grey are classic minimalist choices that can modernise any piece of furniture. Alternatively, you could strip the chest down to its natural wood and seal it with a clear matte finish for a warm, organic look. Sketch out your idea. Do you want to replace the hardware? Add legs? Knowing your destination makes the journey much smoother.
Step 2: Gather Your Supplies
A successful project starts with having everything on hand. While the word 'instantly' is aspirational, being prepared makes this a swift weekend task. You will likely need: cleaning supplies (mild soap and water), medium and fine-grit sandpaper or a sanding block, tack cloths, painter's tape, a good quality primer (especially if painting over dark wood), your chosen paint or stain, paintbrushes and a small roller for a smooth finish, a polycrylic or wax topcoat for durability, and a screwdriver. If you plan on adding legs, you'll also need a set of minimalist furniture legs (hairpin or simple tapered legs work beautifully) and a drill.
Step 3: The Crucial Prep Work
This is the most important step and the one you shouldn't rush. First, empty the chest and give it a thorough cleaning inside and out with a mild soap and water solution. Let it dry completely. Next, remove any hardware like handles or hinges that you plan to replace. Now it’s time to sand. The goal isn't to strip it bare (unless you're staining), but to scuff up the existing finish so the new primer and paint have something to grip onto. Use medium-grit sandpaper first, then follow up with fine-grit for a smooth surface. Always sand in the direction of the wood grain. Once you're done, wipe away all the dust with a tack cloth. A dust-free surface is key to a professional-looking finish.
Step 4: Prime and Paint
With your surface prepped, it's time for the transformation. Apply a thin, even coat of primer. A good primer helps block old stains and ensures your paint colour looks true. Let it dry completely according to the manufacturer's instructions. Now for the paint. Use a small roller for flat surfaces like the top and sides, and a brush for edges and details. Apply a thin first coat, let it dry, and then apply a second coat for full, even coverage. Thin coats are better than one thick coat, as they prevent drips and create a more durable finish. If you've opted to stain, apply the stain with a rag, wiping away the excess until you achieve your desired colour.
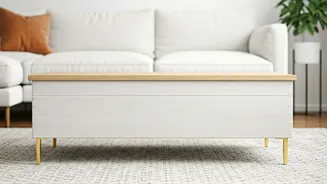
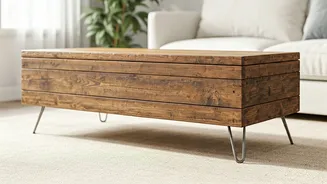
Step 5: Add the Finishing Touches
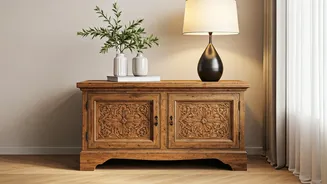
Once the paint or stain is fully cured (give it at least 24-48 hours), it’s time to protect your work. Apply two or three thin coats of a clear polycrylic sealant in a matte or satin finish. This will protect the table from spills and wear. Next, address the hardware. You can either spray paint the original hardware matte black for a modern touch or install new, sleek pulls that match your minimalist aesthetic. Finally, give your chest a lift. Flip it upside down and attach your new furniture legs to the four corners using a drill. This single step is what truly converts the chest into a coffee table, elevating it both literally and stylistically.