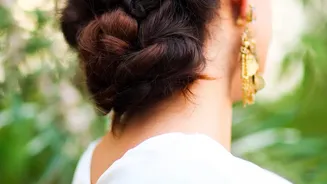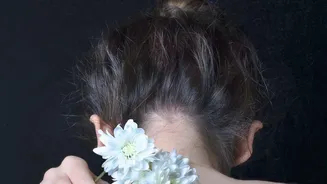




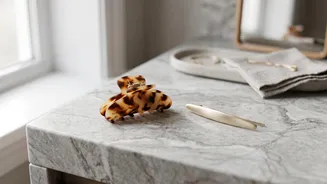
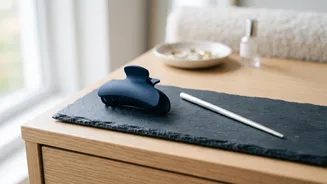
The low messy bun is the ultimate paradox: perfectly imperfect and effortlessly chic. It’s the go-to style that works for everything from a busy day of errands to an elegant evening out. Here's how to master this versatile look at home.
Why This Style Works
There's a reason
the low messy bun remains a timeless favourite. It's incredibly versatile, complementing both casual and formal wear with ease. Positioned at the nape of the neck, it has an inherent elegance that a high bun sometimes lacks. It’s a practical style that keeps hair out of your face while still looking polished. Best of all, it's a look that's meant to be slightly undone, so you don't need to stress about perfection. The goal is a soft, airy texture that feels relaxed and intentional. This style is particularly forgiving and works beautifully on second-day hair, making it a stylish solution for those in-between wash days.
Gather Your Toolkit
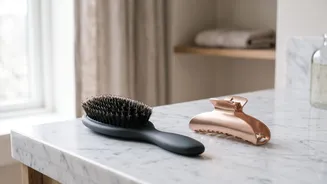
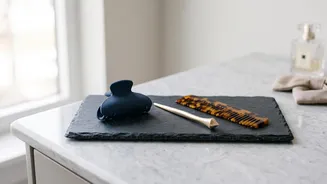
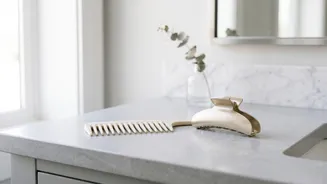
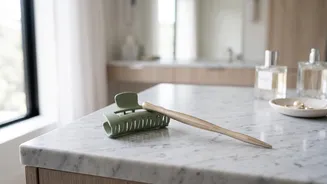
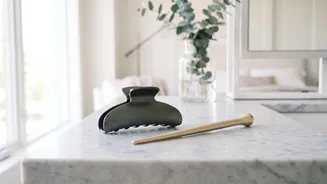
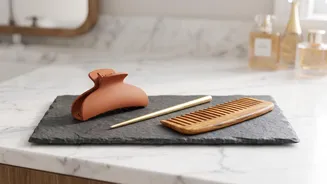
You don't need a professional salon's worth of supplies to achieve this look. In fact, simplicity is key. Before you start, gather these essentials:
Hair Ties: Have a couple on hand. A spiral hair tie can provide a good grip without snagging.
Bobby Pins: These are crucial for securing the bun and tucking away any stray ends.
Dry Shampoo or Texturizing Spray: This is the secret weapon, especially for freshly washed or fine hair. It adds grit and volume, helping the hair hold its shape.
Light-hold Hairspray: To set the final look and tame any unwanted frizz without making it stiff.
* A Brush or Comb: Optional, but useful for initial detangling.
Step 1: Prep Your Hair
The foundation of a good messy bun is texture. If your hair is freshly washed and silky, it might be too slippery to hold the style. Start by spritzing dry shampoo or a texturizing spray at the roots and through the mid-lengths. This will give your strands some grip and volume. Don't worry about brushing it perfectly; use your fingers to work the product in and create a bit of natural-looking volume at the crown. A few bumps are not just okay—they add to the 'messy' charm.
Step 2: Create a Low Ponytail
Next, gather your hair at the nape of your neck. The exact placement is up to you—directly at the nape or slightly to one side can create a soft, asymmetrical look. Secure it with a hair tie, but don't pull it excessively tight; you want a relaxed base. On the final pull-through, you can create a loop by not pulling the ponytail all the way through. This creates a base for the bun and is a great technique for shorter or finer hair.
Now for the main event. Take the ponytail (or the loop and its tail) and begin to twist it loosely. Wrap this twisted section around the base of your hair tie to form the bun. Don't aim for a perfect coil; a slightly uneven wrap contributes to the messy aesthetic. Once wrapped, secure the bun with a second hair tie or, for a more controlled hold, use bobby pins. The trick to effective pinning is to anchor the bun to the hair at your scalp. Push the pin into the bun, then angle it to catch a bit of scalp hair before pushing it back into the bun. This creates a secure lock.
With the bun secured, it's time to refine the look. This is the step that transforms it from a simple bun into a 'messy' bun. Gently tug on different sections of the bun to loosen it and increase its volume. You can pinch and pull small sections to create more texture. Pull out a few face-framing tendrils around your hairline to soften the look. The key is to be gentle; you want to create an airy feel without dismantling your handiwork. A final spritz of light-hold hairspray will help keep everything in place all day.