




The 'Why' Behind the Weekly Reset
Think of a kitchen reset as hitting a refresh button. It’s not a deep clean, but a weekly tidy-up to get your space ready for the week ahead. The primary benefits are clear: you save money, reduce food waste, and make daily cooking feel less like a frantic
search for ingredients. When you know exactly what you have, especially items that are already open, meal planning becomes a simple task of connecting the dots rather than starting from scratch. An organised kitchen where you can see what you have means you're more likely to use that half-eaten bag of spinach before it wilts. This small investment of 20-30 minutes a week pays off with calmer evenings and a healthier grocery budget.
Step 1: The Pantry and Cupboard Sweep
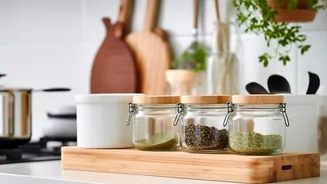
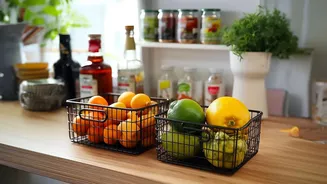
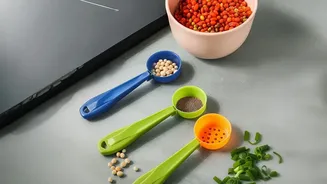
Start with your dry goods. Scan your shelves for any open bags of chips, crackers, pasta, rice, and flour. These items can go stale or attract pests if not sealed properly. Consolidate where you can; if you have two half-empty bags of quinoa, combine them into one container. For bags that can’t be sealed, use clips or transfer the contents into airtight containers. Clear containers are ideal because they let you see what's inside at a glance, preventing you from buying duplicates. Take note of anything nearing its expiration date and make a plan to use it soon. This is also a good time to check your spices, which lose potency over time, and any opened canned goods you may have stored in the fridge.
Step 2: The Fridge and Freezer Audit
The refrigerator is often ground zero for forgotten foods. Begin by tossing anything that is obviously past its prime. Check the dates on condiments, dressings, and jars of sauce. Give everything a quick wipe-down, especially high-traffic spots like handles. The most important part of the fridge audit is implementing a "first-in, first-out" system. Pull older items to the front so you see and use them first. Designating a specific bin or shelf for items that need to be eaten soon can be a game-changer. For the freezer, check for freezer burn and make sure everything is sealed tightly. An inventory can help you remember what treasures are hiding in the back, like leftover soup or extra bread.
Step 3: Creating an 'Eat Me First' Zone
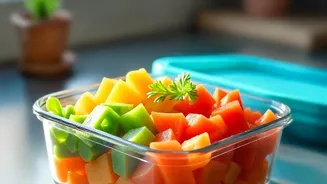
Once you've identified all the open packages and soon-to-expire items, the next step is to make them impossible to ignore. Create an “eat me first” or “use it up” bin in a prominent spot in your fridge or pantry. This is where you’ll put that half-jar of pasta sauce, the remaining quarter of a block of cheese, and the handful of vegetables left over from last night’s dinner. By grouping these items together, you create a visual cue for your meal planning. When you’re wondering what to make for lunch or a quick snack, this box becomes your go-to source of inspiration, ensuring that food gets eaten instead of discarded.
Step 4: Turning Leftovers into 'Planned-overs'
That “eat me first” box is your secret weapon for creative cooking. Don't see leftovers; see ingredients. That leftover rice can become fried rice or be added to a soup. Shredded rotisserie chicken can be the star of tacos, a pasta dish, or a hearty salad. Wilting vegetables can be revived in a frittata, stir-fry, or blended into a soup. Even small amounts of herbs can liven up a dressing or a grain bowl. Think of it as a fun challenge: how can you turn these random components into a delicious new meal? This approach not only prevents waste but also pushes you to become a more resourceful and inventive cook.
Step 5: Smart Storage for Future Success
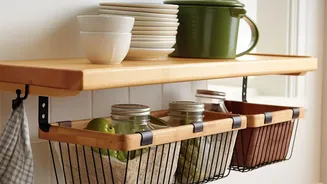
Preventing future clutter and waste starts with smart storage. Instead of struggling with messy, half-open bags, invest in a system that works for you. Decanting items like flour, sugar, oats, and nuts into clear, airtight containers keeps them fresh and visible. Rectangular containers are particularly good for maximizing space. For everything else, have a good supply of clips, reusable bags, and labels on hand. When you open a new item, take a moment to think about how you'll store it after its first use. Writing the date you opened a jar directly on the lid with a marker can also help you keep track of freshness. A little effort upfront makes your next weekly reset even faster.