

The Taste of Devotion
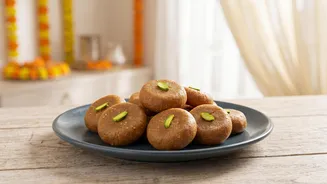
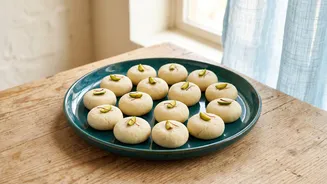
Mathura Peda is more than just a sweet; it's a taste of history and devotion. Originating from Mathura in Uttar Pradesh, the sacred city where Lord Krishna is believed to have been born, this sweet holds a special place in the heart of Janmashtami celebrations.
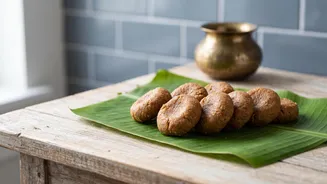
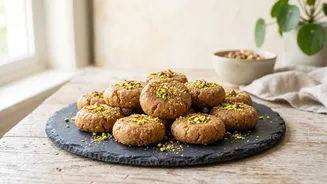
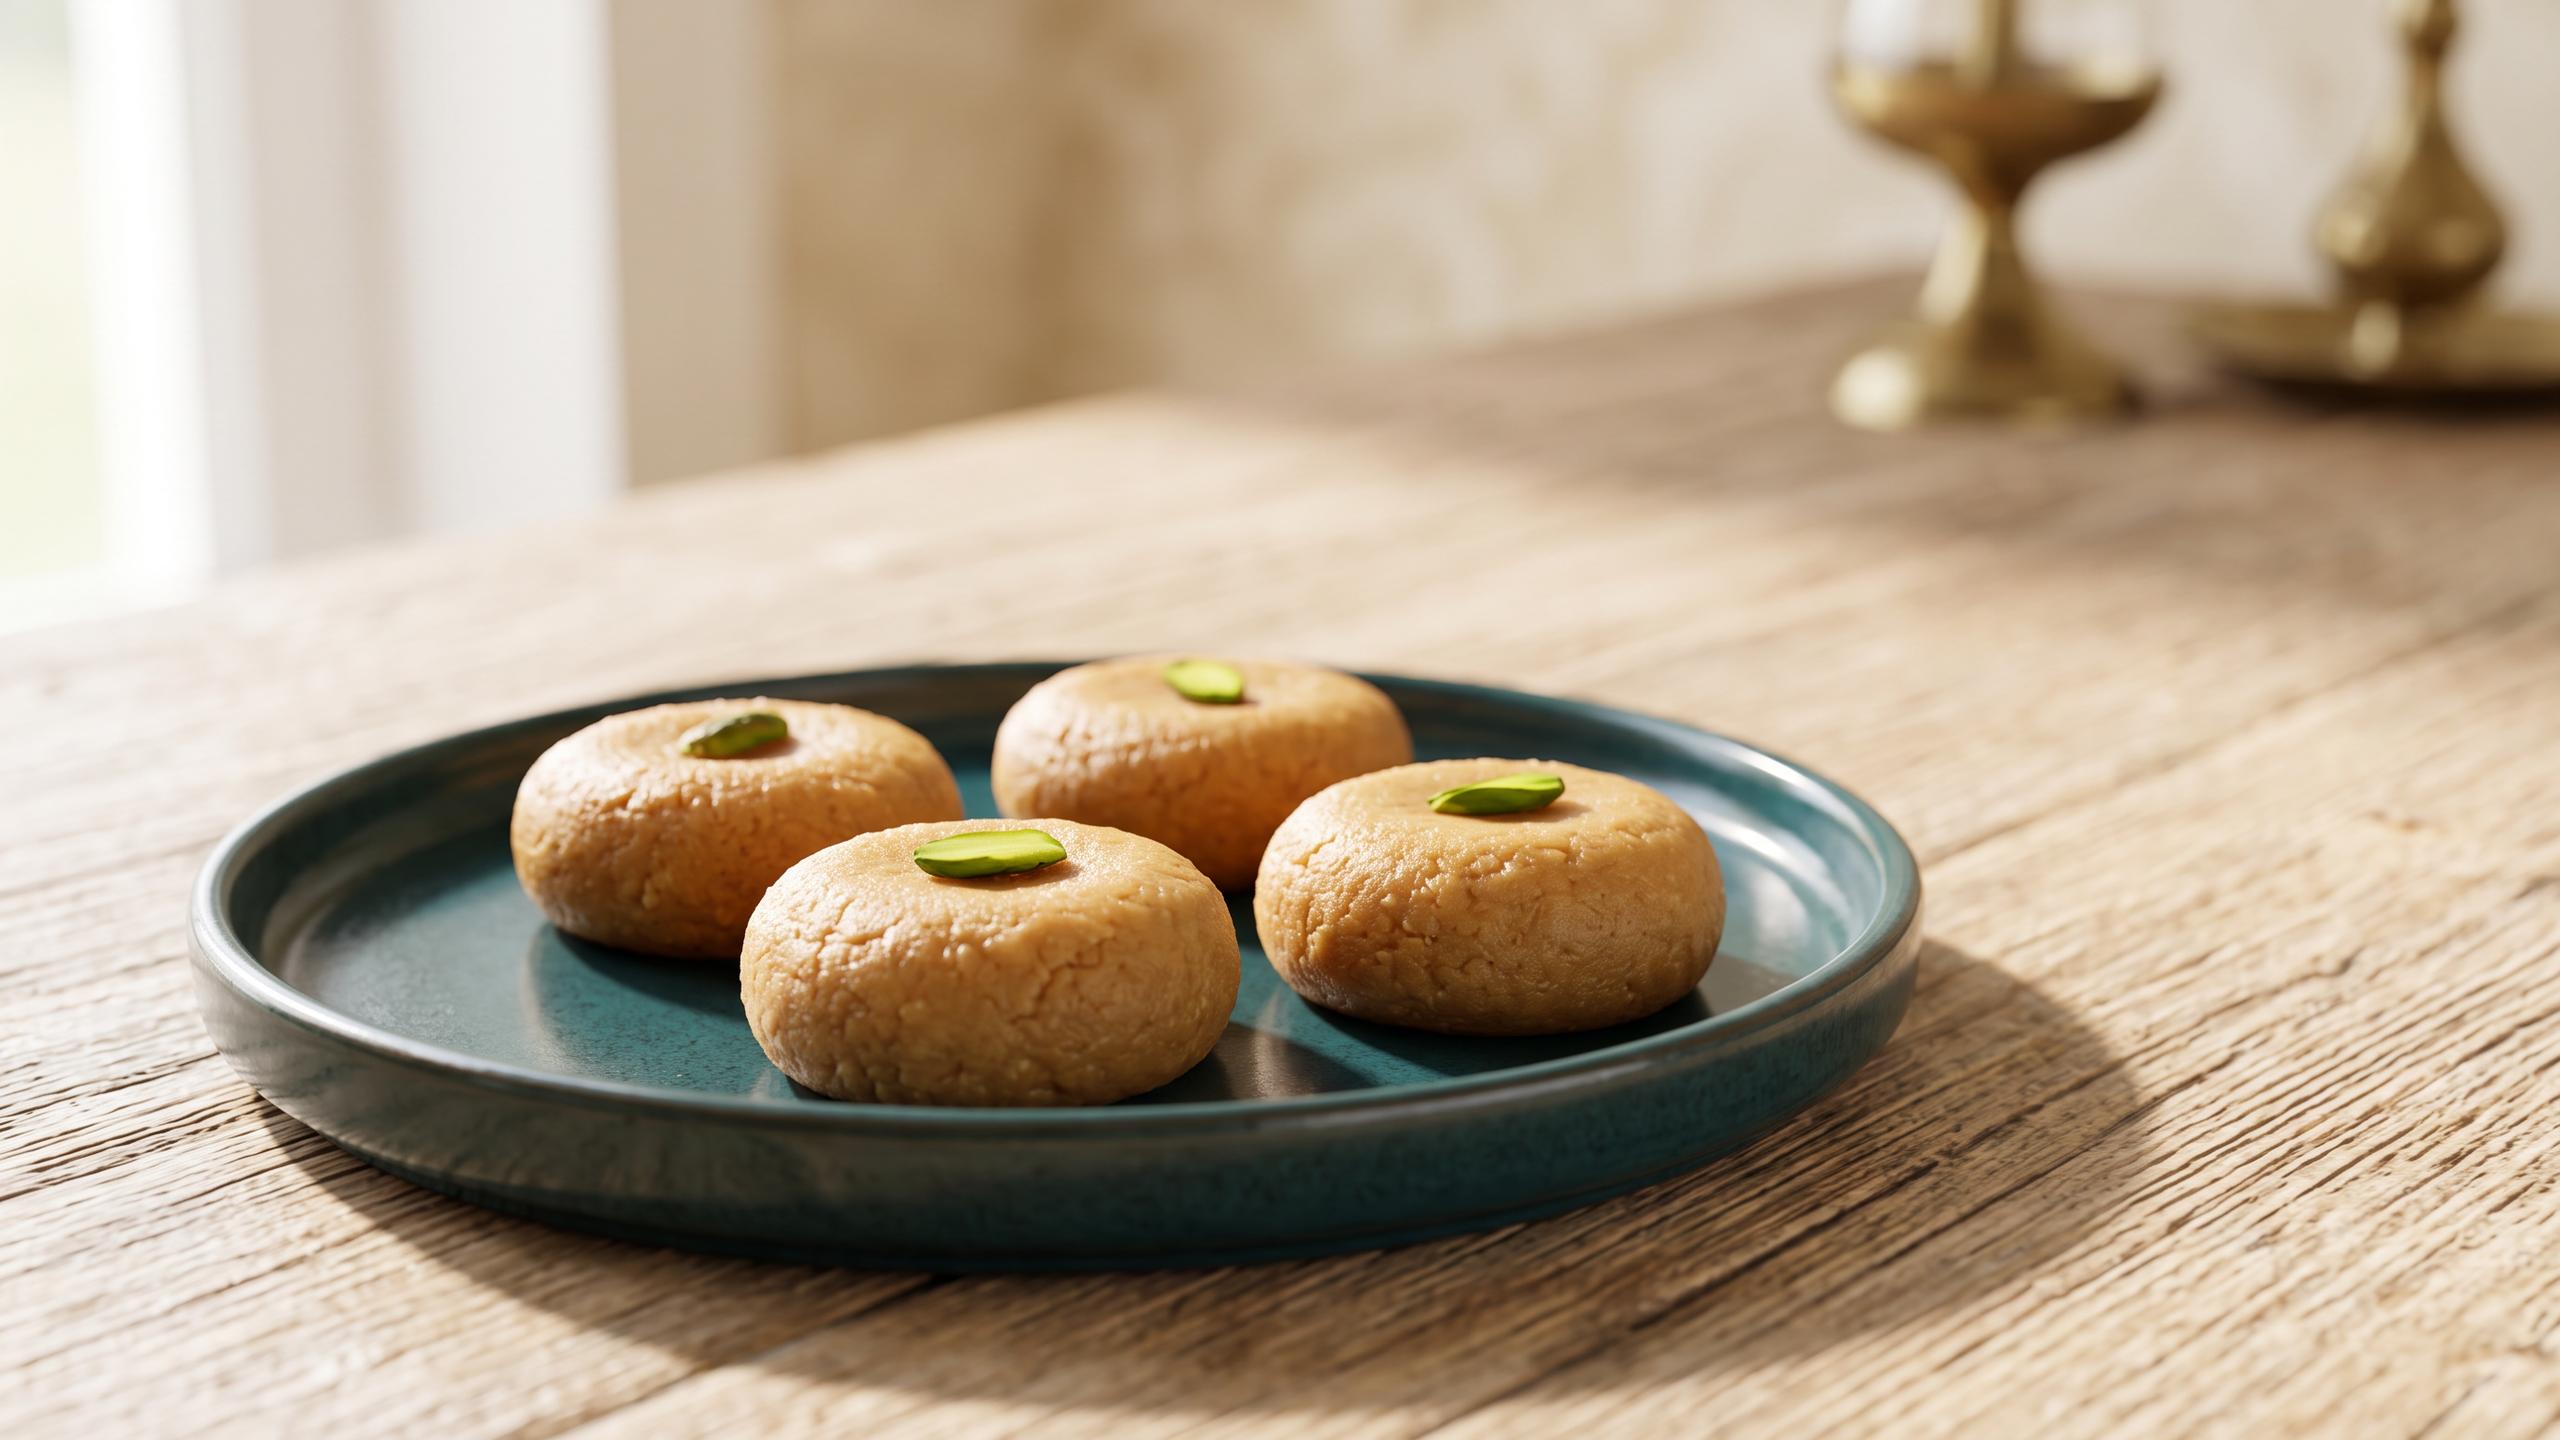
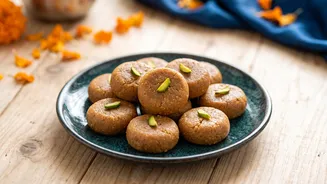
Made primarily from khoya (milk solids), its signature brownish colour and grainy texture come from slowly roasting the milk solids until they caramelise. The peda is an essential part of the 'bhog' or prasad offered to Lord Krishna, making it an inseparable part of the festival. Its connection is so deep that folk songs even mention Krishna enjoying these delicious treats.
Gathering Your Ingredients
The beauty of Mathura Peda lies in its simplicity. While traditionally made by simmering milk for hours to get khoya, this recipe uses store-bought mawa (khoya) to make it accessible for busy households. You will need just a few core ingredients to create this melt-in-the-mouth delight.
250 grams Mawa or Khoya (unsweetened milk solids), grated
1/2 cup Boora or Tagar (see note below), or powdered sugar
2-3 tablespoons Ghee (clarified butter)
2-4 tablespoons Milk, as needed
1/2 teaspoon Cardamom powder
A pinch of Nutmeg powder (optional)
* Extra Boora or coarse sugar for rolling
A Note on Sugar: Boora vs. Powdered
Traditionally, halwais (professional sweet makers) use 'boora' or 'tagar' to make pedas and ladoos. This isn't the same as finely powdered sugar. Boora is a type of caramelised, porous sugar that has a unique texture and enhances the flavour. While you can use regular powdered sugar, using boora will give your pedas a more authentic, grainy mouthfeel. Boora can be found in many Indian grocery stores or even made at home by melting sugar with water and ghee until it crystallises. For this simple recipe, good quality powdered sugar works well too.
Step-by-Step to Perfect Pedas
Follow these steps carefully to achieve the perfect texture and colour.
1. Roast the Mawa: In a heavy-bottomed or non-stick pan, add 2 tablespoons of ghee and the grated mawa. On a low to medium flame, continuously stir and roast the mawa. Keep breaking down any lumps. This is the most crucial step. Be patient, as it will take about 15-20 minutes. The mawa will melt, then start to thicken again, and slowly turn a beautiful, light brown colour.
2. Cool the Mixture: Once the mawa is evenly browned and releases a nutty aroma, turn off the heat. Transfer the mixture to a separate plate or bowl and let it cool down until it's just warm enough to handle. Do not add sugar to hot mawa, as it will melt and make the mixture runny.
3. Add Flavour and Sugar: To the warm mawa mixture, add the boora or powdered sugar, cardamom powder, and optional nutmeg powder. Mix everything thoroughly with your hands, crumbling the mixture until it is well combined.
4. Form the Dough: If the mixture feels too dry, add a tablespoon or two of warm milk and a little more ghee to bring it together into a smooth, pliable dough.
5. Shape the Pedas: Take small, equal portions of the dough and roll them into smooth balls between your palms. Gently flatten each ball to give it the classic peda shape. You can also press a design on top with a peda stamp if you have one.
6. Coat and Serve: Roll each peda in the extra boora or coarse sugar for that signature final touch. Your homemade Mathura Pedas are now ready to be offered as prasad or enjoyed by your family.
Tips for Flawless Results
Low and Slow is Key: Roasting the mawa on a low flame is essential to prevent it from burning and to ensure an even brown colour.
Use a Heavy Pan: A heavy-bottomed or non-stick pan will distribute heat evenly and prevent the mawa from sticking and burning.
Adjust Sweetness: You can adjust the amount of sugar to your liking. Remember that mawa has its own subtle sweetness.
Storage: Store the pedas in an airtight container. They stay fresh at room temperature for a few days and for up to a week in the refrigerator.