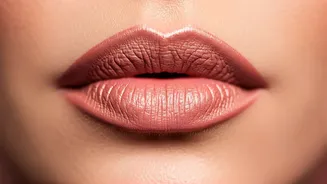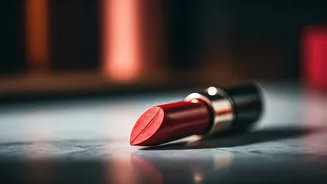


What Exactly Are Blurred Lips?
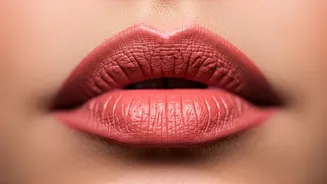
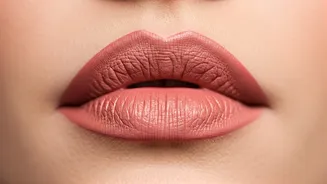
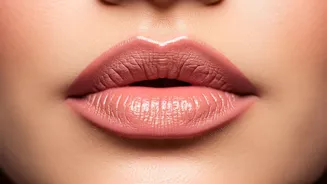
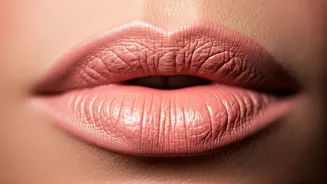
Imagine you’ve just finished eating a popsicle or sipping on a glass of red wine, leaving behind a delicate stain of colour that’s most concentrated in the centre of your lips. That’s the essence of the blurred lip. Hailing from South Korea, where it’s
often called a “gradient lip,” this trend rejects the harsh, perfectly defined lip liner of years past. Instead, it focuses on a soft-focus diffusion of colour that fades out towards the edges of your mouth. The effect is dreamy, youthful, and gives the illusion of a fuller, plumper pout without any complicated contouring. It's less about precision and more about creating a soft, lived-in feel.
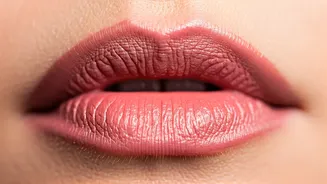
Why This Look Is So Popular
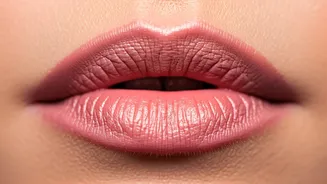
The appeal of the blurred lip lies in its effortless nature. It’s incredibly low-maintenance; you don’t need a steady hand or a mirror for constant touch-ups. In fact, the look often improves as it wears throughout the day, melting into your lips for an even more natural stain. This makes it perfect for our busy lives. It’s also universally flattering. By concentrating colour in the centre, it draws attention to the fullest part of your mouth, creating a subtle plumping effect. Unlike some heavy matte lipsticks that can feel drying and settle into fine lines, the blurred technique is forgiving, making lips look smooth and hydrated. It's a modern take on glamour that feels both comfortable and chic.
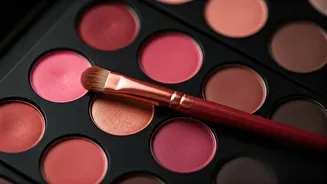
Your Toolkit for the Perfect Blur
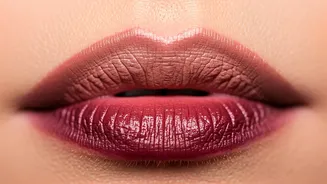
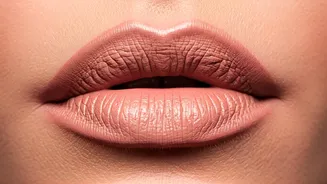
The best part about this trend is that you probably already own everything you need. There’s no need to buy a whole new set of products. Here’s what works best: * **Hydrating Lip Balm:** The key to a smooth blend is a well-moisturised base. Start by applying a non-greasy lip balm and letting it sink in for a few minutes. * **Your Colour of Choice:** This technique works beautifully with multiple formulas. A creamy bullet lipstick, a satin-finish liquid lipstick, or a classic lip tint are all excellent options. Bolder colours like reds, berries, and deep pinks create a more dramatic effect, while nudes and corals offer a subtler, 'my lips but better' finish. * **A Blending Tool:** Your finger is the best tool for the job! The warmth helps melt the product into your lips for a seamless fade. Alternatively, a small, fluffy eyeshadow brush or even a cotton bud can give you more control. * **Concealer (Optional):** A tiny amount of concealer or foundation can be used to soften the outer edges of your lip line for an extra-diffused effect.
Step-by-Step: How to Get the Look
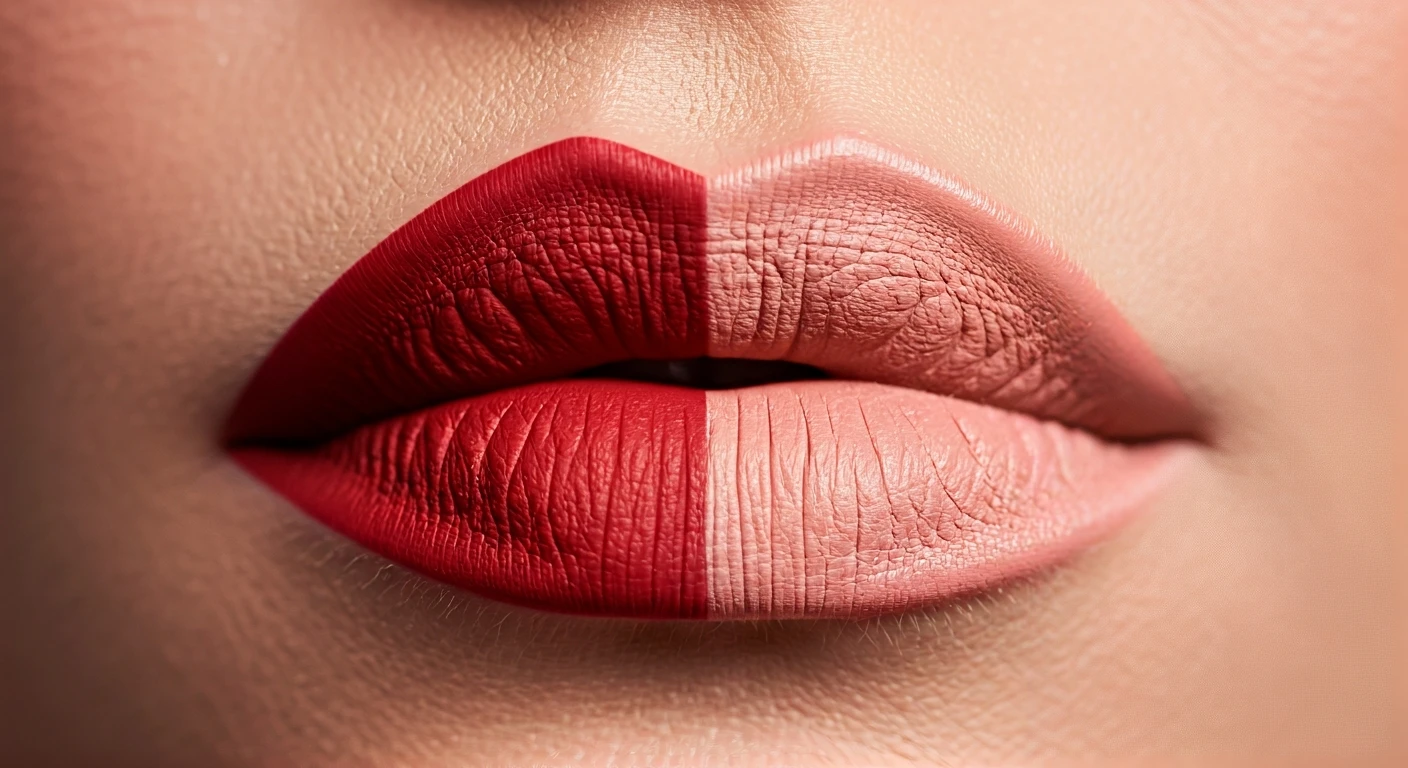
Ready to try it? Follow these simple steps for a flawless blurred finish in under two minutes. 1. **Prep Your Lips:** Start with smooth, hydrated lips. Apply a light layer of lip balm and gently blot off any excess so the colour has something to grip onto. 2. **Apply Colour to the Centre:** Take your lipstick or tint and apply it only to the inner part of your top and bottom lips. Don't worry about being neat—a simple dab or a short swipe is all you need. The goal is to concentrate about 80% of the pigment in the very centre. 3. **Press and Blend:** Gently press your lips together a few times to start distributing the colour. This will begin the natural blending process. 4. **Blur the Edges:** Now, use your ring finger to gently tap and smudge the colour outwards from the centre towards your lip line. Use a light patting motion rather than a rubbing one to avoid a messy finish. Continue tapping until the hard edge of the colour disappears and you’re left with a soft, gradual fade. 5. **Soften the Outer Line (Optional):** For a more pronounced blurred effect, take a clean finger or a cotton bud and gently run it along your natural lip line to soften it even further. You can also apply a tiny dot of concealer around the border of your lips and blend it out.