


The Perfect No-Bake Mango Cheesecake
When the temperature soars, the last thing anyone wants is to turn on the oven. That’s the beauty of a no-bake cheesecake. It delivers all the rich, creamy luxury of its baked counterpart but comes together with just a whisk and some time in the refrigerator.
This recipe is designed to let the mango shine. It balances the sweet, fragrant pulp of ripe mangoes with the subtle tang of cream cheese, all resting on a buttery biscuit base. It’s light yet decadent, and the perfect showstopper for a family dinner or a lazy summer afternoon treat.
Gather Your Ingredients
Precision is key in baking, even the no-bake kind. Gather these ingredients before you begin. **For the Biscuit Base:** * 200g digestive biscuits or Marie biscuits * 100g unsalted butter, melted **For the Mango Filling:** * 2 cups (about 500g) mango pulp, from sweet, ripe mangoes (Alphonso or Kesar are ideal) * 400g cream cheese, softened to room temperature * 1 cup (240ml) heavy whipping cream, cold * 3/4 cup icing sugar (or adjust to your mango's sweetness) * 1 tablespoon gelatin or agar-agar powder * 1/4 cup cold water (to dissolve the gelatin/agar-agar) **For the Optional Topping:** * 1/2 cup mango pulp * 1 teaspoon gelatin/agar-agar dissolved in 2 tablespoons of water * Fresh mango cubes for decoration
Step 1: Create the Buttery Base
Start with the foundation. Crush your biscuits into a fine crumb. You can do this by placing them in a ziplock bag and rolling over them with a rolling pin, or by pulsing them in a food processor. Once you have fine crumbs, transfer them to a bowl. Pour the melted butter over the crumbs and mix with a fork until the mixture resembles wet sand. Press this mixture firmly and evenly into the bottom of an 8-inch or 9-inch springform pan. Use the back of a spoon or the base of a glass to pack it down tightly. Place the pan in the refrigerator to chill and set for at least 30 minutes while you prepare the filling.
Step 2: Whip Up the Dreamy Filling
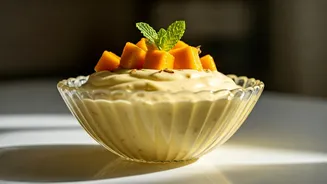
This is where the magic happens. First, bloom your setting agent. Sprinkle the gelatin or agar-agar powder over the cold water in a small bowl and let it sit for 5-10 minutes until it becomes spongy. Then, gently heat it in a microwave for 10-15 seconds or over a small pan of simmering water until it is completely dissolved. Set it aside to cool slightly. In a large bowl, beat the softened cream cheese with an electric mixer or a whisk until it’s completely smooth and free of lumps. Add the icing sugar and beat again until combined. Pour in the mango pulp and mix until everything is well incorporated and the colour is a uniform, sunny yellow. In a separate bowl, whip the cold heavy cream until it forms stiff peaks. Gently fold the whipped cream into the mango and cream cheese mixture in two or three additions. Be careful not to overmix and deflate the cream. Finally, stir in the cooled, dissolved gelatin/agar-agar mixture.
Step 3: Assemble and Chill to Perfection
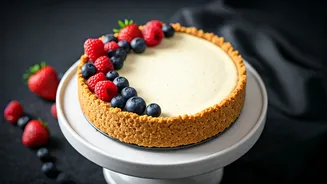
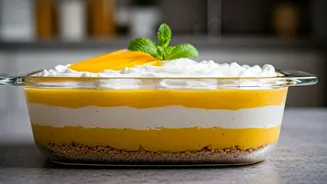
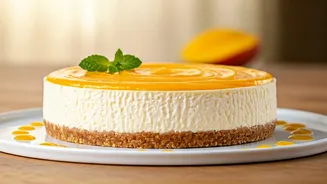
Retrieve your chilled biscuit base from the refrigerator. Pour the luscious mango filling over the base and use a spatula to spread it into an even layer. Tap the pan gently on the counter to release any air bubbles. Now for the hardest part: waiting. Cover the pan with cling film and place it in the refrigerator to set for at least 6-8 hours, or preferably overnight. The cheesecake needs to be fully firm before you attempt to slice it. For an extra glossy finish, you can prepare a simple mango glaze. Gently warm the half cup of mango pulp with the dissolved gelatin/agar-agar until combined, let it cool to room temperature, and then pour it over the set cheesecake. Let this new layer set for another hour. To serve, run a thin knife around the edge of the pan before releasing the springform clip. Decorate with fresh mango cubes or a sprig of mint.