
An Ancient Watering Wisdom
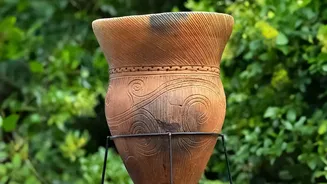
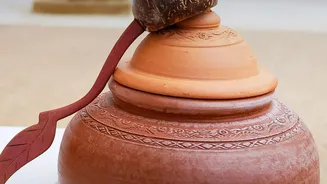
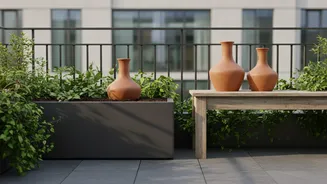
The concept of the olla (pronounced 'oh-yah') is thousands of years old, used by ancient civilizations in arid regions to cultivate crops with minimal water. An olla is simply an unglazed terracotta pot that is buried in the soil, leaving only its neck
exposed. When filled with water, the porous nature of the clay allows moisture to seep out slowly and directly into the root zone of surrounding plants. This age-old technique is finding new relevance for modern city dwellers, offering a sustainable way to tackle the unique challenges of container gardening.
The Science of Slow Sipping
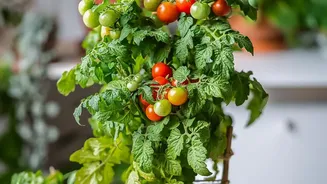
The magic of the olla lies in a scientific process called soil moisture tension. The unglazed clay has microscopic pores that allow water to pass through, but only when the surrounding soil is dry. As the soil dries, it creates a suction force that pulls water out from the olla. When the soil is moist, such as after a rain, the tension equalizes and the water stays inside the pot. This self-regulating system means plants get a consistent supply of moisture directly at their roots, preventing the stressful wet-and-dry cycles that cause wilting and other issues like blossom end rot in tomatoes.
Why Ollas Excel on Balconies
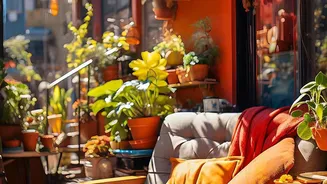
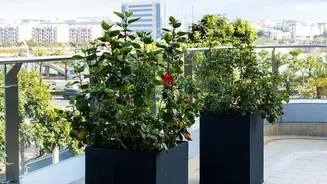
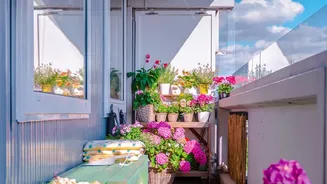
Balcony and rooftop gardens face harsh conditions. They dry out much faster than in-ground beds due to wind, reflected heat from walls, and the limited volume of soil in containers. Ollas are a perfect match for these challenges. By delivering water underground, they nearly eliminate loss from surface evaporation and runoff, which can reduce water usage by up to 70% compared to surface watering. This means you water less often—perhaps only once or twice a week instead of daily. It also encourages plants to develop deeper, stronger root systems as they grow toward the steady water source, making them more resilient. And because the foliage stays dry, the risk of fungal diseases is significantly lower.
How to Use Ollas in Your Pots
Getting started with an olla in a container is straightforward. For a pot up to 24 inches in diameter, a single olla placed in the centre is usually sufficient. First, bury the olla in your container, leaving just the top neck exposed above the soil line. It's crucial to pack the soil firmly around it to ensure good contact, as air pockets will prevent water from seeping out effectively. Plant your seedlings or seeds around the olla. For the thirstiest plants like tomatoes or cucumbers, place them closest. Fill the olla with water and place a cap or a small stone over the opening to prevent evaporation and keep mosquitoes out. For the first week or two, you may need to supplement with some surface watering until the young plants' roots grow long enough to reach the moisture zone.
Best Plants and Pro Tips
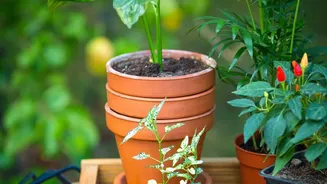
Ollas work best for plants with fibrous root systems that appreciate consistent moisture. Thirsty vegetables like tomatoes, peppers, squash, cucumbers, and melons are ideal candidates. Many herbs, including basil and mint, also thrive with this system. While you can buy purpose-made ollas, you can also create a DIY version by taking two identical unglazed terracotta pots, sealing the drainage hole of one, and then glueing their rims together to form a sealed vessel. A key tip is to avoid adding liquid fertilizer to the olla itself, as it can clog the clay's pores over time. In regions with hard freezes, it's wise to remove and store your ollas during winter to prevent them from cracking.