


Match the Trail to Your Skill Level
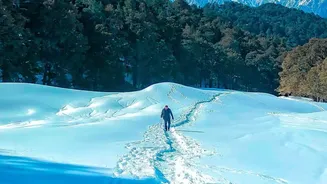
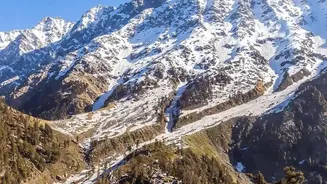
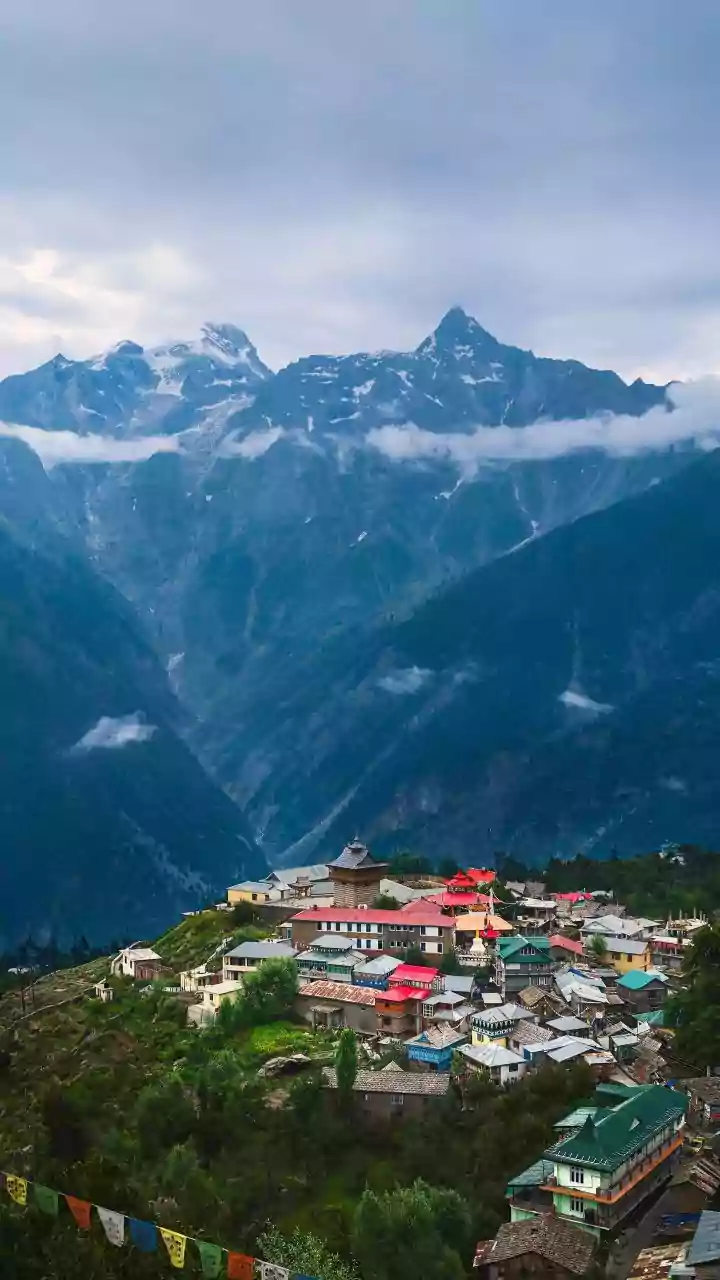
The first step is an honest assessment of your fitness and experience. Himalayan winter treks range from beginner-friendly trails to demanding expeditions. Treks like Kedarkantha and Dayara Bugyal in Uttarakhand are often recommended for first-timers.
They offer the full winter experience—snow, high altitudes (around 12,500 feet), and stunning views—but on manageable trails over five or six days. More challenging routes like the Brahmatal or Kuari Pass treks require better endurance and acclimatization to handle steeper ascents and potentially harsher conditions. Before you get swayed by breathtaking photos, research the specific trek's daily distance, altitude gain, and terrain. A 'moderate' rating in the Himalayas is significantly more strenuous than a typical weekend hike, especially when factoring in cold and snow.
Understand the Himalayan Winter
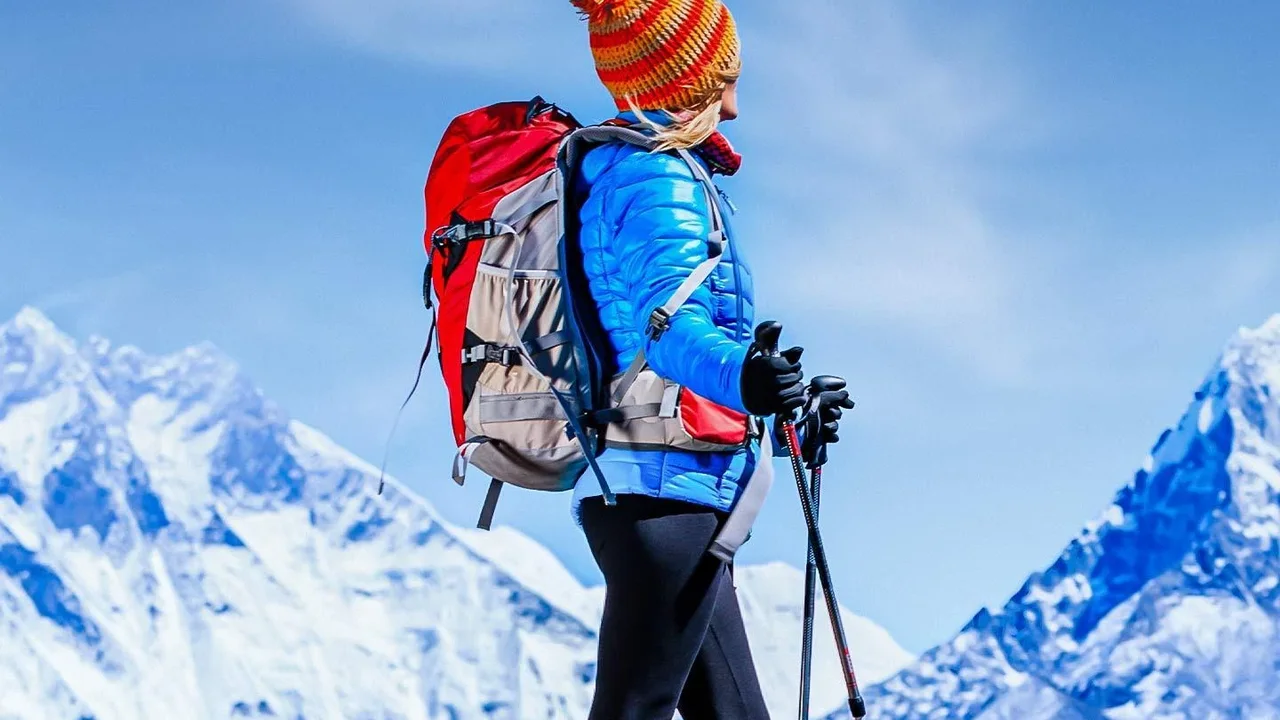
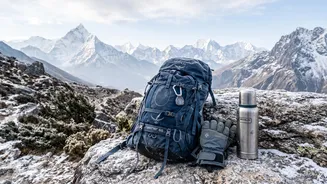
Winter in the high mountains is beautiful but unforgiving. Temperatures on popular treks can hover between 5°C and 15°C during the day, but plummet to between 0°C and -10°C at night, and even colder with windchill at higher campsites. Snowfall can transform a clear path into a challenging trail, requiring specialized gear and knowledge. Proper preparation isn't just about a warm jacket; it's about a strategic layering system. This typically involves a moisture-wicking base layer, an insulating fleece, a down or synthetic puffy jacket for warmth, and a waterproof outer shell. Protecting your extremities is also crucial, so invest in quality waterproof trekking boots, multiple pairs of woolen socks, gloves, and a warm cap or buff that can cover your face.
Respect the Altitude: Acclimatize Properly
Altitude sickness is a serious risk that can affect anyone, regardless of age or fitness level. It is caused by ascending too quickly without giving your body time to adjust to the lower oxygen levels. A well-planned itinerary is your best defense. Reputable trekking companies build extra days into their schedules specifically for acclimatization. A key rule is to ascend gradually, ideally limiting daily altitude gain to between 300 and 500 meters once you are above 3,000 meters. Rushing the ascent is a common mistake that can lead to severe symptoms and ruin a trip. Ensure any itinerary you consider includes a rest day or shorter hiking days to allow your body to adapt. Some trekkers also consult their doctors about medication like Diamox as a preventative measure.
Vet Your Trekking Company Thoroughly
Choosing the right trekking operator is arguably the most critical decision you'll make. The company is responsible for your safety, logistics, and overall experience. Don't let a low price be the deciding factor. A professional operator’s value lies in their commitment to safety, experienced guides, and quality equipment. Before booking, verify that the company is registered and licensed with local authorities. Look for reviews and testimonials, and ask about their safety protocols, guide-to-trekker ratio, and emergency procedures. A reliable company will be transparent about what's included in their package, from meals and transport to permits and equipment like sleeping bags and tents suitable for sub-zero temperatures.
Don't Forget the Paperwork
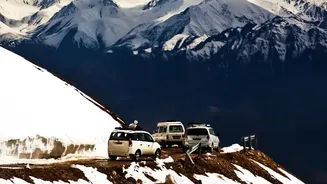
Many trekking routes in the Indian Himalayas, especially those near international borders or within national parks and wildlife sanctuaries, require permits. These can include Inner Line Permits (ILP), Protected Area Permits (PAP), or forest department clearances. While the process might seem complex, a good trekking operator will typically handle all the necessary paperwork on your behalf. This is another reason why booking with an established company is beneficial; they understand the local requirements and can ensure all your documentation is in order, preventing any last-minute issues that could derail your adventure. Confirm with your operator which permits are needed for your chosen trek and that they will be secured for you.