
More Than Just a Free Upgrade
The most obvious benefit is the cost—or lack thereof. Instead of buying new decor, you're using materials you already own. But the advantages go much deeper. This practice is a win for sustainability, giving old textiles a new purpose and keeping them
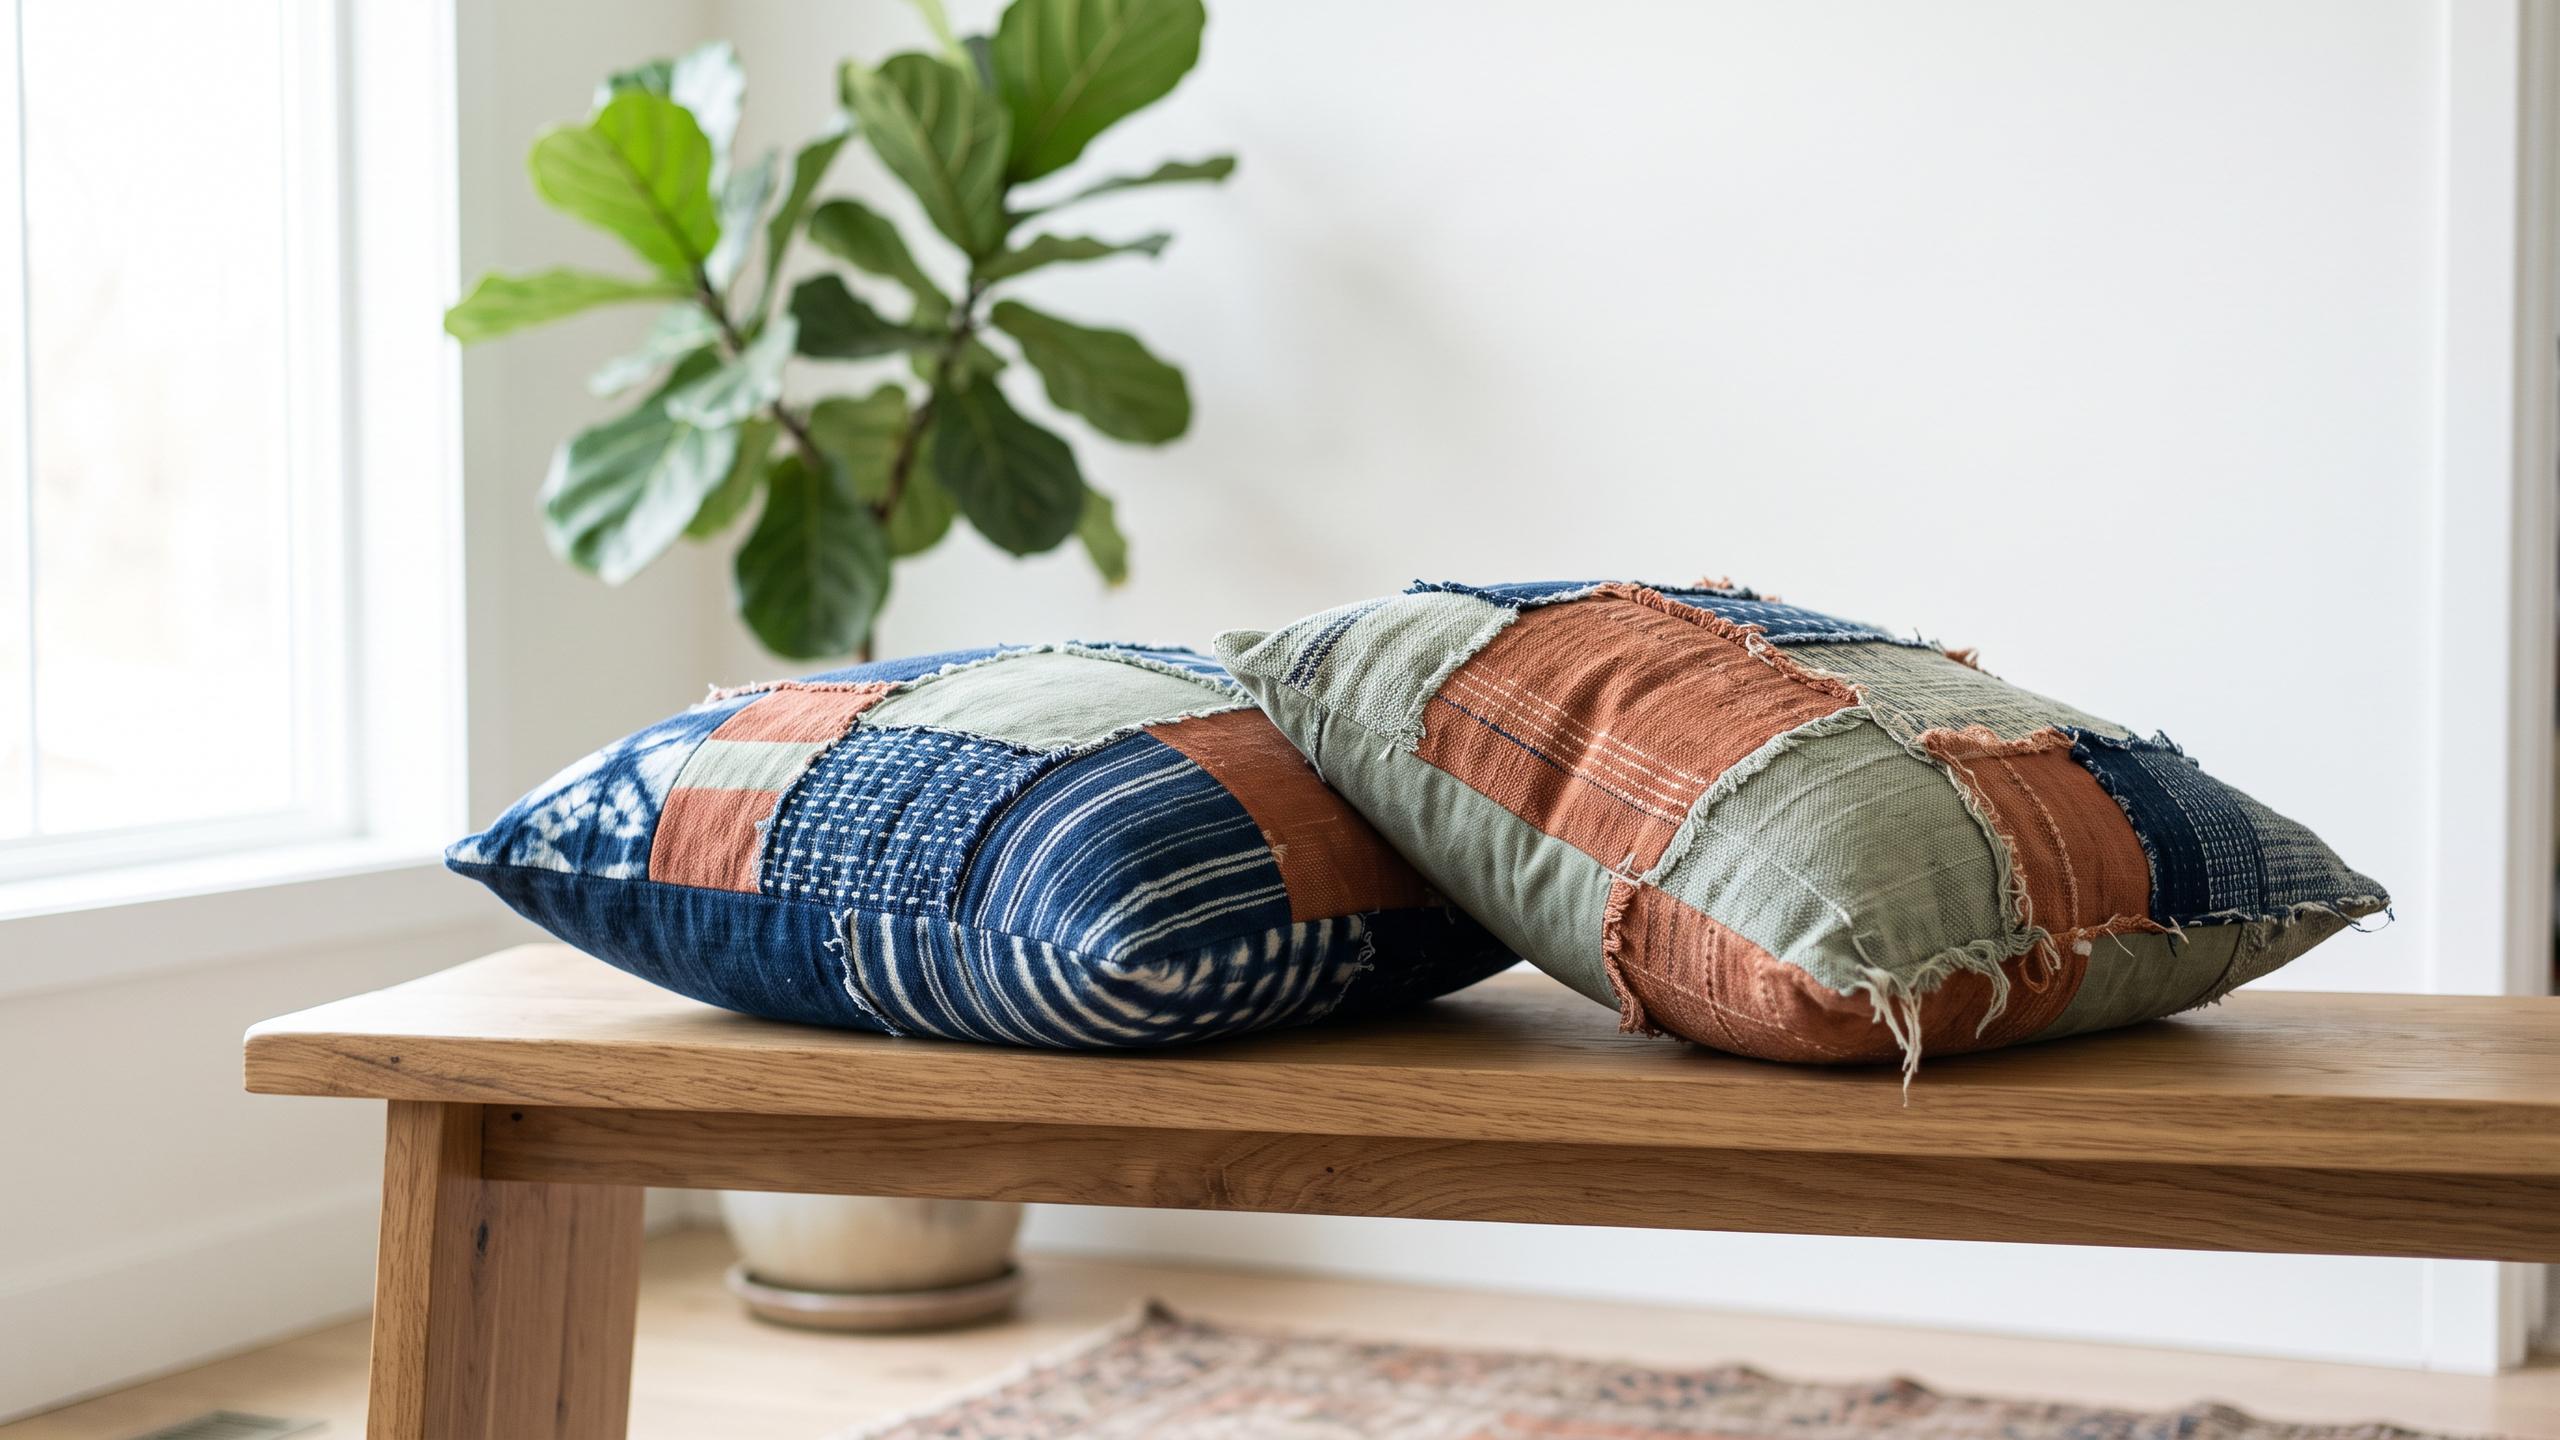
out of landfills. Every cover you make becomes a unique piece of decor that reflects your personal history and style, whether it’s from a beloved old sweater or a favourite patterned shirt. This adds a layer of personality and sentimentality to your home that store-bought items simply can't match. Finally, the act of creating something beautiful with your own hands offers a sense of satisfaction and accomplishment that enhances your connection to your living space.
Choosing the Right 'Fabric'
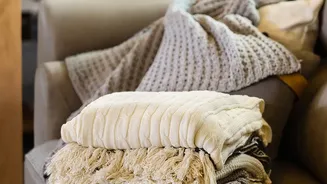
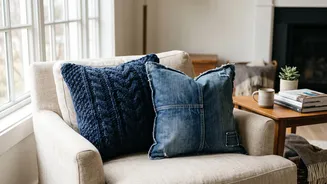
Not all clothing is created equal when it comes to cushion covers. The best candidates are items made from durable, attractive, or sentimental fabrics. Chunky cable-knit sweaters are perfect for creating cosy, textured pillows, while old denim jeans offer a sturdy and stylish option. Cotton button-down shirts, especially those with interesting patterns, can be transformed into classic, polished covers. Even old t-shirts with cool graphics can be repurposed, though stretchy fabrics might need a stabilising liner (interfacing) to prevent them from losing their shape during sewing. Avoid materials that are too thin, overly delicate, or badly stained unless you can creatively cut around the imperfections.
The Simple No-Sew Method
Don't have a sewing machine? No problem. The no-sew approach is perfect for beginners and yields surprisingly stylish results. One popular method involves using fabric glue or hot glue. Simply cut your clothing (like a sweater) into two same-sized squares, about an inch larger than your pillow insert on all sides. Place the fabric with the right sides facing inward and apply a strong fabric glue along the edges of three sides. Press firmly and let it dry completely. Once dry, turn the cover right-side out, stuff the pillow insert inside, and then carefully glue the final side shut. Another technique, great for button-down shirts, involves simply wrapping the shirt around the pillow form and strategically tucking and pinning the sleeves and excess fabric at the back.
The Basic Sewn Cover for a Polished Finish
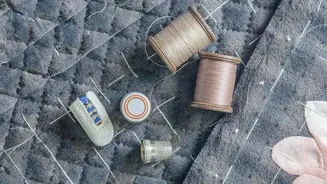
For a more durable and professional-looking cover, a simple sewing project is the way to go. The most common design is the 'envelope' closure, which doesn't require zippers or buttons. First, cut one piece of fabric from the front of your garment that matches the size of your pillow insert, plus a small seam allowance. Then, cut two pieces for the back that are the same width but only about two-thirds of the height. Hem one edge of each back piece. Lay your front piece right-side up, then place the two back pieces on top (right-side down), overlapping them in the middle to create the envelope opening. Pin everything in place and sew around all four outer edges. Trim the corners, turn the cover right-side out, and your pillow is ready to be inserted.
Designing a Cohesive Look
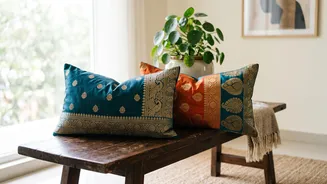
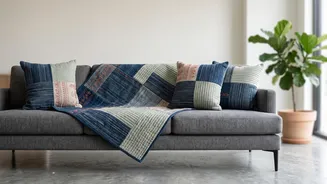
The key to making your DIY covers look intentional is to consider your living room's existing aesthetic. Look at your current colour palette, textures, and patterns. Choose clothes that complement these elements. A neutral-toned living room can be enlivened with a pop of colour from a vibrant shirt, while a cosy space can be enhanced with the texture of a knitted sweater. Don't be afraid to mix and match. A combination of a denim cover, a sweater cover, and a patterned cotton cover can create a rich, layered look that feels curated and personal. The goal is to create harmony between your new, upcycled pieces and the rest of your decor.