




Looking to refresh your space without heavy frames or high costs? Origami wall art offers a lightweight, customizable, and deeply personal way to decorate. This ancient art form transforms simple paper into a stunning three-dimensional display.
Why Choose Origami for Your Walls?
Before
you start folding, it helps to appreciate why origami is such a brilliant medium for home decor. First, it's incredibly lightweight. You can create a large, impactful installation without needing heavy-duty wall anchors or worrying about damage. Second, the possibilities are endless. From a flock of cranes flying across a living room wall to a geometric pattern above a desk, you can tailor the size, colour, and complexity to perfectly match your style. It’s also a budget-friendly and mindful craft; the repetitive motion of folding can be a relaxing activity, and the final product is a testament to your own creativity.
The Foundation: Choosing Your Paper
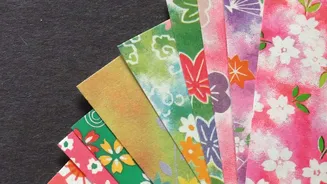
The paper you choose will define the look and feel of your artwork. While you can practice with standard printer paper, dedicated origami paper, known as 'kami', is ideal for beginners. It's thin (usually around 60 gsm), holds creases well, and comes in a vast array of colours and patterns. For a more textured, professional look, consider 'Tant' paper, which is slightly stiffer and has a delicate surface. For rustic or large-scale models, even brown kraft paper can be surprisingly effective. Don't be afraid to experiment with patterned gift wrap or even pages from old books to create something truly unique. The key is to find a paper that is thin enough to fold easily but strong enough to hold its shape.
Simple Folds, Big Impact
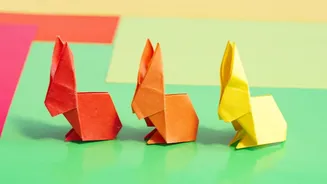
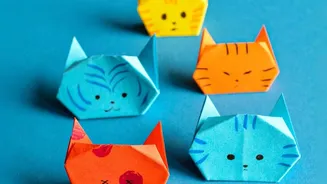
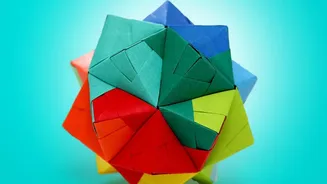
You don't need to be an origami master to create a beautiful display. The most effective arrangements often rely on simple, classic models repeated in multiples. The traditional origami crane is a fantastic starting point, symbolizing peace and good fortune. Butterflies are another popular choice, adding a sense of movement and delicacy. For a modern, geometric look, try creating 'sonobe' units. These are modular pieces that can be interlocked to build larger 3D shapes and pyramids, offering a striking architectural feel. Start by mastering one or two simple shapes that you enjoy folding. Consistency in your folds is more important than complexity.
Planning Your Composition
Before a single piece goes on the wall, take time to plan your arrangement. Think about the flow and movement you want to create. Do you want a structured grid, a random scattering, or a flowing curve? Lay your finished origami pieces on the floor to experiment with different layouts. Consider how the colours will interact. You could create a monochromatic gradient, group similar shades together, or go for a vibrant, multi-coloured explosion. A simple trick is to take a photo of your favourite arrangement on the floor to use as a reference during installation. For a more formal look, some people choose to mount their arrangement on a piece of foam core or inside a shadow box frame.
Mounting Without a Mark
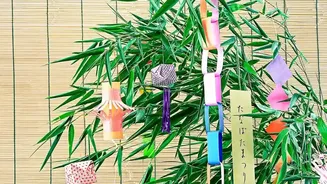
The beauty of lightweight origami art is that it doesn't require nails or screws. To hang your pieces without damaging your walls, removable adhesives are your best friend. Small squares of double sided tape or tiny dabs of mounting putty are perfect for securing individual paper models. Always test the adhesive on a small, inconspicuous area of your wall first. For a more industrial or temporary look, you can hang binder clips from small, clear adhesive hooks and clip the origami to them. Another elegant option involves creating a mobile like display by attaching the origami pieces to a thread and hanging them from a small stick or dowel. This method enhances the three dimensional quality and allows the pieces to gently move.