


Why This Simple Combo Works Wonders
Before you start building, it helps to understand why this project is catnip for your pet (sometimes literally!). For cats, cardboard boxes are the pinnacle of safety and fun. They offer a secure, enclosed space from which to observe their surroundings,
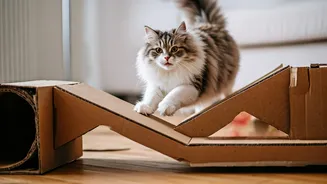
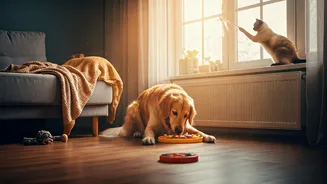
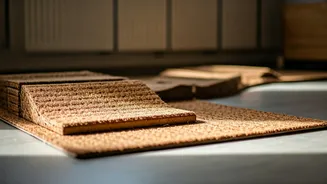
satisfying their natural ambush predator instincts. The cardboard also provides insulation, creating a warm, cosy nap spot. Furthermore, it's a perfect material for shredding and scratching. Adding texturized mats into the mix elevates the experience. Materials like coir, sisal, or jute provide a satisfying and durable surface for scratching, which helps them mark their territory with the scent glands in their paws, shed the outer layers of their claws, and get a good stretch. This combination turns a simple box into a multi-sensory gym.
Gathering Your Supplies
The beauty of this project is its accessibility and low cost. You likely have most of what you need already. Start collecting cardboard boxes from your online deliveries—variety is key! A mix of small, medium, and large boxes will allow you to create a more interesting structure. For the texturized mats, look for natural, untreated materials. Coir (coconut fibre) mats, sisal rug samples, or even jute placemats are excellent choices. You will also need a strong pair of scissors or a box cutter for modifications, and a way to connect the boxes. While you can use non-toxic glue, a safer and less messy method involves cutting tabs and slots to interlock the boxes. Have a pen or marker handy for planning your cuts.
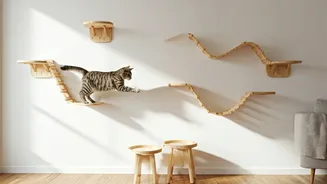
Step 1: Design and Plan Your Track
Don't just start cutting. Lay your boxes out on the floor and think about the kind of structure you want to build. Is it a simple, long tunnel for your pet to zoom through? Or a multi-level 'cat-dominium' with different chambers and lookout spots? Arrange the boxes to see how they fit together. Plan where you will cut connecting doorways. A good rule of thumb is to make the openings just large enough for your pet to squeeze through comfortably. You can also plan for 'windows' or peepholes on the sides, which add an extra layer of engagement, allowing them to peek out. Use your marker to draw the outlines of the doors and windows before you make any cuts.
Step 2: Cut, Texture, and Assemble
With your design planned, carefully use your box cutter or scissors to cut out the doors and windows. To connect the boxes without glue or tape, cut two parallel slits on one box and a corresponding 'tab' on the box you want to connect it to. The tab should be slightly longer than the slits, so you can slide it through and fold it to lock it in place. Before you assemble everything, cut your texturized mats to fit the floors and some of the interior walls of your boxes. You can simply place them inside, or use a small amount of non-toxic, pet-safe adhesive if you want them permanently fixed. Now, connect all your pre-cut and textured boxes according to your design.
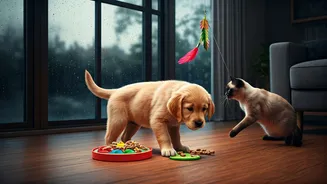
Level Up Your Pet's Playground
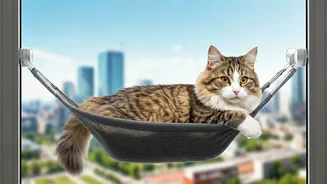
Once the basic structure is complete, there are several ways to make it even more enticing. Try placing the track near a window to give your cat a safe and stimulating 'catio' from which to watch birds and squirrels. You can also hide a few of their favourite treats or toys inside different compartments to encourage exploration and foraging behaviour. Periodically spray a bit of catnip inside (if your cat responds to it) to renew their interest. Don't be afraid to change the configuration every few weeks. Moving the boxes around or adding a new one can make the entire structure feel brand new to your pet, preventing boredom and keeping them mentally stimulated.